Pattern - No 012


Ballon out of fabric

What's Included
-
– Pattern in A3 and A4 format
 BallonSchnittmuster (PDF) - DIN A4, DIN A3, US-Letter3 Files
 - – Detailed instructions with 9 illustrated steps
- – Complete materials and tools list
-
– 6 basics guides with tips and tricks
- • Why and How to Finish Fabric Edges
- • Which Interfacing or Non-woven Interlining is Best for Cushions?
- • Pen, Chalk, or Marker? How to Mark Fabric Properly
- • How to Make Your Own Bias Tape
- • Why and How to Clip Corners and Curves
- • How to Shape Corners and Curves Properly
- – Multilingual support (DE/EN)
- – Everything in One Place
Required Materials
-
Fabric A: 55 x 40 cm
For the balloon and optionally the bias tape.
Lightweight, non-stretch fabric with a dense weave that is easy to work with.
-
Interfacing/Non-woven Interlining (optional): 55 x 40 cm
If your fabric is thin or if the stuffing might show through, reinforce the balloon with non-woven interlining or fusible interfacing.
-
Stuffing: 60 g
To fill the balloon and help it maintain its shape.
Alternatively, fabric scraps or other soft materials can be used.
-
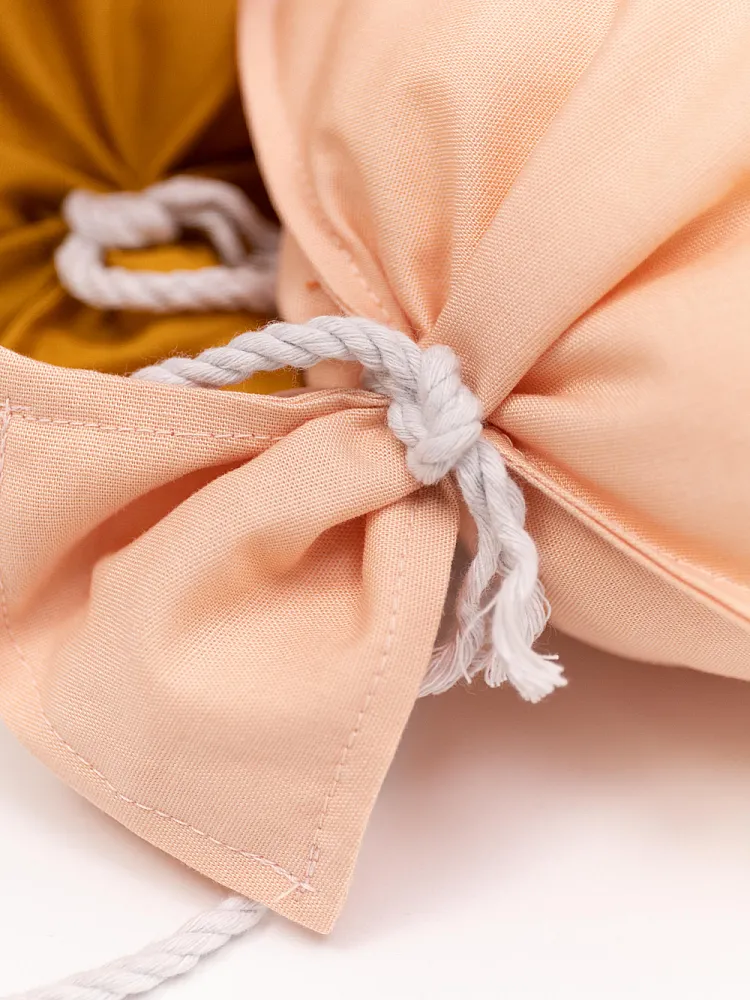
Cord: 5 mm x 75 cm
For securing the lower part of the balloon and as decoration.
-
Bias Tape (optional): 9 cm
If you don’t have matching bias tape, you can cut it yourself (see instructions).
-
Sewing Thread: Universal sewing thread, thickness 120 Suitable for the recommended needle size NM 70–80.
Required Tools
-
Sewing Machine
-
Scissors - A large fabric scissors for cutting and a small thread snip for precise work.
-
Pins or Fabric Clips
-

Measuring Tool
-

Iron
-

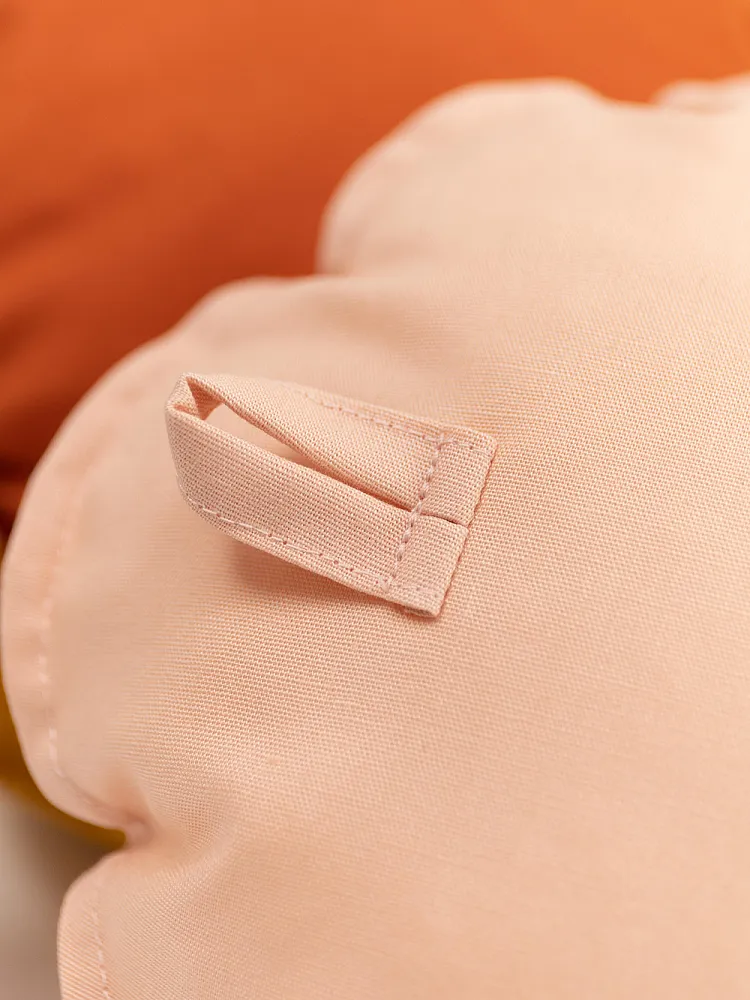
Chalk or Marker - To mark the hanging loop, choose a marking tool that can be easily removed.
-

Blunt Tool - For shaping curves, such as a corner shaper, chopstick, or crochet hook.
Description
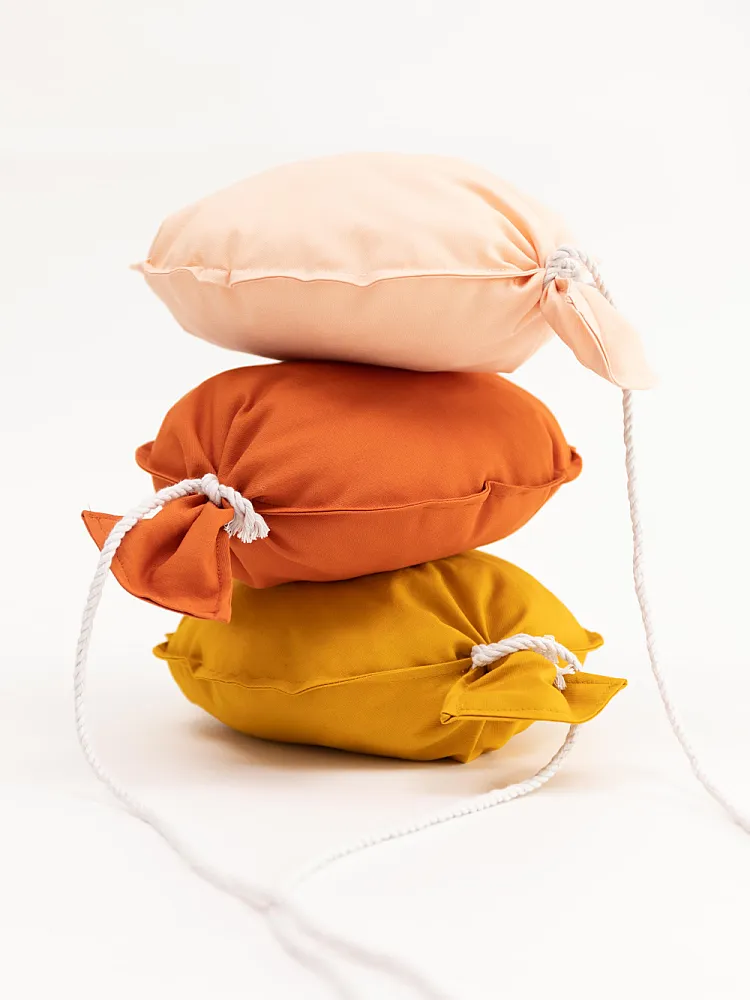
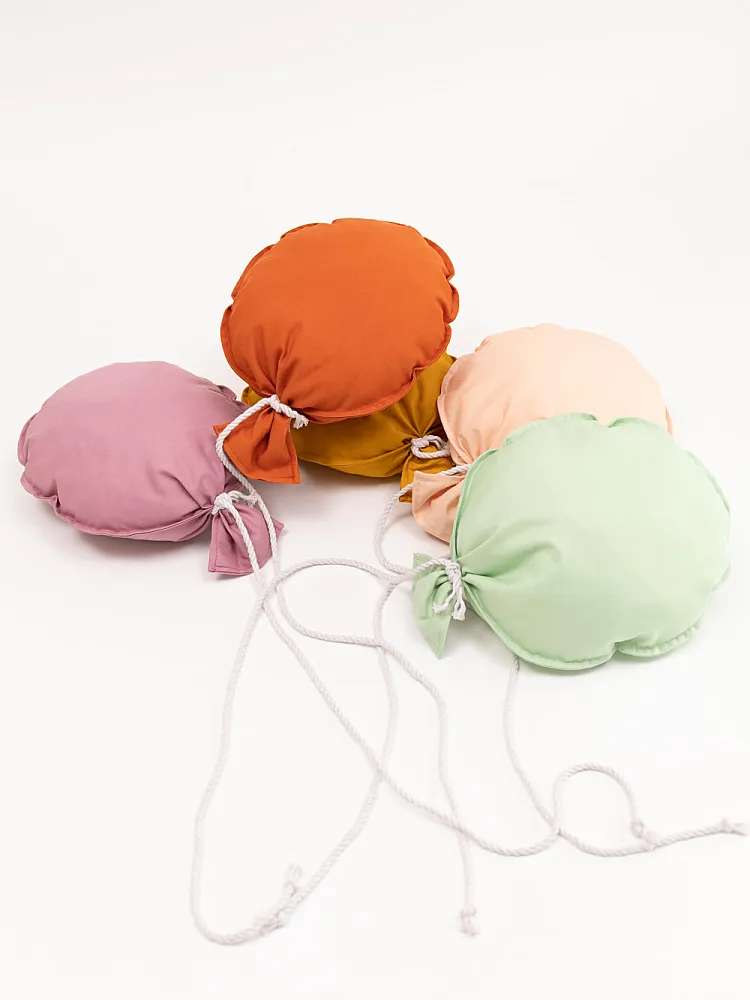
The first time I stumbled upon these adorable fabric balloons on Etsy and Pinterest, I was immediately smitten! The idea of decorating a child's room with cheerful, colorful balloons is simply brilliant. They instantly bring joy and a touch of magic to the space – not just on birthdays, but all year round.
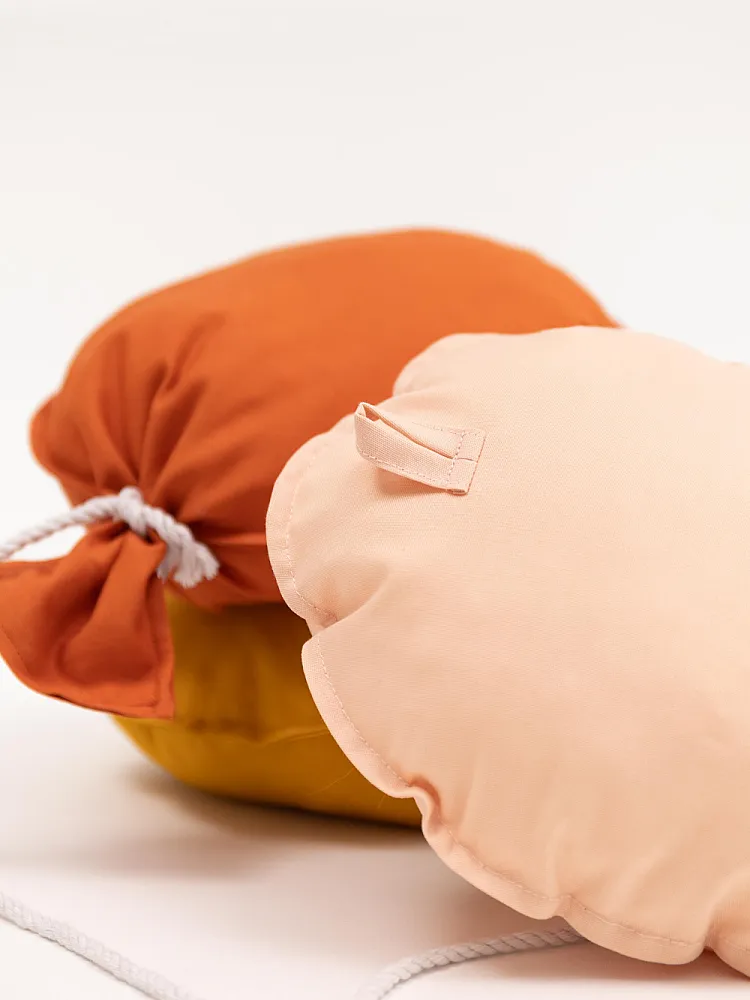
Sewing these balloons is a lot of fun, and I've designed the instructions to be easy enough for beginners to follow. With a bias tape, you can quickly create a hanger that perfectly showcases the balloon. After that, the balloon is turned, topstitched, and filled – super easy with a fantastic result.
For my fabric balloons, I used a beautiful cotton fabric that is easy to work with and gives the balloon the right shape. If you're up for trying something new, you can also use stretchable fabrics, but I wouldn't necessarily recommend this for beginners – it can get tricky quickly.
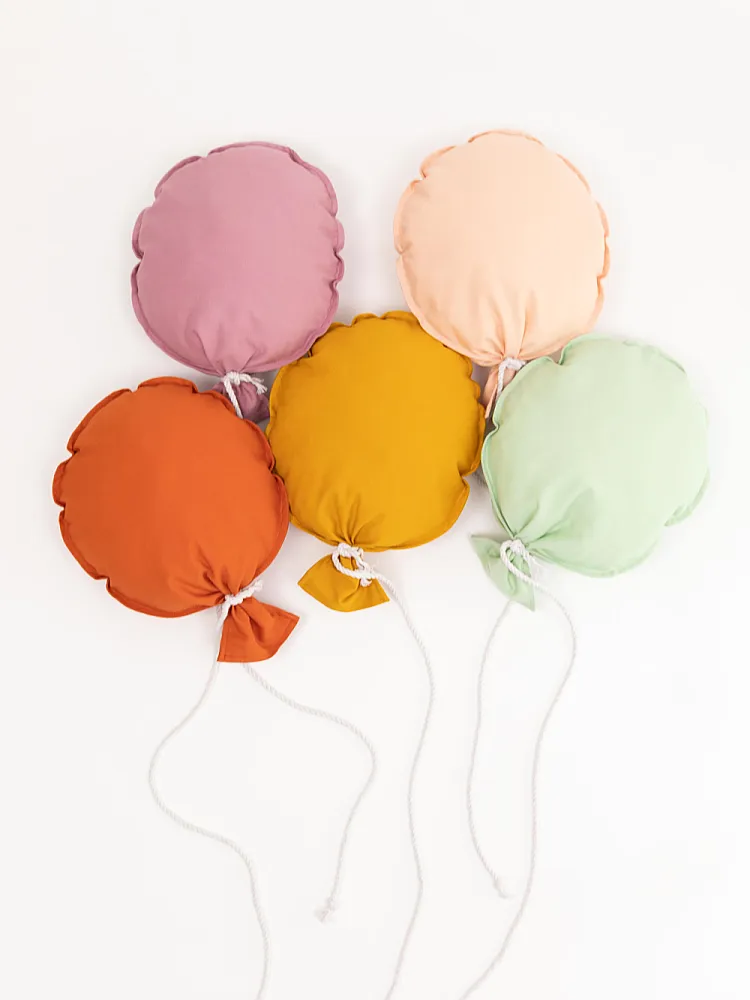
What I particularly love about these balloons is the many ways to customize them. You can personalize them with appliqués or embroidery, or use plotter film to print a phrase like "Happy Birthday." There are no limits to your creativity here!
I've even decided to sew a whole bunch of these balloons for the kids' room – they just bring so much joy and color to the space. Whether you use them as party decorations or as a permanent highlight in the nursery, these fabric balloons are real eye-catchers that are sure to bring smiles.
- Colorful Fabric Balloon: Perfect for nurseries and birthday parties
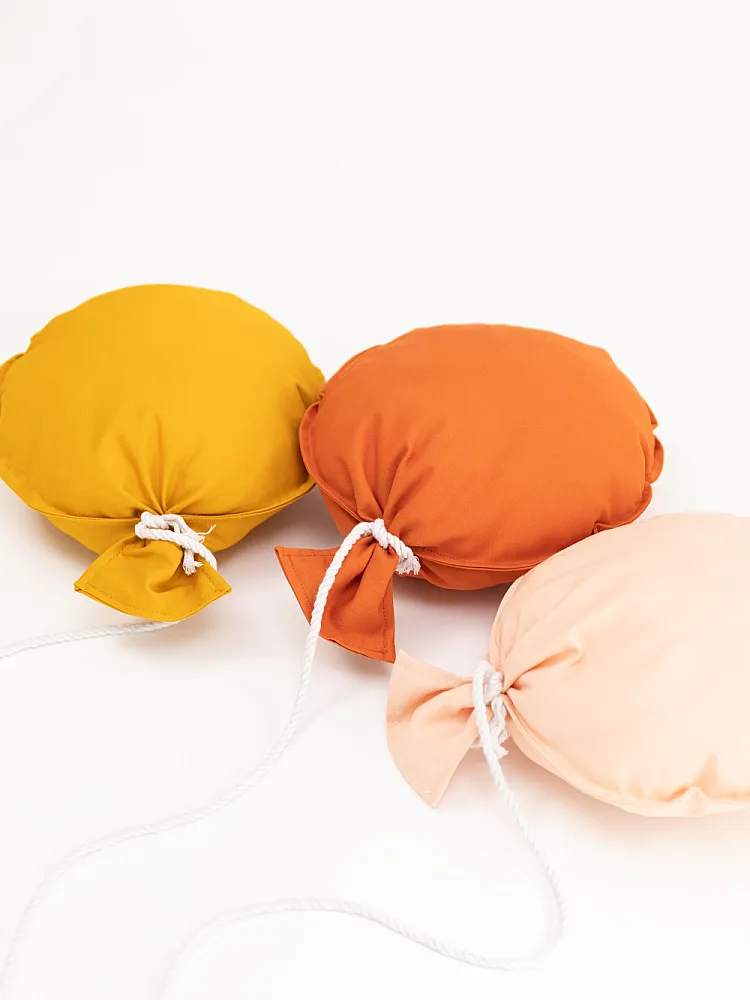
- Easy to Sew: Great for sewing beginners
- Customizable: With appliqués, embroidery, or plotter film
- Materials: Cotton fabric is particularly well-suited
- Versatile Use: Brings color and joy to any room
Size: The balloon measures about 22 x 30 cm and can be easily hung up thanks to a practical loop on the back.
Pattern - No 012
Ballon out of fabric
What's Included
-
– Pattern in A3 and A4 format
BallonSchnittmuster (PDF) - DIN A4, DIN A3, US-Letter3 Files
- – Detailed instructions with 9 illustrated steps
- – Complete materials and tools list
-
– 6 basics guides with tips and tricks
- - Why and How to Finish Fabric Edges
- - Which Interfacing or Non-woven Interlining is Best for Cushions?
- - Pen, Chalk, or Marker? How to Mark Fabric Properly
- - How to Make Your Own Bias Tape
- - Why and How to Clip Corners and Curves
- - How to Shape Corners and Curves Properly
- – Multilingual support (DE/EN)
- – Everything in One Place
Reviews

Loading reviews...
(5/5)
Eine sehr gute und strukturierte Anleitung. Man kommt rasch zu einem perfekten Ergebnis! Das Schnittmuster ist genau das, was ich suchte!
(5/5)
me quedo muy bien! lo que necesitaba
(5/5)
Immagini di alta qualità, PDF subito arrivato via mail, istruzioni chiare proprio quello che cercavo per creare palloncini in stoffa. Grazie
(3/5)
Ist ok, kann man kaufen
(5/5)
Ein tolles Schnittmuster. Einfach zu nähen. Es war eine Freude. Herzlichen Dank!
Related Products
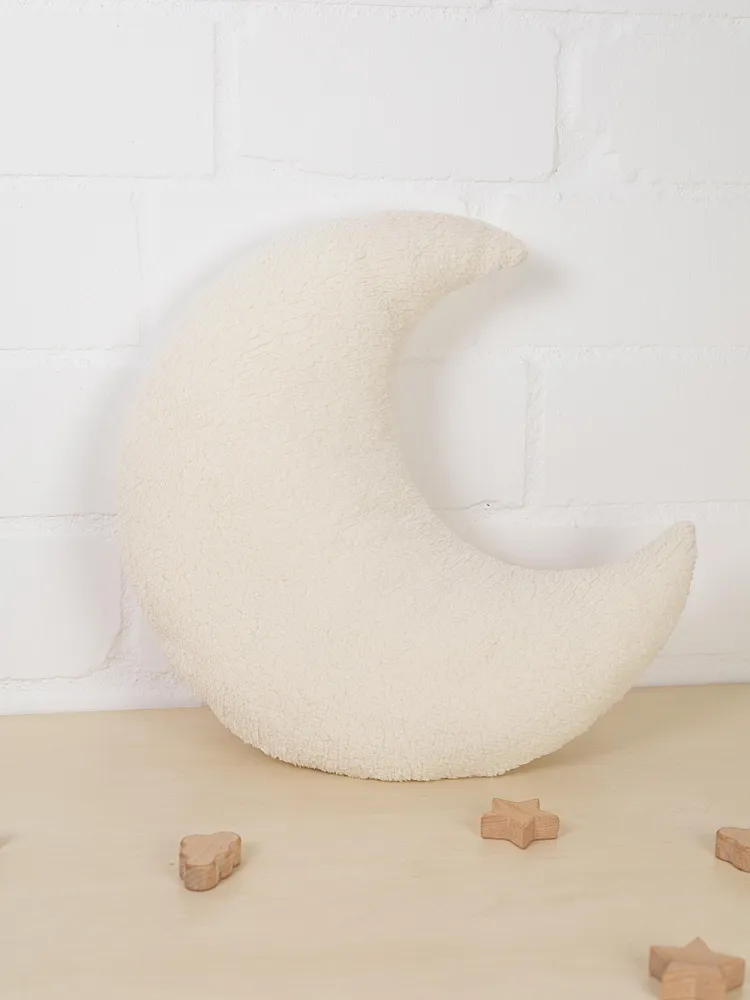
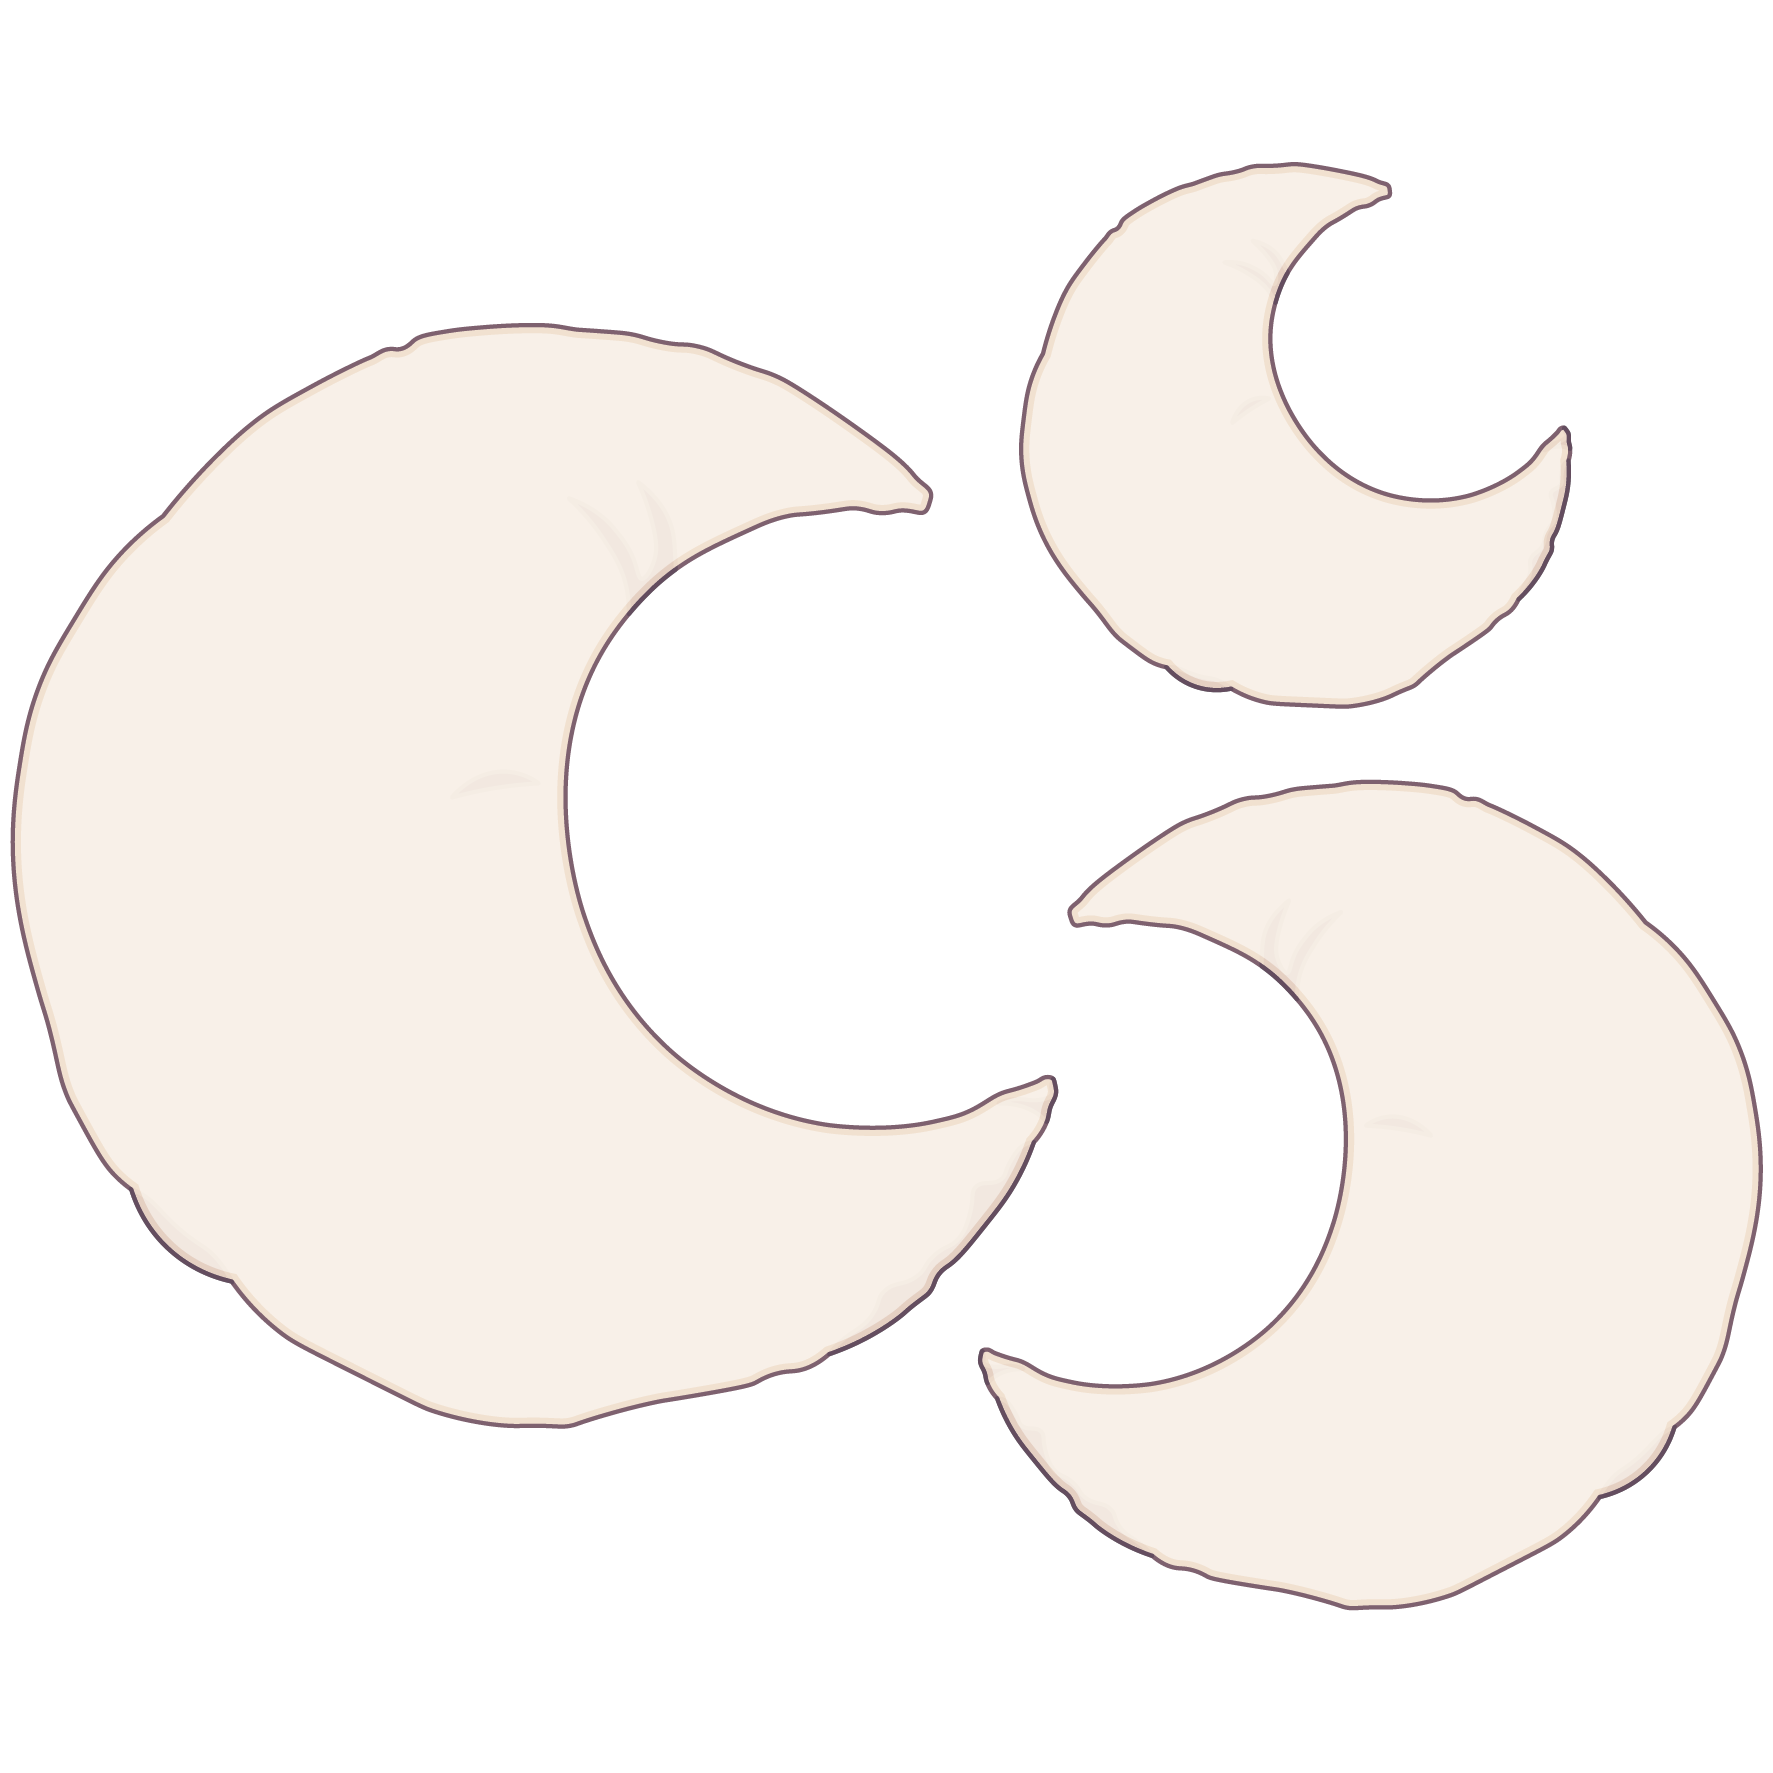
Moon Pillow
(8)
3,36 €
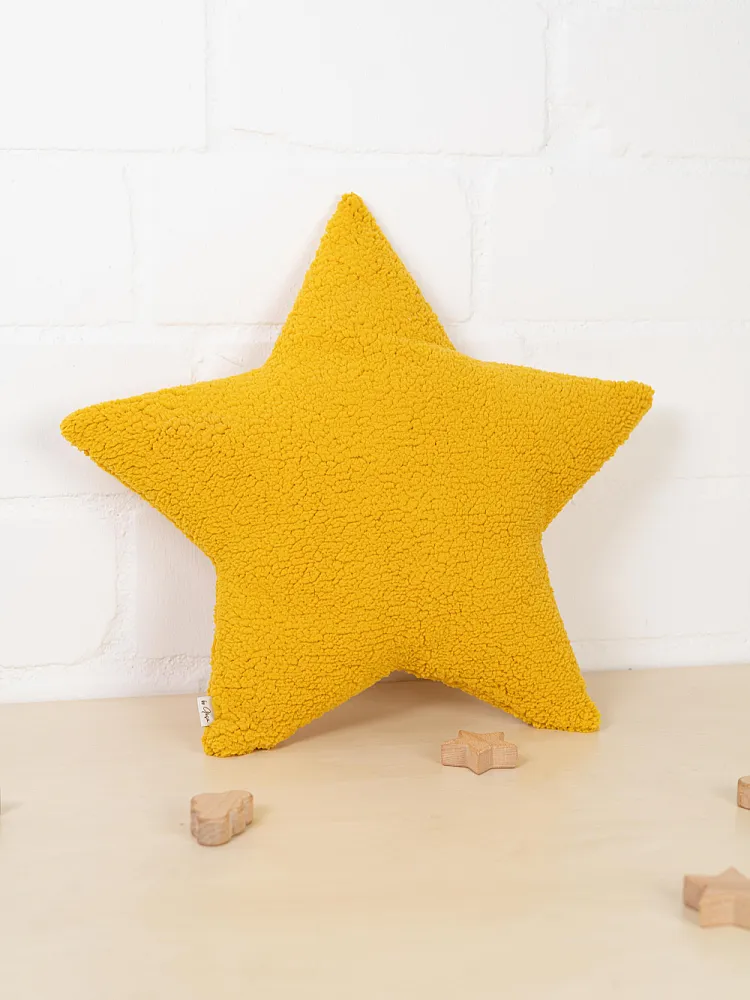
Star Pillow
(7)
3,36 €
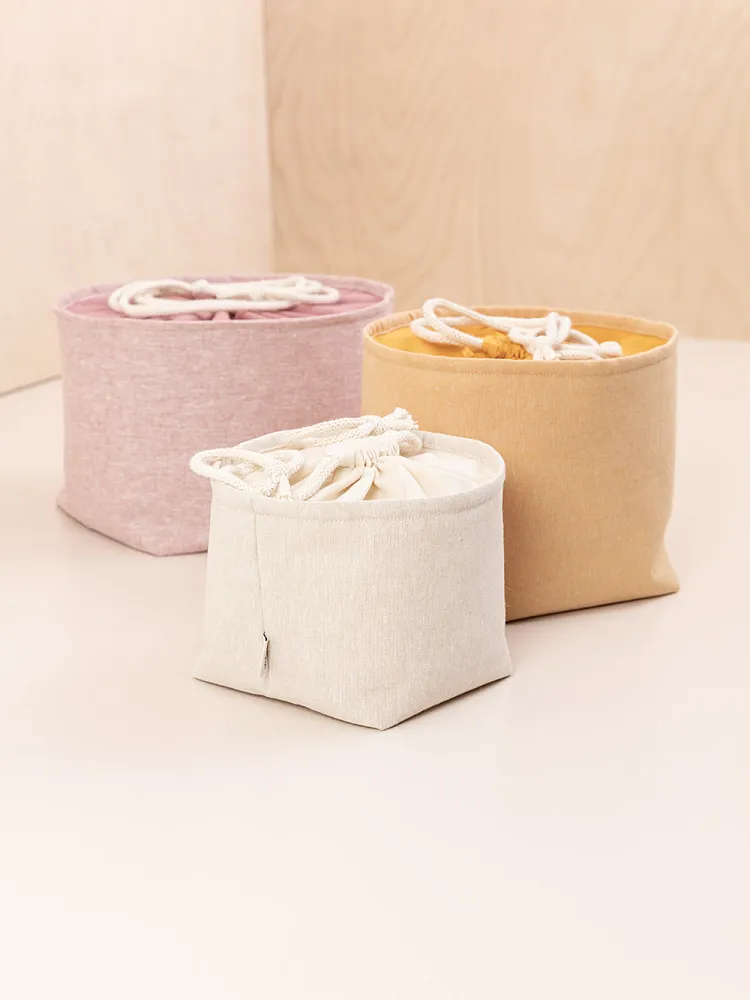
Storage Basket with Drawstring Closure
(4)
5,85 €
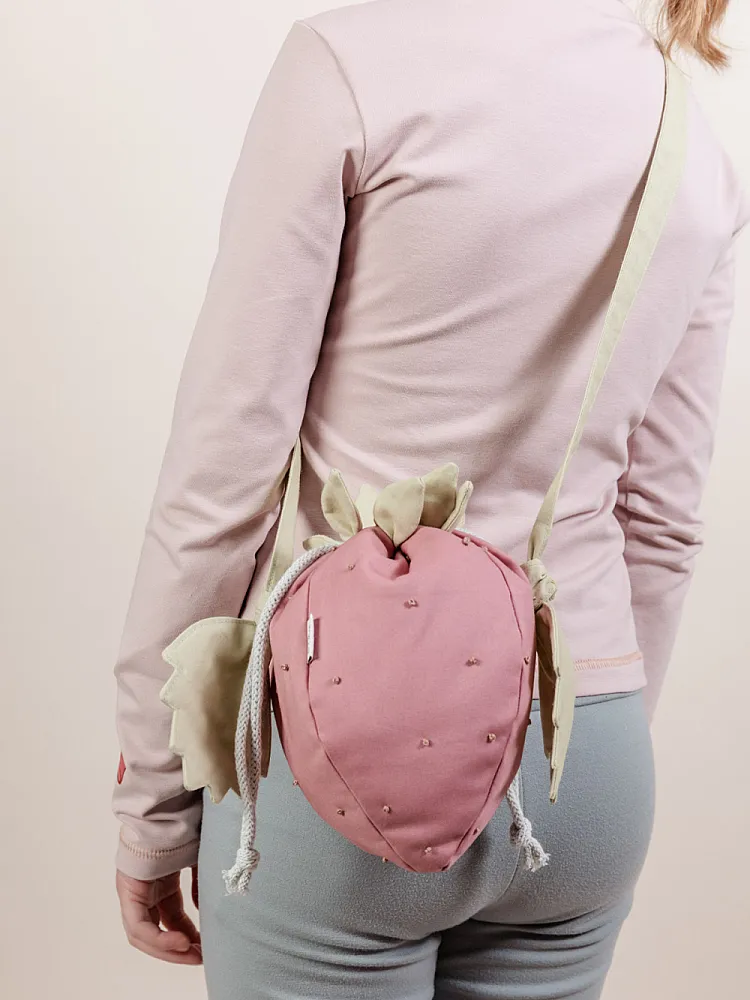
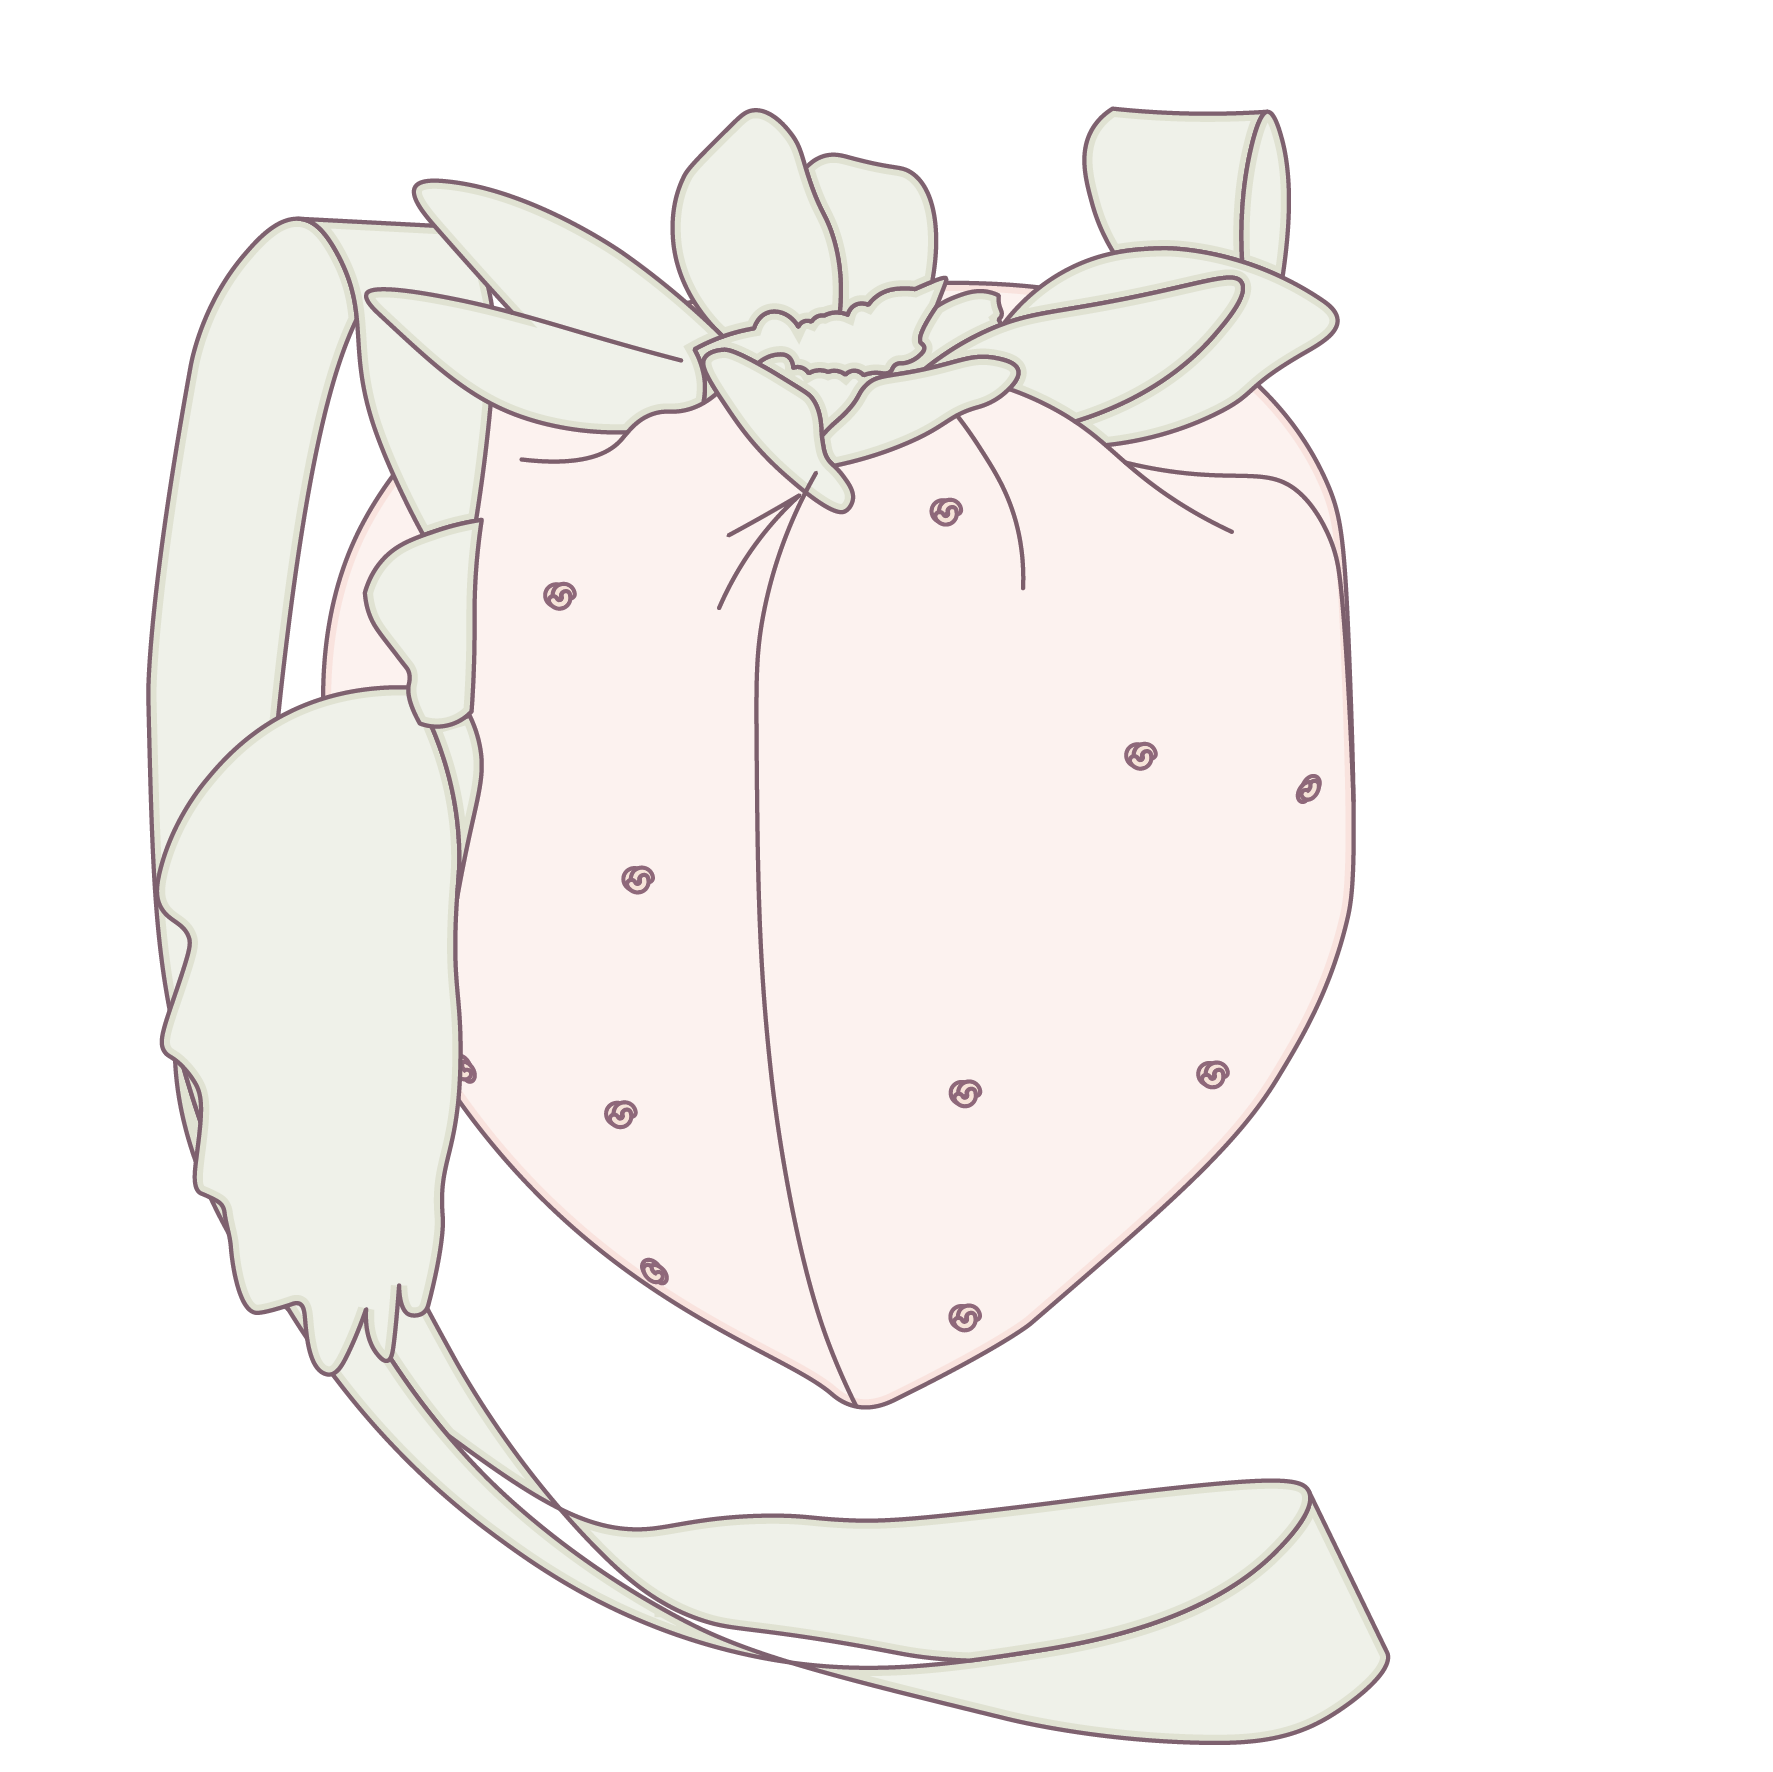
Strawberry Bag
(8)
6,95 €