Pattern with application template - No 021


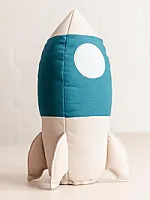
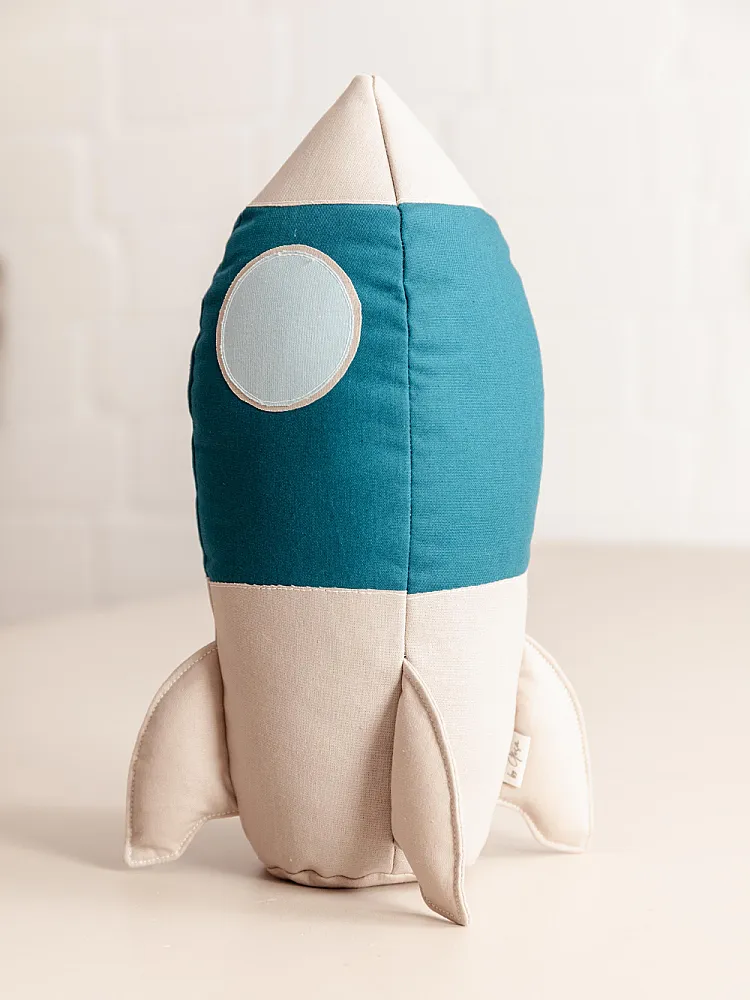
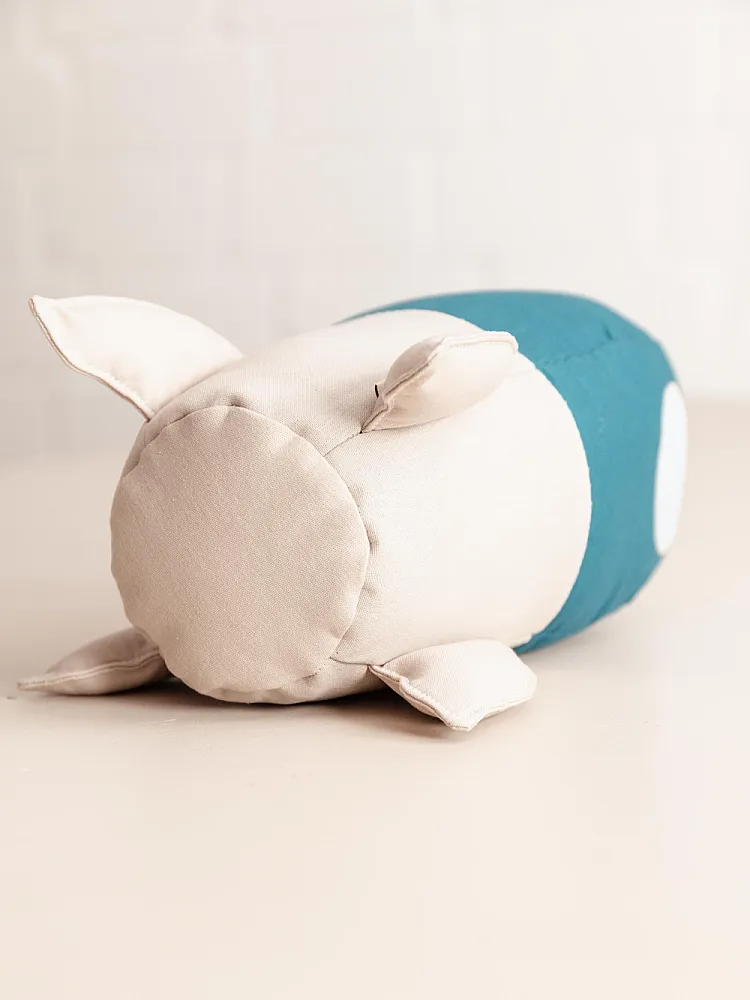
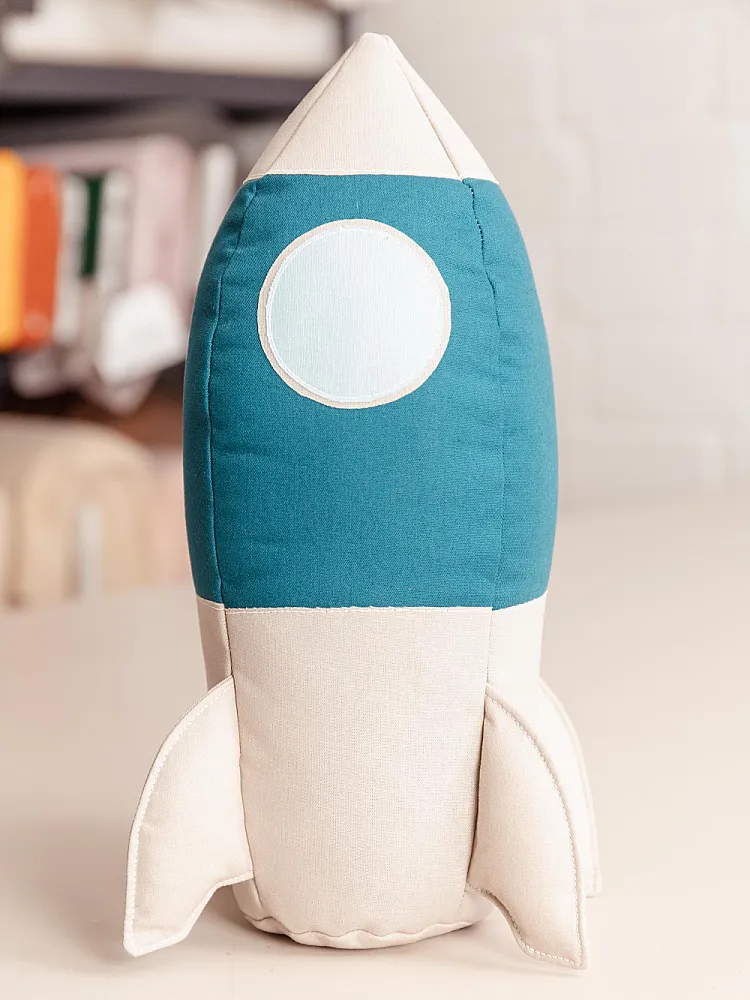
Fabric Rocket

What's Included
-
– Pattern with application template in A4, A3 and US-Letter format
 RocketSchnittmuster (PDF) - DIN A4, DIN A3, US-Letter3 Files
AppliquéApplikationsvorlage (PDF) - DIN A4, US-Letter2 Files
RocketSchnittmuster (PDF) - DIN A4, DIN A3, US-Letter3 Files
AppliquéApplikationsvorlage (PDF) - DIN A4, US-Letter2 Files - – Detailed instructions with 10 illustrated steps
- – Complete materials and tools list
-
– 11 basics guides with tips and tricks
- • Why and How to Finish Fabric Edges
- • Which Interfacing or Non-woven Interlining is Best for Cushions?
- • Pen, Chalk, or Marker? How to Mark Fabric Properly
- • How to Transfer an Appliqué Template onto Fabric
- • When Should I Use Bondaweb or Stabilizer for Appliqué?
- • How to Properly Secure Appliqué Pieces
- • How to Sew an Appliqué Properly
- • Which Stitches and Settings Are Ideal for Appliqué?
- • Why and How to Clip Corners and Curves
- • How to Shape Corners and Curves Properly
- • How to Sew a Ladder Stitch
- – Multilingual support (DE/EN)
- – Everything in One Place
Required Materials
-

Fabric A: 50 x 35 cm
For the outer fabric of the rocket. Suitable fabrics include soft, skin-friendly materials such as cotton, plush, or other decorative fabrics. Choose a fabric with a pleasant texture that matches your desired style.
-

Fabric C: 8 x 14 cm
For the rocket windows. A contrasting fabric creates a nice effect.
-

Fabric B: 80 x 28 cm
For the underside and landing feet of the rocket. The fabric should be stable to ensure good support.
-
Interfacing or Non-woven Interlining (optional): 70 x 49 cm
Useful if the fabric needs additional stability, is slightly transparent, or if the stuffing might show through.
Note: I used fusible batting, but it was slightly too firm for easy handling. A thinner interfacing would have worked just as well.
-
Vliesofix/Bondaweb (optional): 90 x 14 cm
For securing the appliqué pieces.
-
Stuffing: As needed
To fill the rocket and help it maintain its shape. Alternatively, fabric scraps or other soft materials can be used.
-
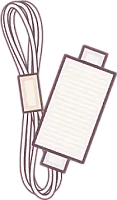
Embroidery Thread: Embroidery thread, size 40
For decorative stitching.
-

Sewing Thread: Universal sewing thread, thickness 120 Suitable for the recommended needle size NM 70–80.
Required Tools
-
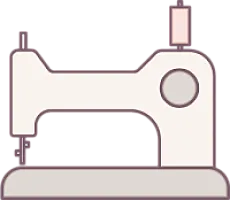
Sewing Machine
-

Scissors - A large fabric scissors for cutting and a small thread snip for precise work.
-

Pins or Fabric Clips
-

Measuring Tool
-

Iron – For securing interfacing and appliqués.
-

Chalk or Marker – For transferring markings onto the fabric and drawing the appliqué template.
-

Needle – For closing the turning opening.
-

Blunt Tool: For shaping curves and corners, such as a corner shaper, chopstick, or crochet hook.
Description
The idea to sew a rocket came to me spontaneously after a visit to IKEA. In the children's section, I saw many cute decorative items, but unfortunately, they often looked cheap and were not sustainably made. This inspired me to sew a rocket myself – something unique that would also last a long time. Initially, I wanted to sew a UFO, but the idea of the rocket just stuck with me.
After several attempts, I realized that it wasn’t as easy as I had imagined. The first designs were too complicated, and I wanted to create a project that anyone could replicate. So, I opted for a minimalist design that still includes all the essential details. The result is a simple, yet creative rocket that you can customize as you like.
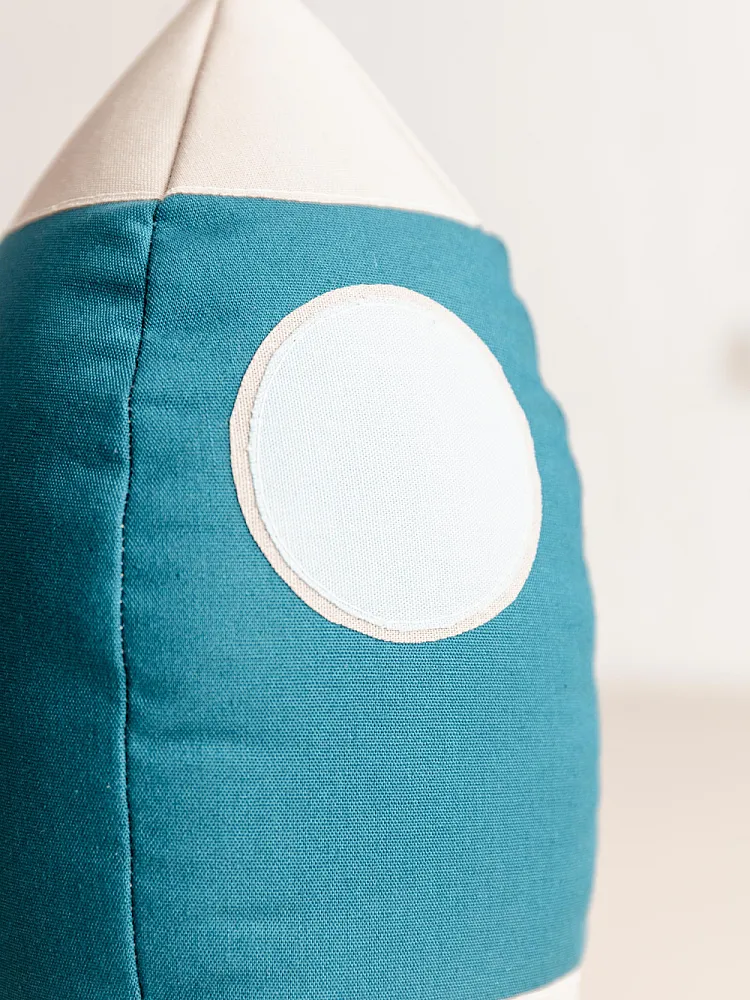
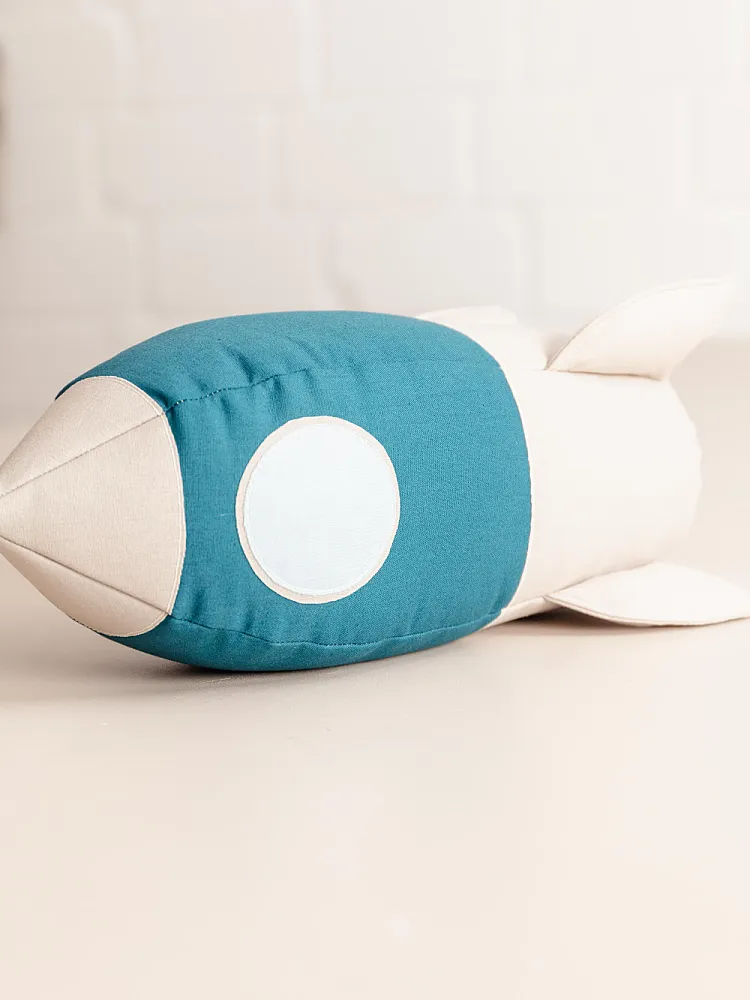
You can beautifully implement the details of the rocket with appliques. Unleash your creativity by using embroidered patches, glow-in-the-dark thread, or even luminescent paint. Thanks to its sturdy construction, the rocket can stand on its own – this was particularly important to me as it can be used not only for playing but also as a decorative pillow.
Sewing the rocket can be a bit tricky in some places, so it’s better suited for sewers with some experience. If you're not very familiar with appliques, I offer a separate tutorial that shows all the basics. This makes the rocket a great project for those who are looking for a challenge and want to let their creativity run wild.
- For experienced sewers: Precision is required, especially with the appliques.
- Minimalist design: Simple yet versatile.
- Multiple uses: Perfect for playing or as a decorative pillow.
- Creative customization: Personalize the rocket to your taste.
Size: 30 x 18 cm
Pattern with application template - No 021
Fabric Rocket
What's Included
-
– Pattern with application template in A4, A3 and US-Letter format
RocketSchnittmuster (PDF) - DIN A4, DIN A3, US-Letter3 Files
AppliquéApplikationsvorlage (PDF) - DIN A4, US-Letter2 Files
- – Detailed instructions with 10 illustrated steps
- – Complete materials and tools list
-
– 11 basics guides with tips and tricks
- - Why and How to Finish Fabric Edges
- - Which Interfacing or Non-woven Interlining is Best for Cushions?
- - Pen, Chalk, or Marker? How to Mark Fabric Properly
- - How to Transfer an Appliqué Template onto Fabric
- - When Should I Use Bondaweb or Stabilizer for Appliqué?
- - How to Properly Secure Appliqué Pieces
- - How to Sew an Appliqué Properly
- - Which Stitches and Settings Are Ideal for Appliqué?
- - Why and How to Clip Corners and Curves
- - How to Shape Corners and Curves Properly
- - How to Sew a Ladder Stitch
- – Multilingual support (DE/EN)
- – Everything in One Place
Reviews

Loading reviews...
(5/5)
Loved this pattern. I had a few technical questions and Gesa was super responsive and helpful. My son loved his toy.
(5/5)
Great pattern for a cute rocket. My 7 year old daughter and I (a total novice!) made this.
(4/5)
I want to start off by saying I appreciate this pattern being translated into English! The pattern was a bit difficult to follow and I consider myself to be an intermediate beginner. There are 7 steps in the instructions but in my opinion they could be a lot more thorough. I found myself guessing and winging some of the steps. I reached out to the seller for help and she respond twice with reassurance and some clarification, but by the 3rd time she nicely said “follow the pdf and you’ll get it” 😅. I definitely needed guidance because I just couldn’t understand some of the steps. My son loves the rocket and doesn’t see any imperfections so I guess that’s all that matters 💙
Related Products
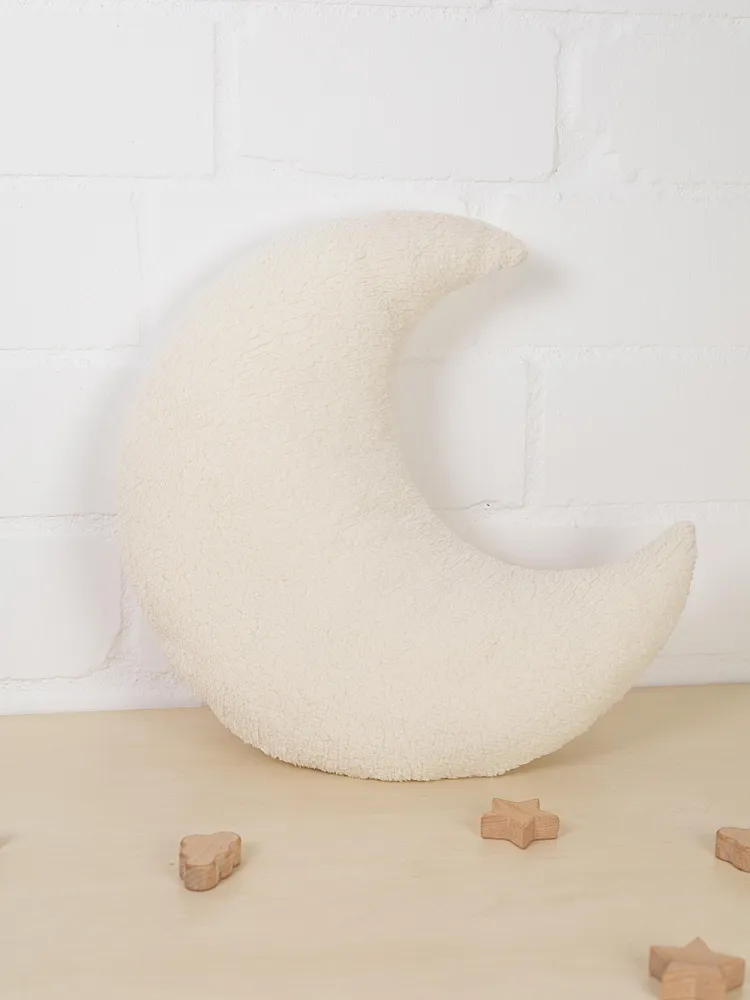
Moon Pillow
(8)
3,36 €
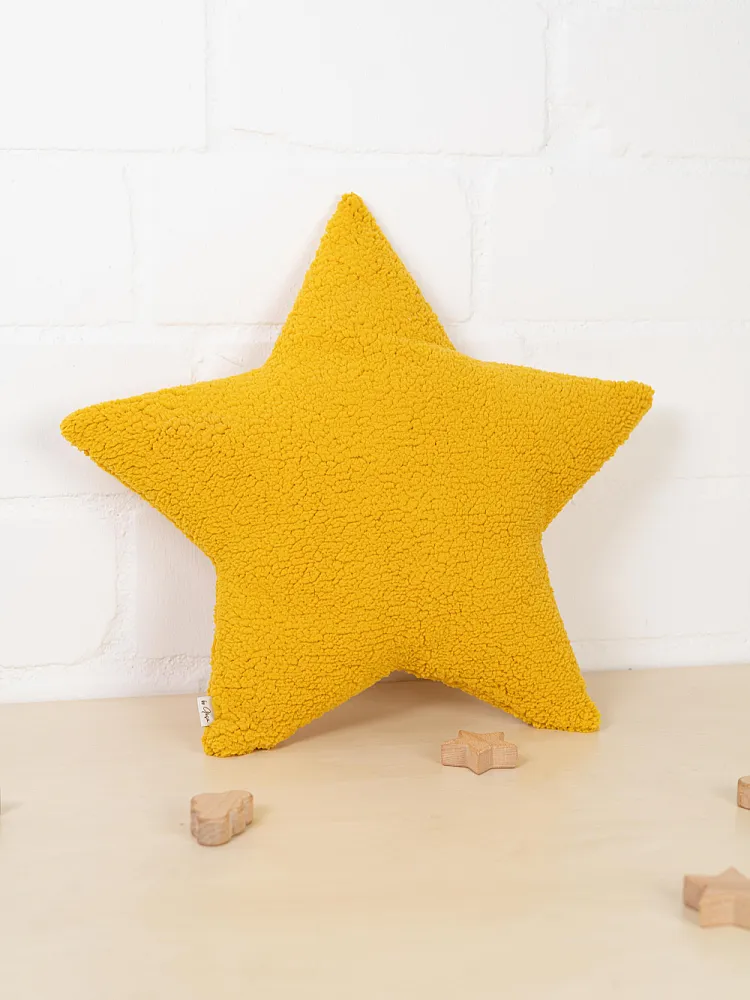

Star Pillow
(7)
3,36 €
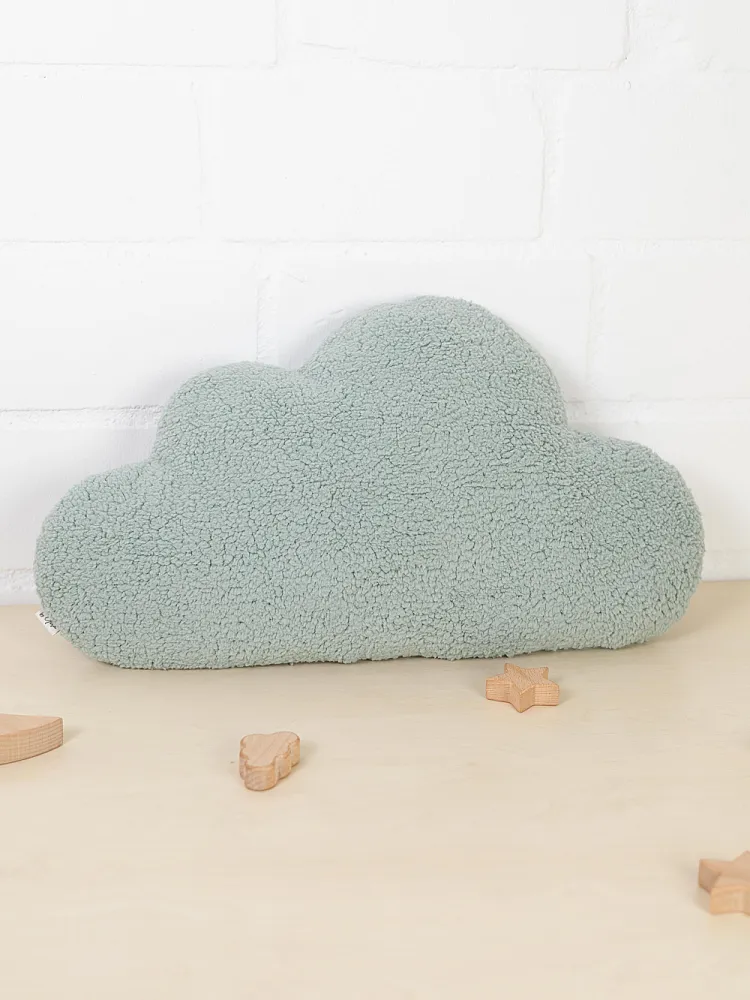
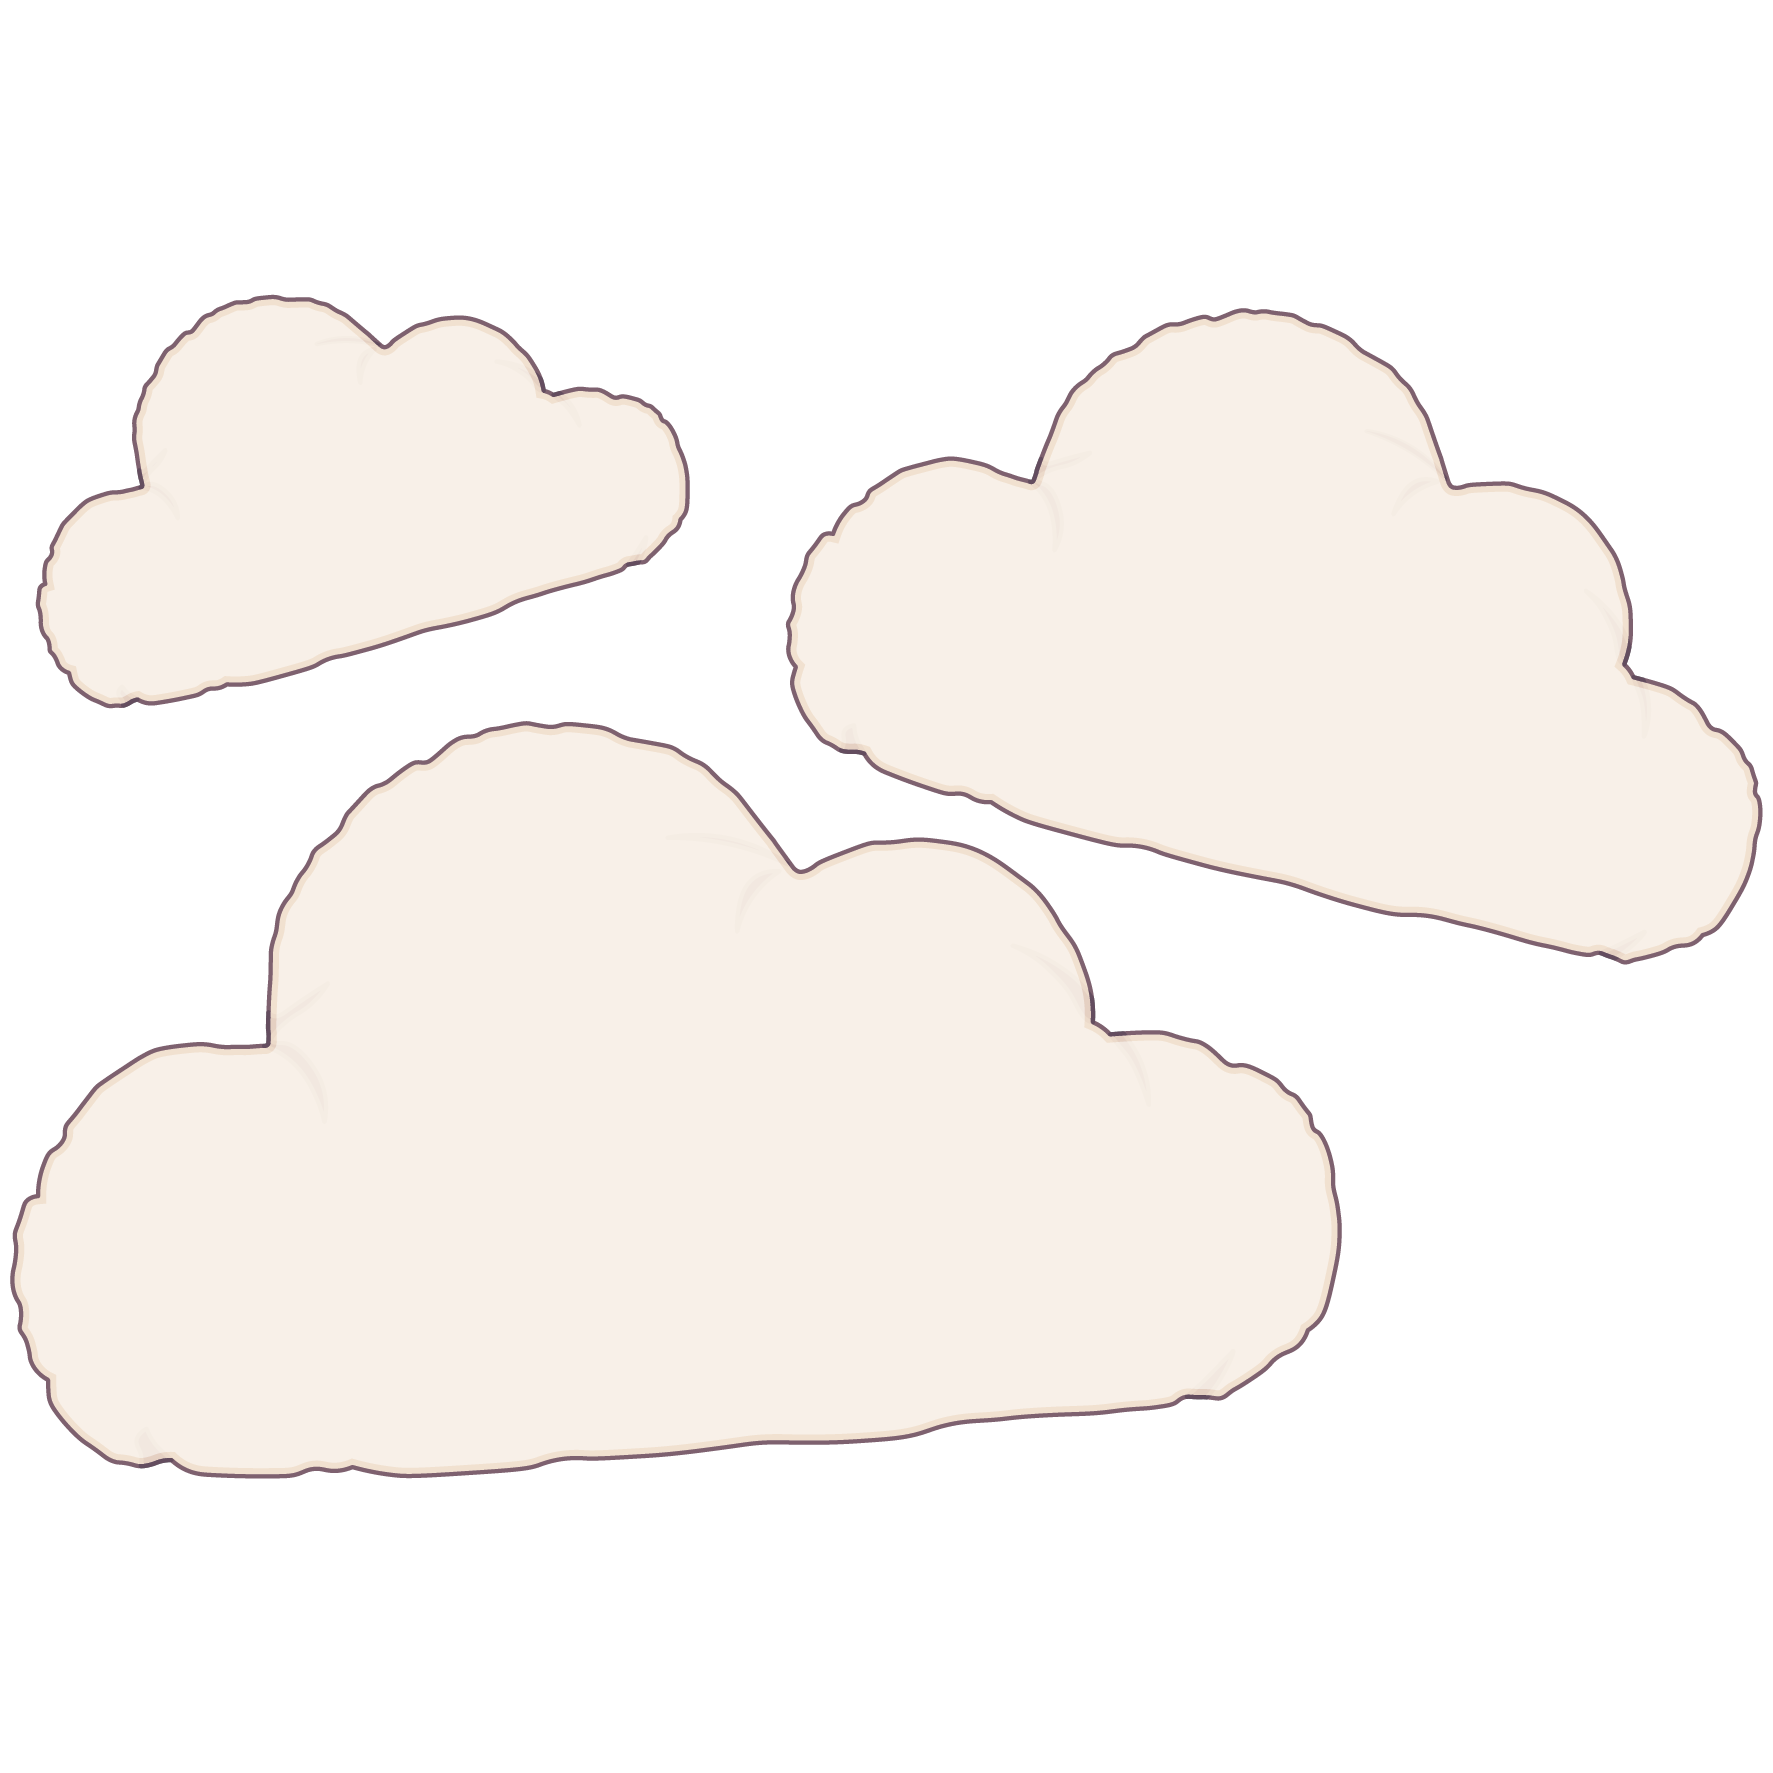
Cloud Pillow
(2)
3,36 €

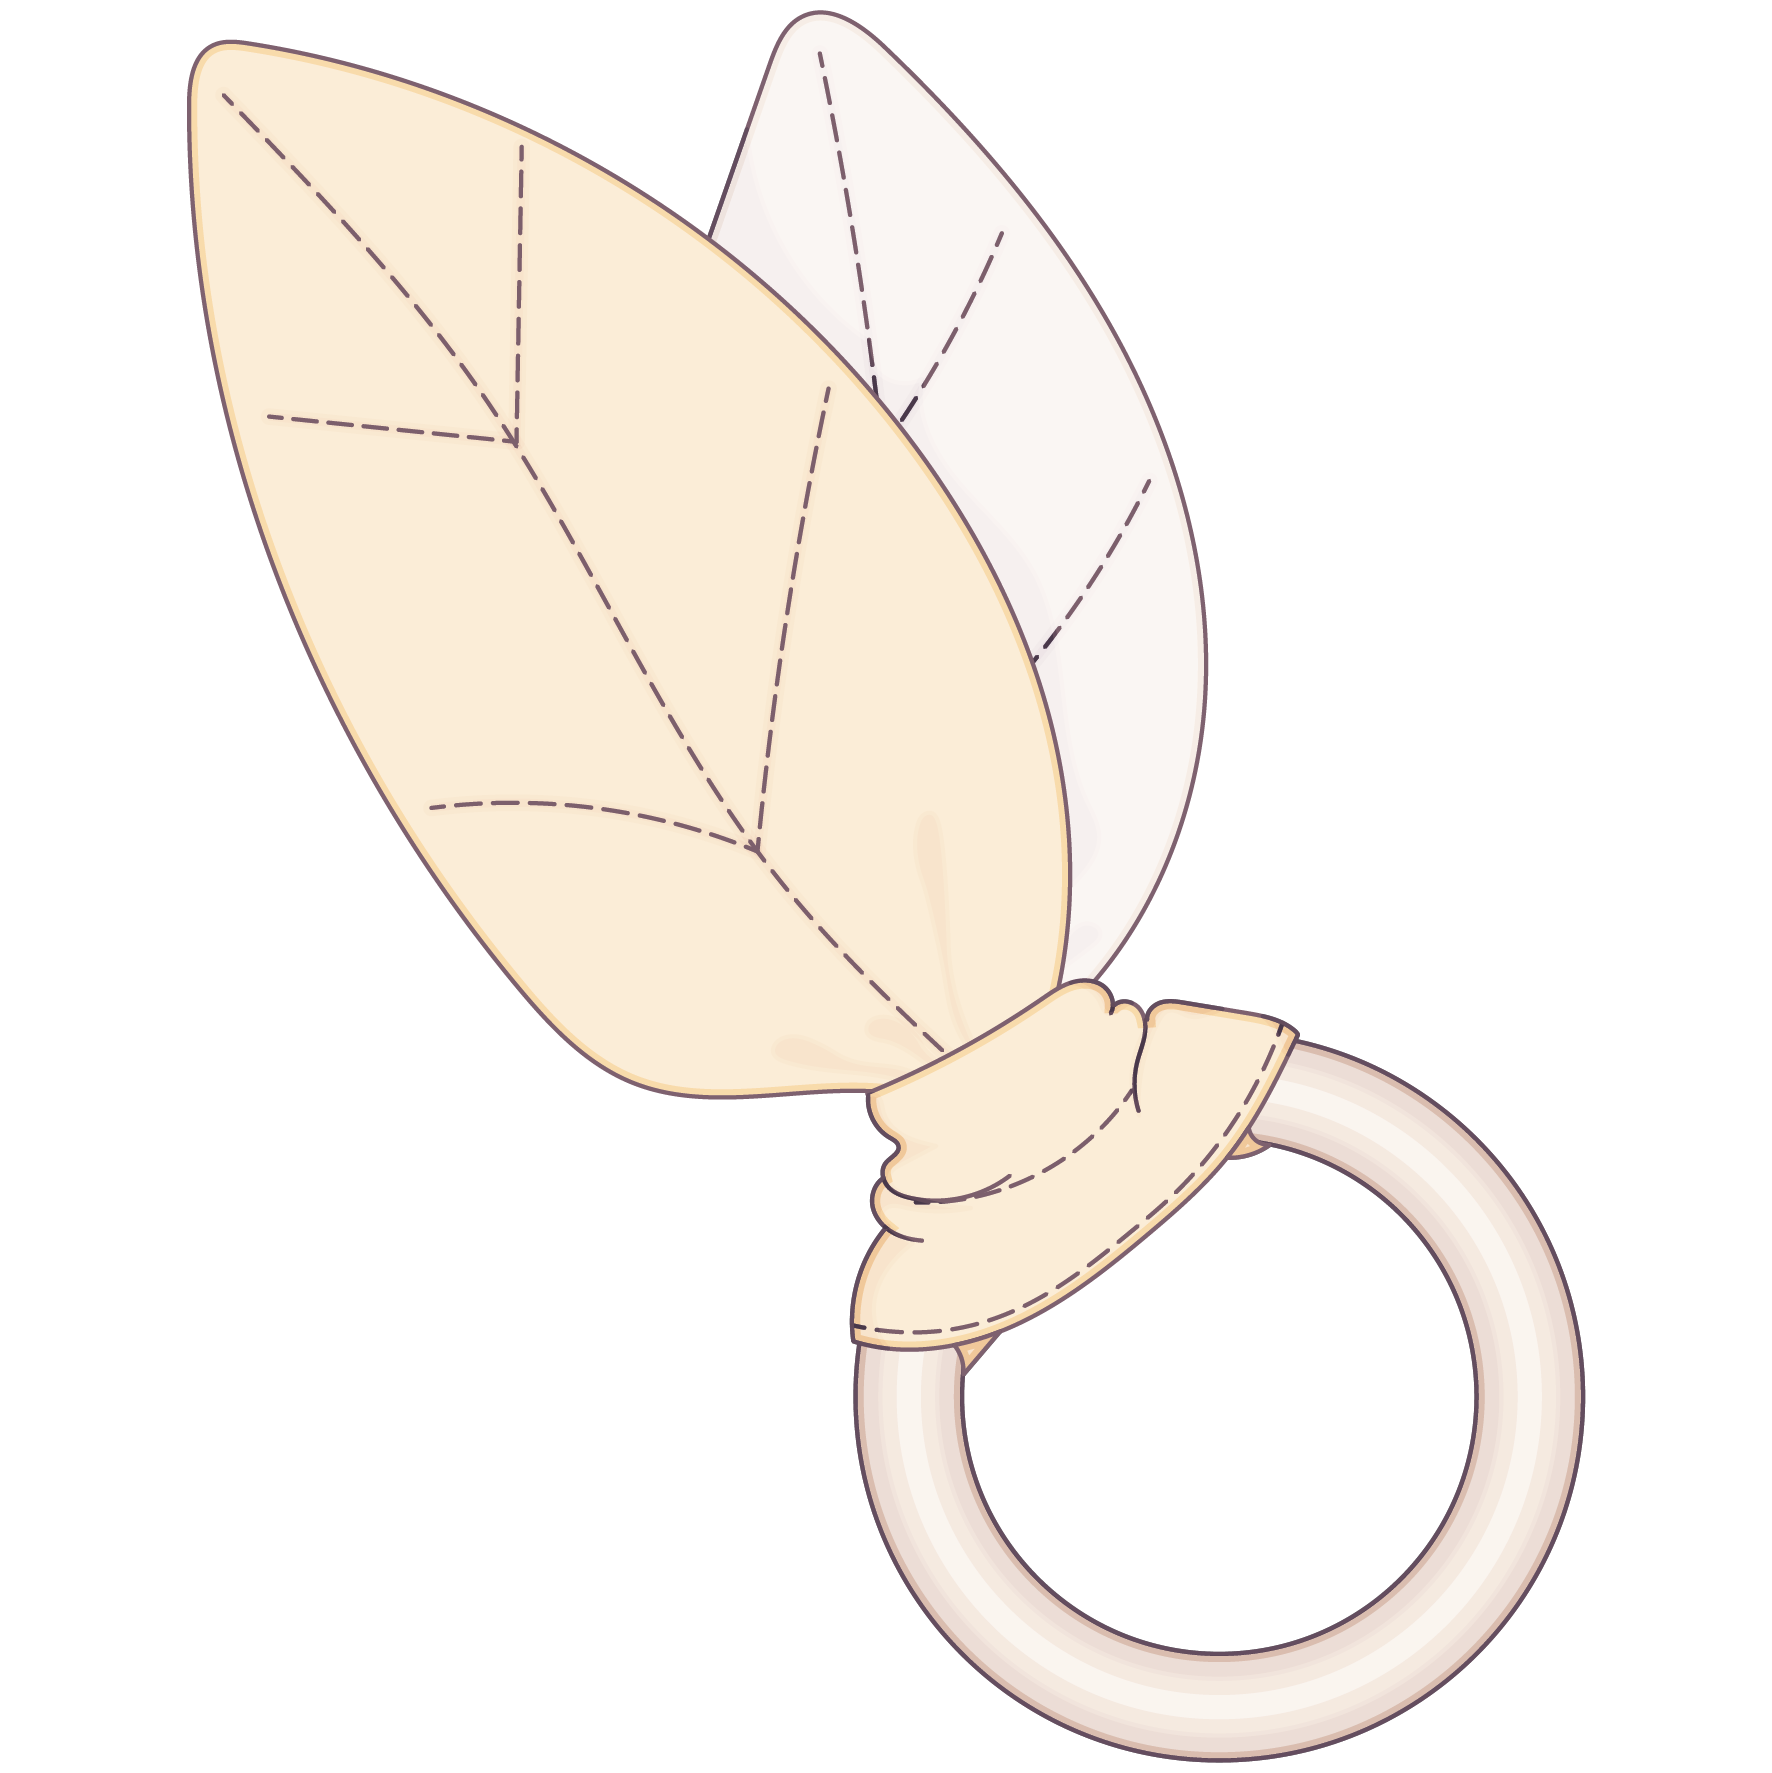
Teething Ring with Leaf and Crinkle Plastic
2,95 €