Pattern - No 030


Orange Bag

What's Included
-
– Pattern in A3 and A4 format
 BagSchnittmuster (PDF) - DIN A4, DIN A3, US-Letter3 Files
 - – Detailed instructions with 13 illustrated steps
- – Complete materials and tools list
-
– 8 basics guides with tips and tricks
- • Why and How to Finish Fabric Edges
- • Which Interfacing or Non-woven Interlining is Best for Bags?
- • Pen, Chalk, or Marker? How to Mark Fabric Properly
- • How to Embroider a French Knot
- • How to Sew a Ladder Stitch
- • How to Use a Turning Tool Properly
- • Why and How to Clip Corners and Curves
- • How to Shape Corners and Curves Properly
- – Multilingual support (DE/EN)
- – Everything in One Place
Required Materials
-
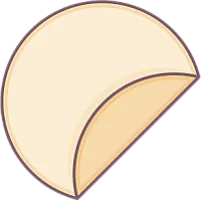
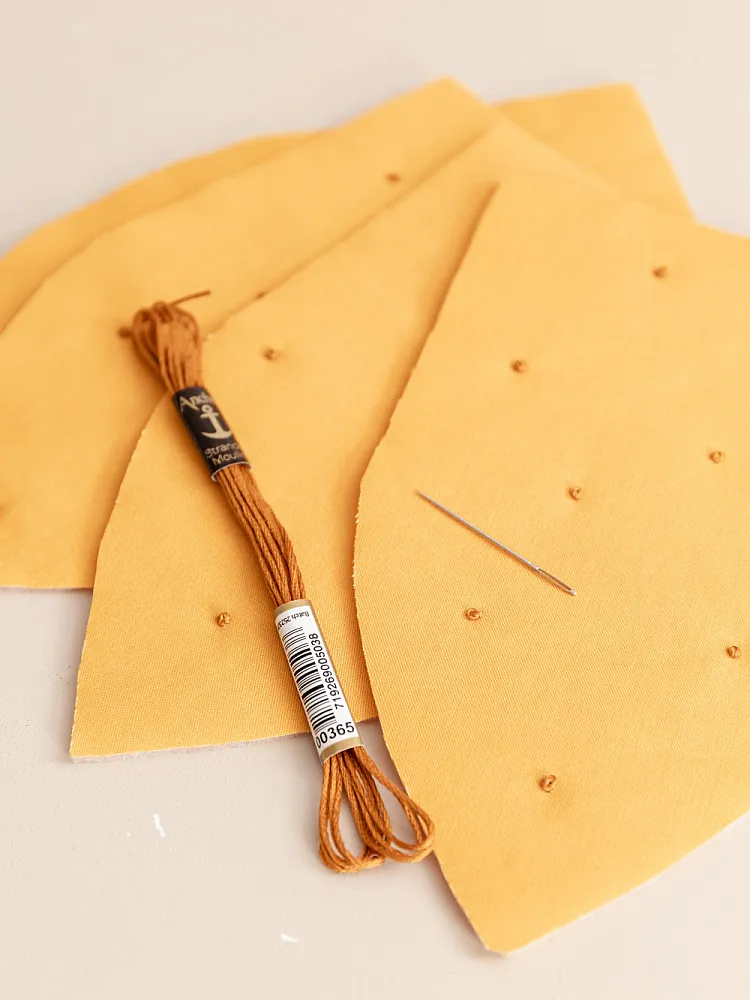
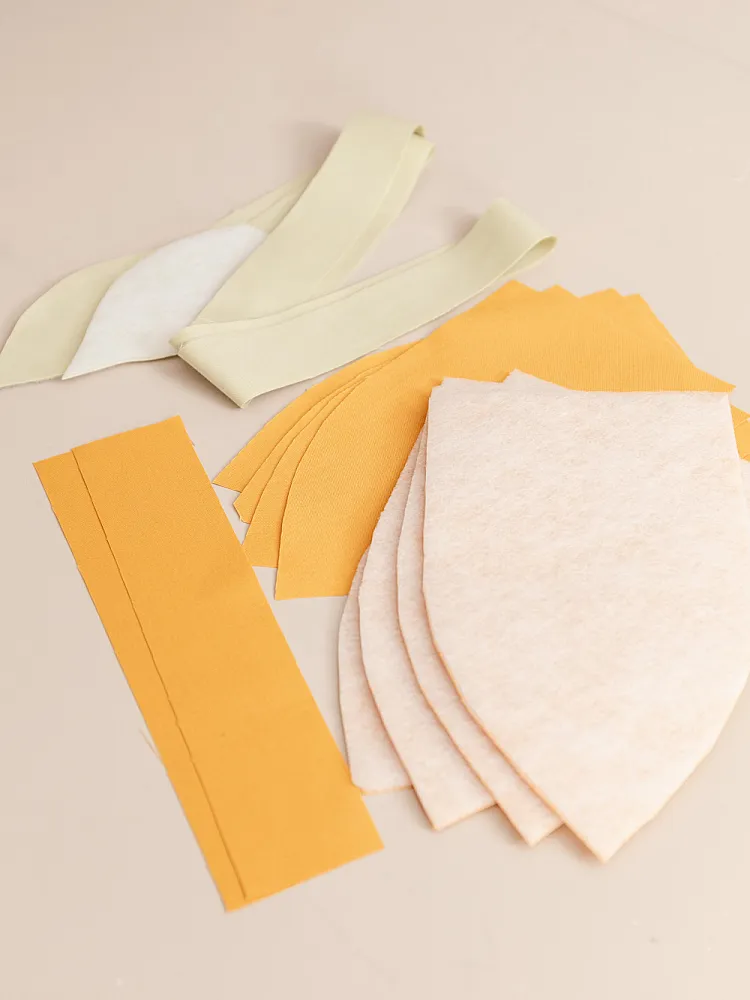
Fabric A: 100 x 28 cm
I used a non-stretchy cotton fabric with a dense weave and a soft, matte surface. For this example, I used Robert Kaufman Kona Cotton as it's easy to work with and holds its shape well.
-
-thumb.webp)
Fabric B: 130 x 15 cm
-
Interfacing (optional): 50 x 28 cm
The interfacing is suitable for stabilizing the bag and the leaves at the end of the strap. It's optional and can be used depending on your fabric choice.
-
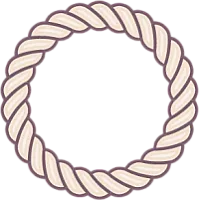
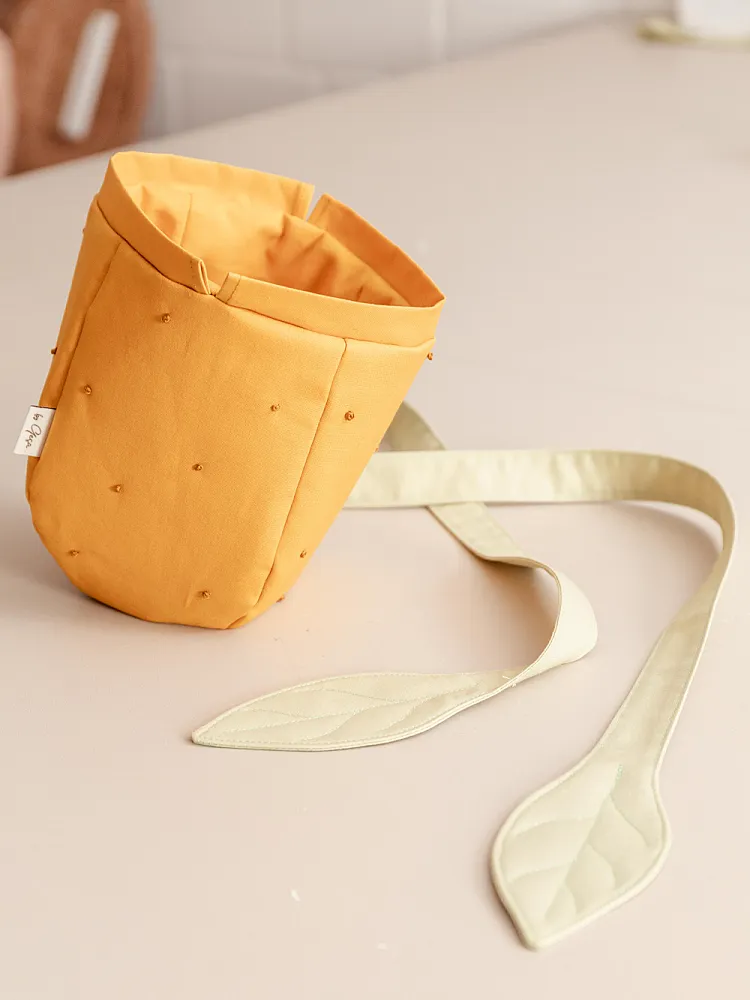
Cord: 5 mm x 1 m
For the drawstring closure of the bag.
-
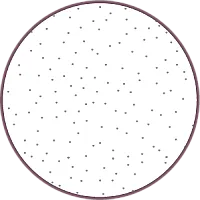
Embroidery thread: for the dots
Depending on your preference, you can use thin wool or embroidery thread.
-

Sewing Thread: Universal sewing thread, thickness 120 Suitable for the recommended needle size NM 70–80.
Required Tools
-
Sewing Machine
-

Scissors - A large fabric scissors for cutting and a small thread snip for precise work.
-

Pins or Fabric Clips
-

Measuring Tool
-

Iron – For securing interfacing and smoothing sewn parts, essential for a clean finish.
-

Chalk or Fabric Marker - For marking dots and seam lines, choose a removable marking tool such as tailor’s chalk or a fabric marker.
-

Needle: For embroidering and closing the turning opening.
-

Bodkin or safety pin - for easily threading the cord through the drawstring casing.
-

Blunt Tool: For shaping curves and corners, such as a corner shaper, chopstick, or crochet hook.
-

Turning Tool – For turning small parts – alternatively, you can use a straw and a stick.
Description
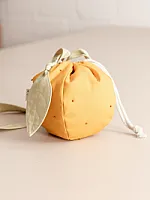
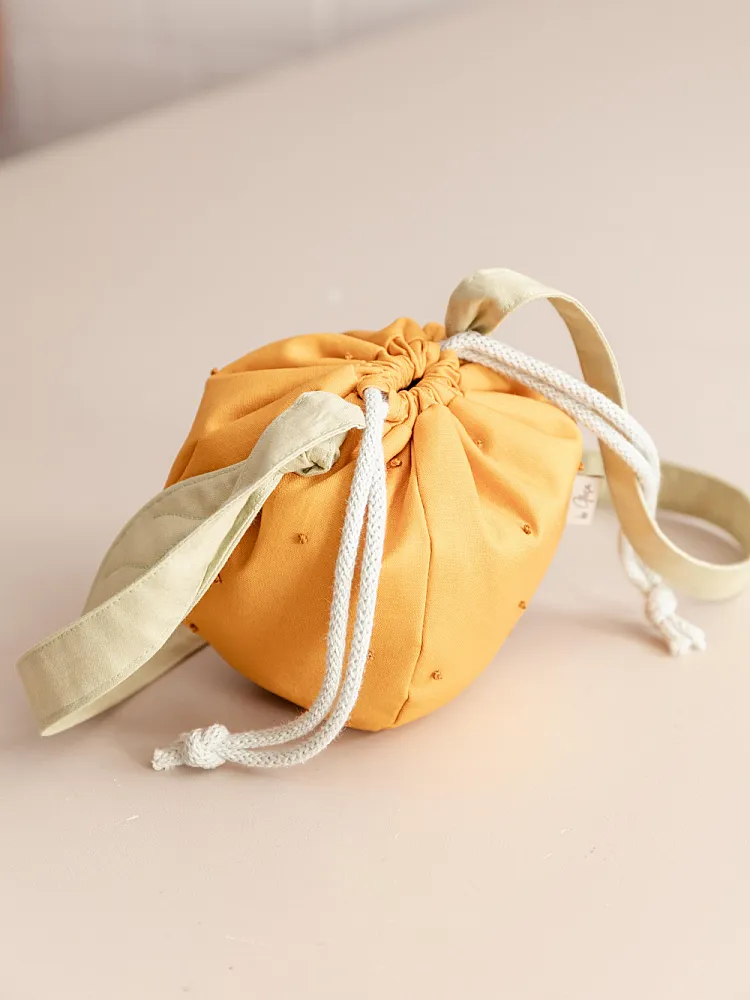
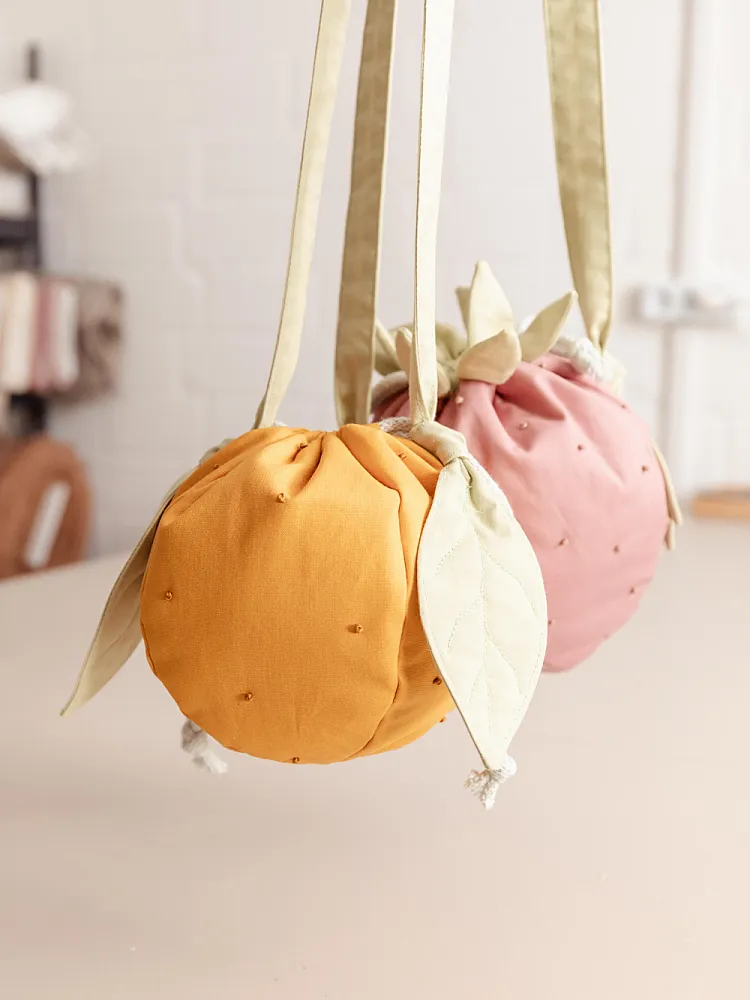
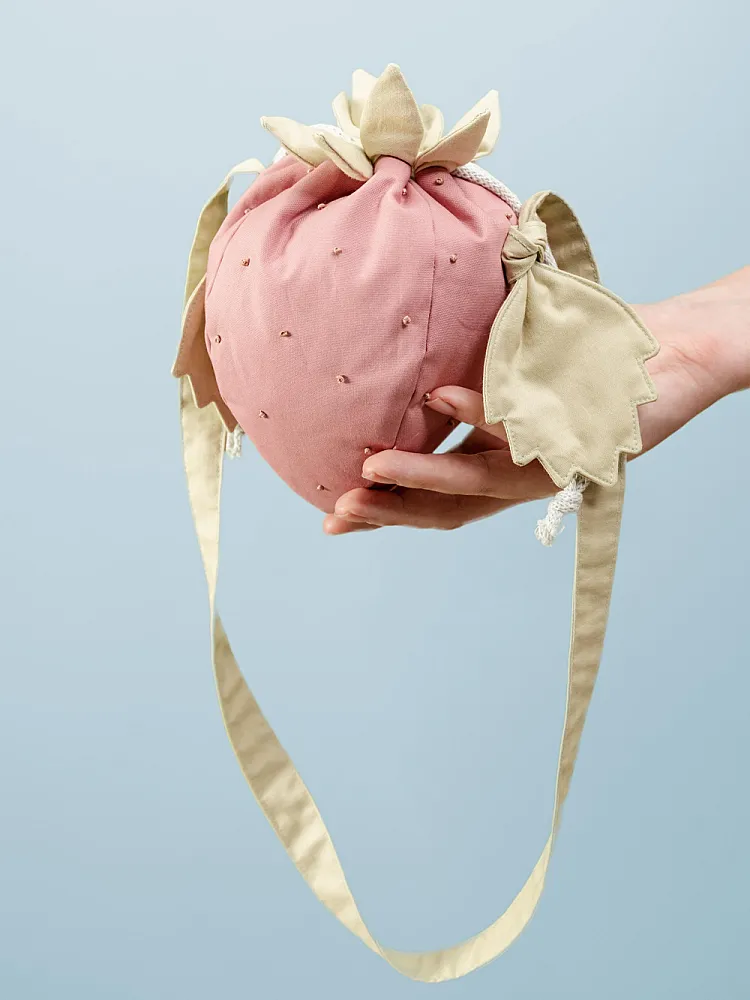
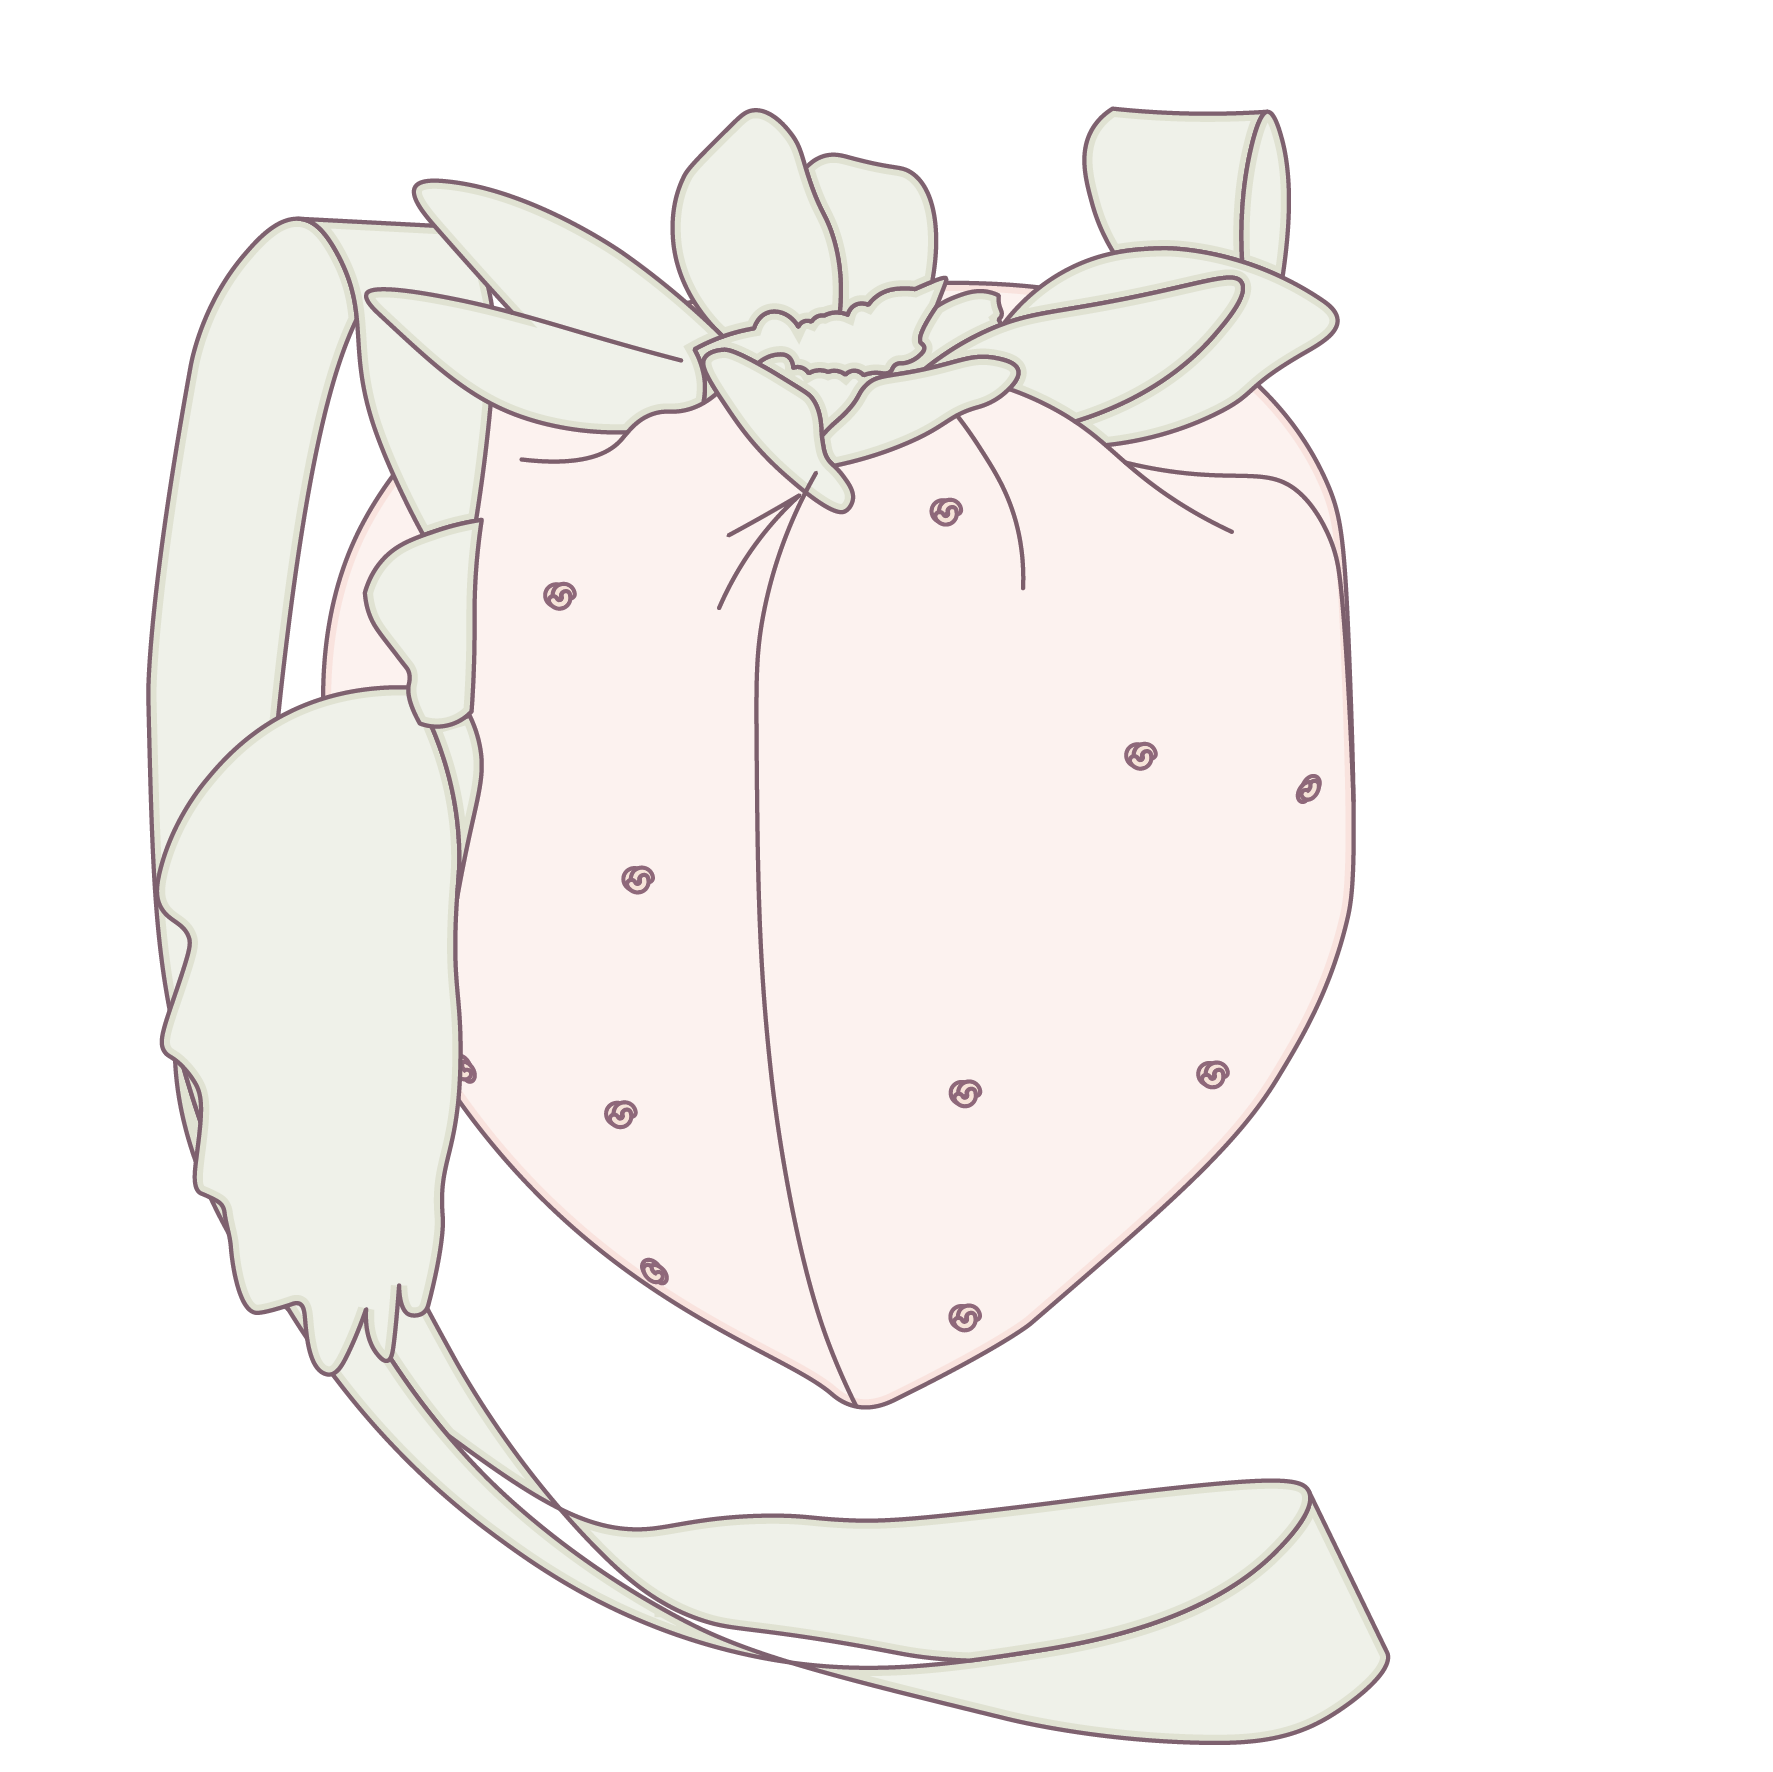
After my strawberry bag, it was clear—the fruit series had to continue! The idea for the orange bag came quickly, and the round shape of an orange is simply perfect for a practical bag. I especially love the small, hand-embroidered dots that give the bag its own handmade touch. These details immediately show the quality and care that went into this project.
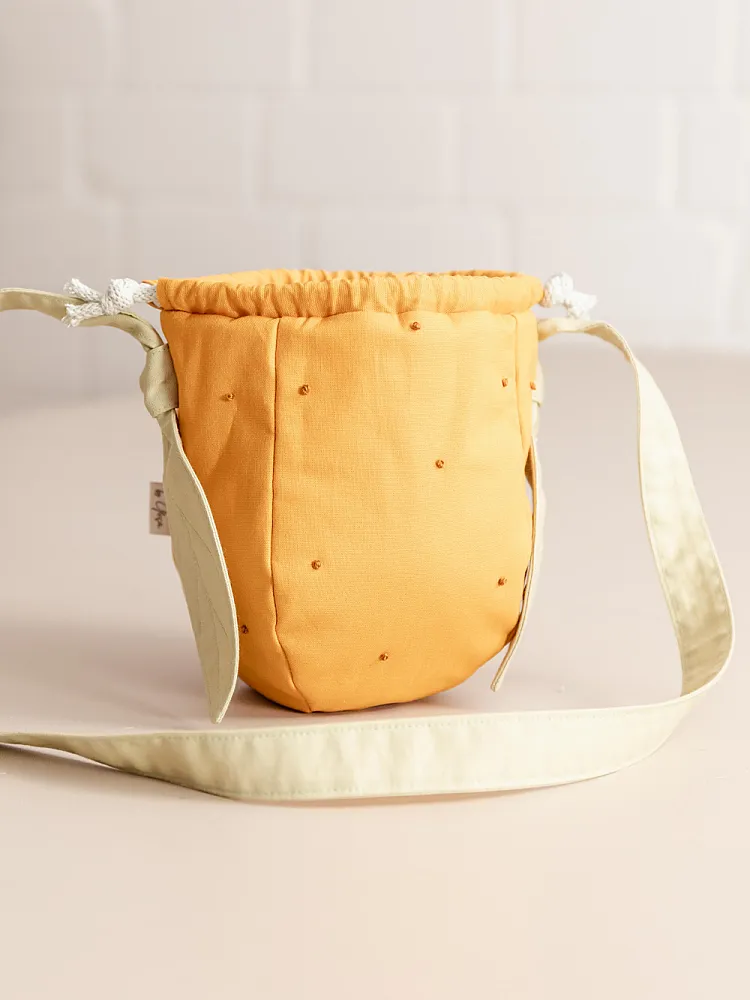
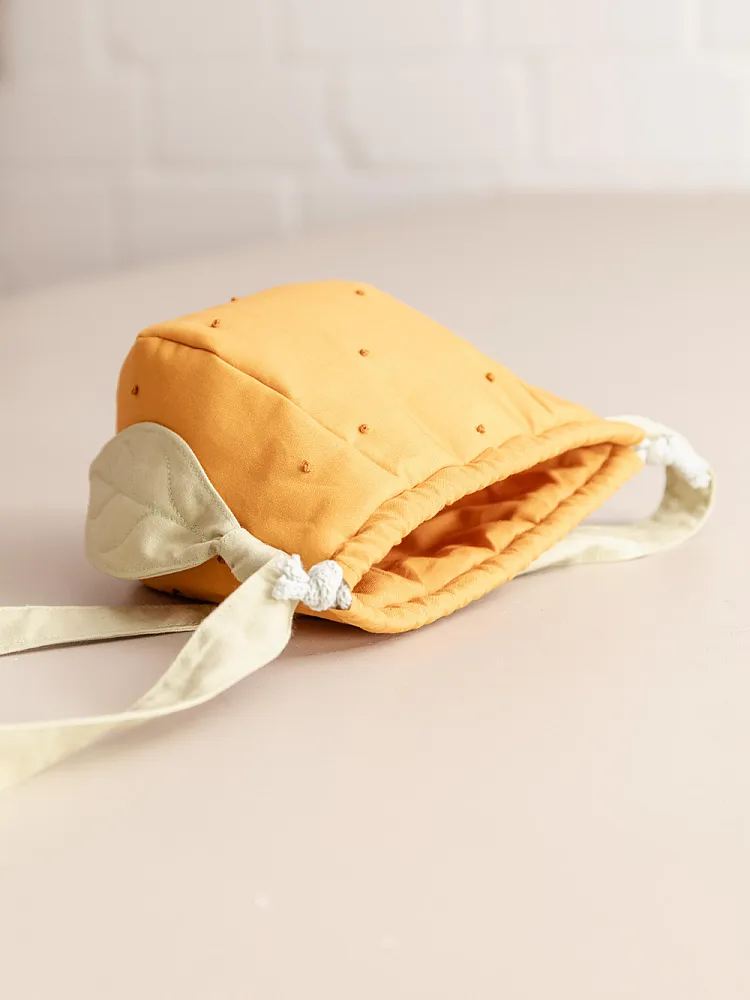
The bag can be used for small treasures or a snack on the go. The instructions are designed for all skill levels, though a little sewing experience helps to handle the sometimes tricky work that comes with making a bag. I find the knotted leaves on the bag strap particularly charming, as they complete the orange look.
You can personalize the bag by choosing thicker or thinner threads for the dots or even using them to write a child’s name. There are also plenty of color possibilities—you could easily turn the orange into a grapefruit or a lime.
To ensure the bag retains its shape and remains sturdy, I recommend using robust fabrics like woven cotton and the right interfacing. This will help the orange keep its beautiful shape and stay durable!
- Handmade Details: Embroidered dots add a special touch.
- Customizable: Vary the colors or dots for a grapefruit, lime, or personalized look.
- Practical and Versatile: Ideal for snacks or small treasures.
- For Advanced Sewers: Experience is recommended, but with clear instructions, it’s also achievable for confident beginners.
Size: 13 x 13 cm
Pattern - No 030
Orange Bag
What's Included
-
– Pattern in A3 and A4 format
BagSchnittmuster (PDF) - DIN A4, DIN A3, US-Letter3 Files
- – Detailed instructions with 13 illustrated steps
- – Complete materials and tools list
-
– 8 basics guides with tips and tricks
- - Why and How to Finish Fabric Edges
- - Which Interfacing or Non-woven Interlining is Best for Bags?
- - Pen, Chalk, or Marker? How to Mark Fabric Properly
- - How to Embroider a French Knot
- - How to Sew a Ladder Stitch
- - How to Use a Turning Tool Properly
- - Why and How to Clip Corners and Curves
- - How to Shape Corners and Curves Properly
- – Multilingual support (DE/EN)
- – Everything in One Place
Reviews
Loading reviews...
(5/5)
Eine sehr gute Anleitung und auch leicht zu verstehen. ^^
(5/5)
Very clear instructions and well written!
Related Products
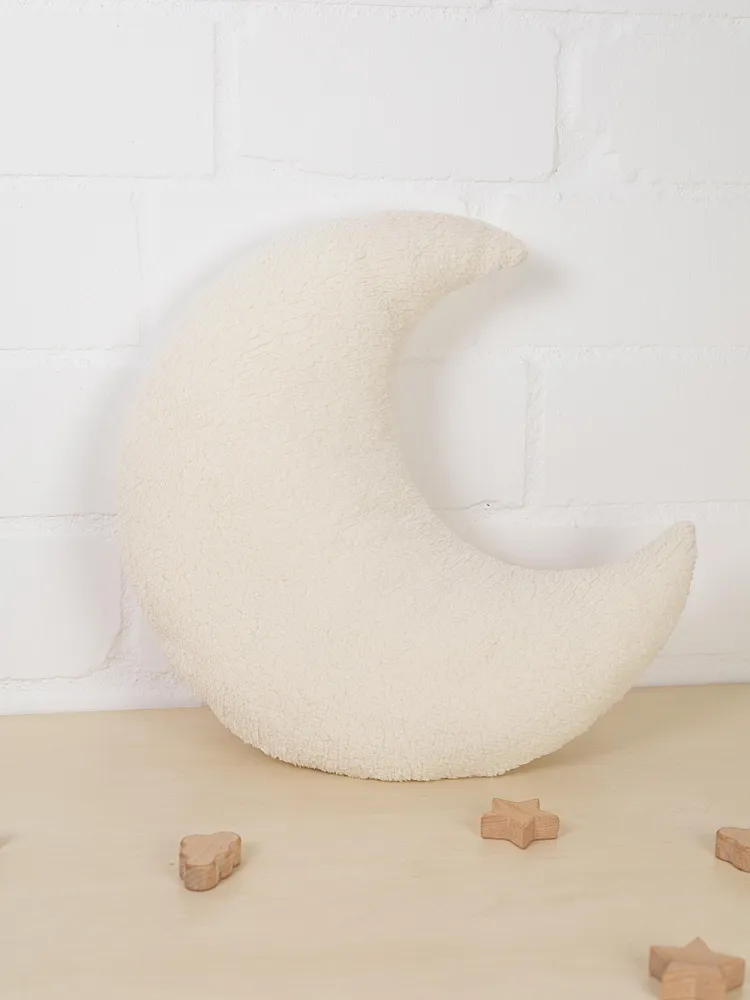
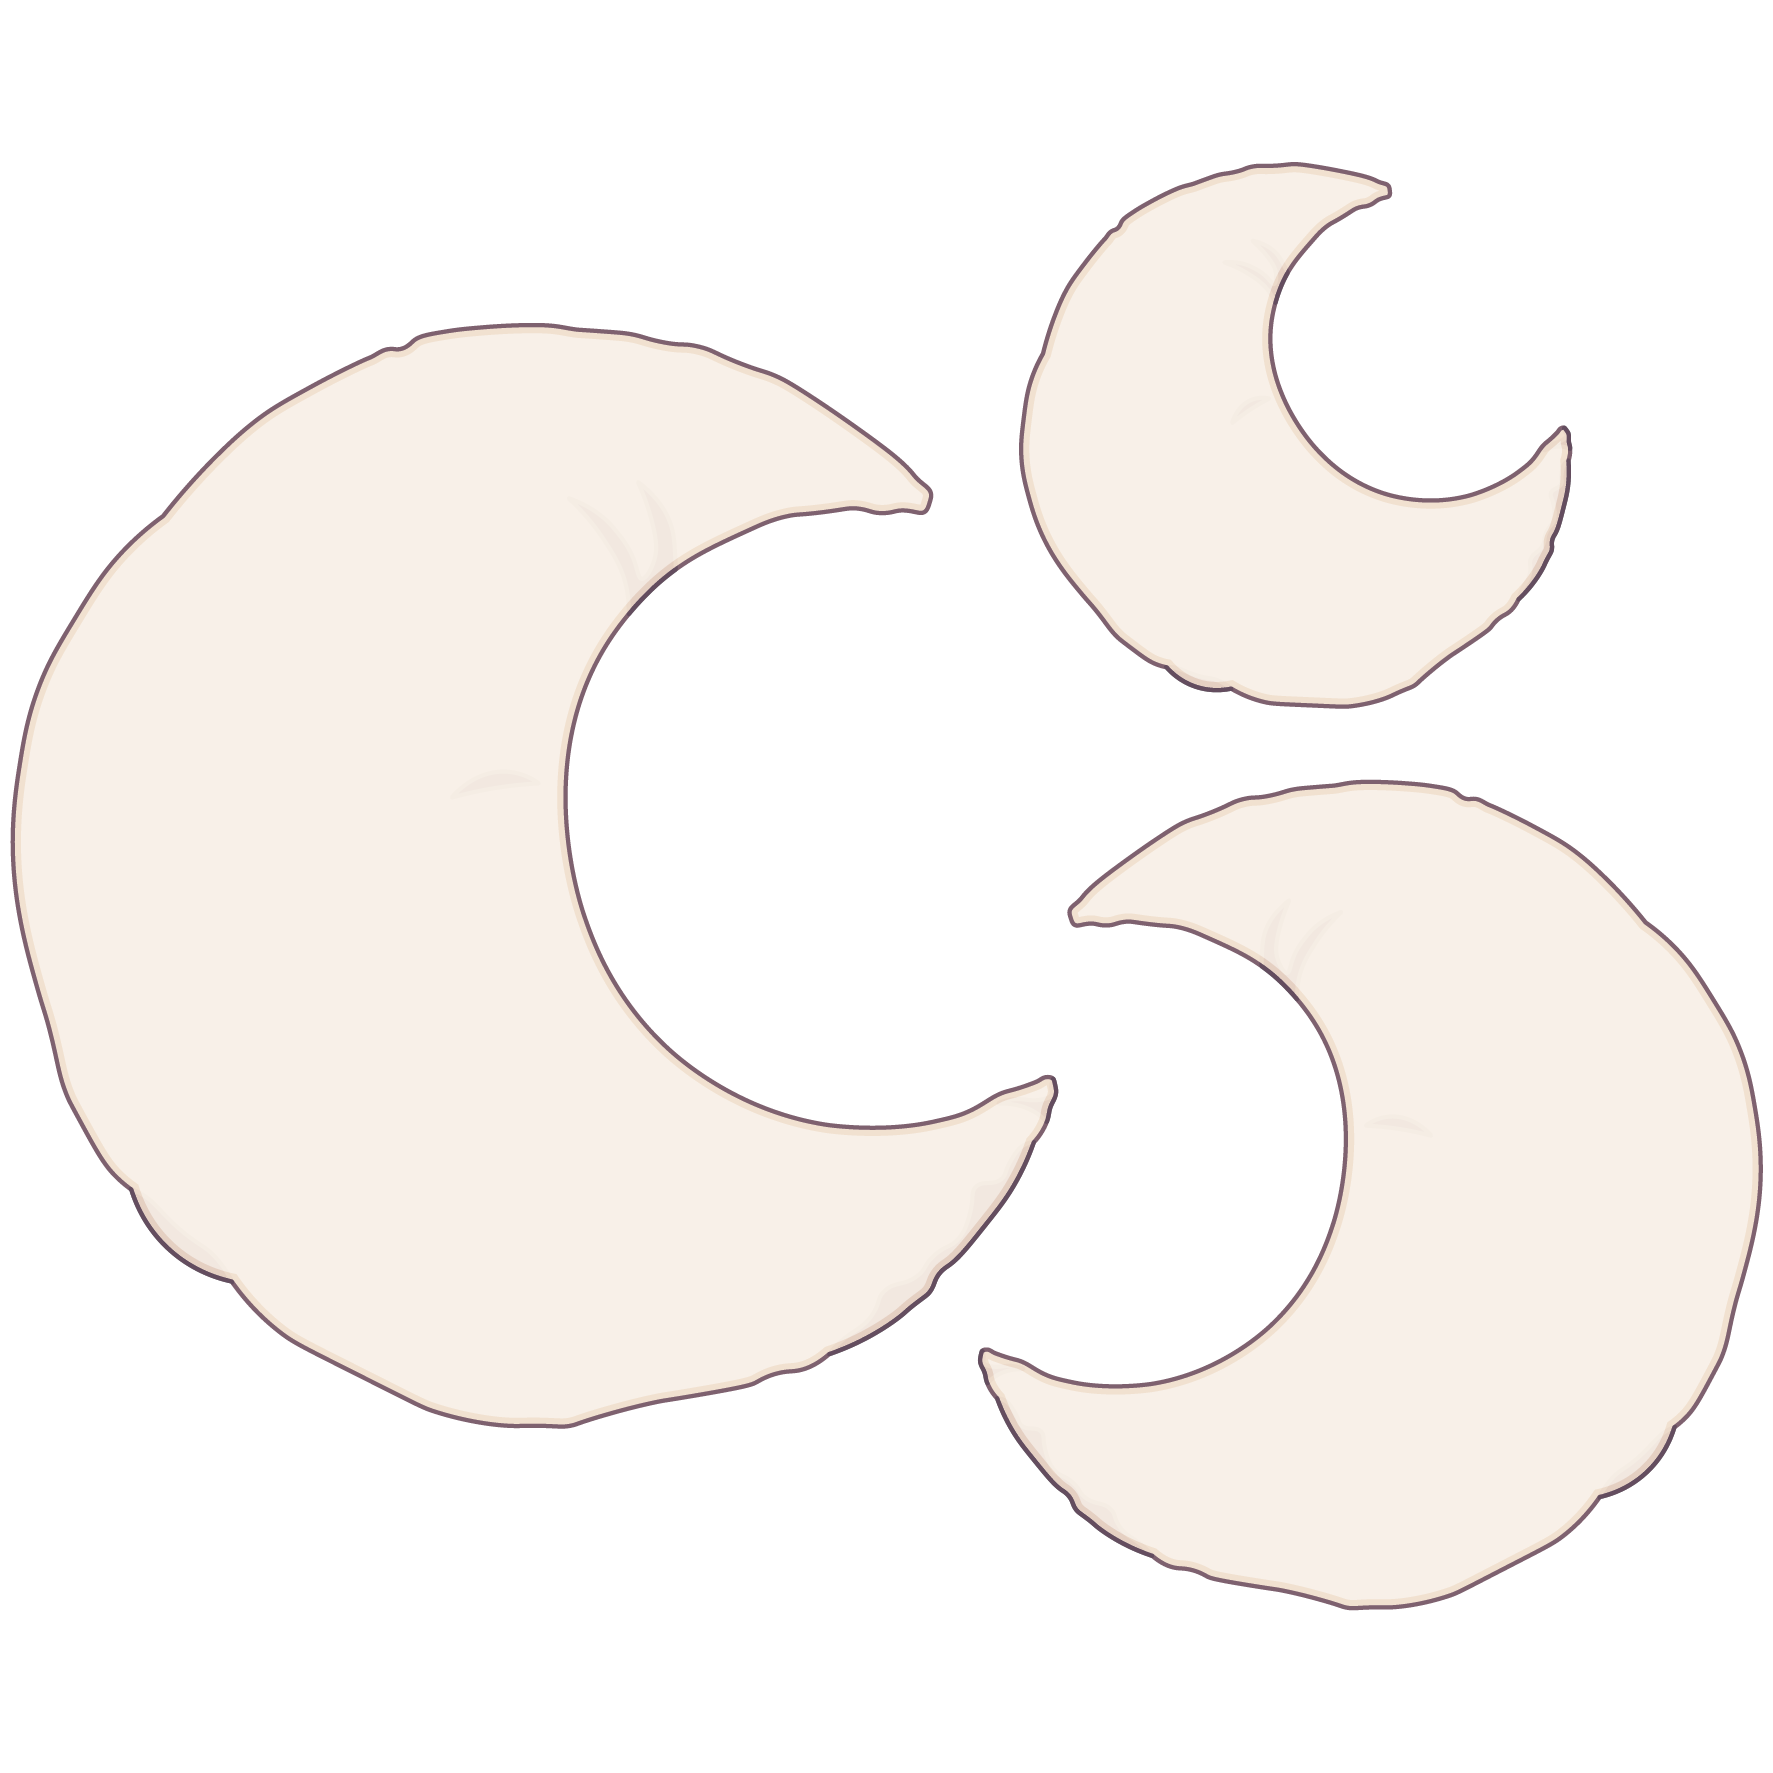
Moon Pillow
(8)
3,36 €
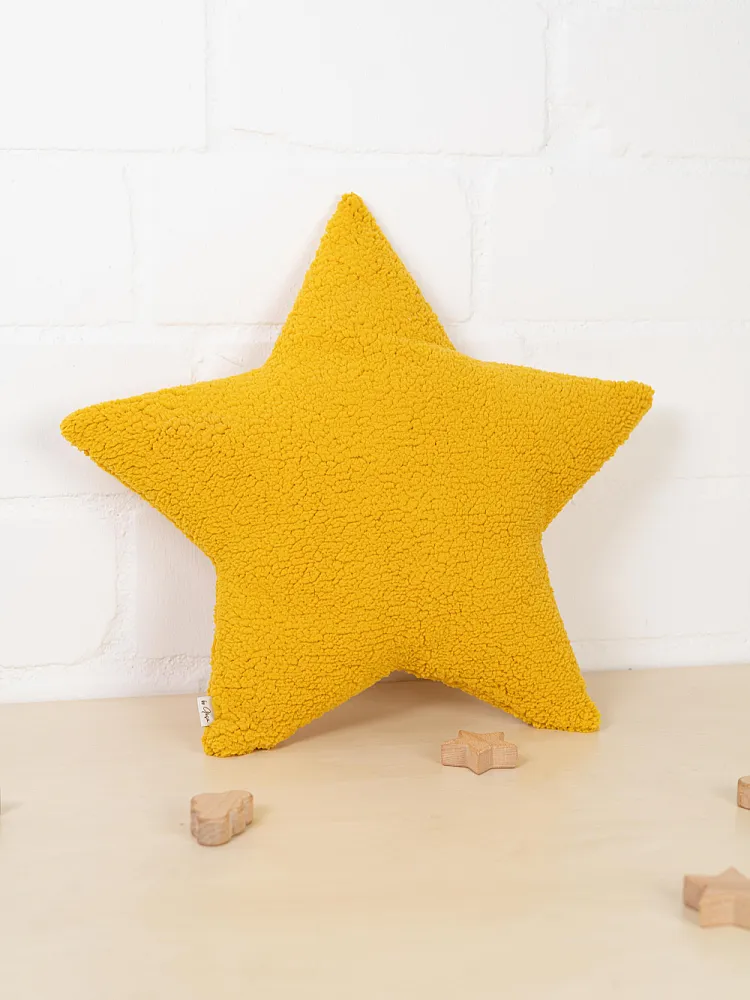
Star Pillow
(7)
3,36 €
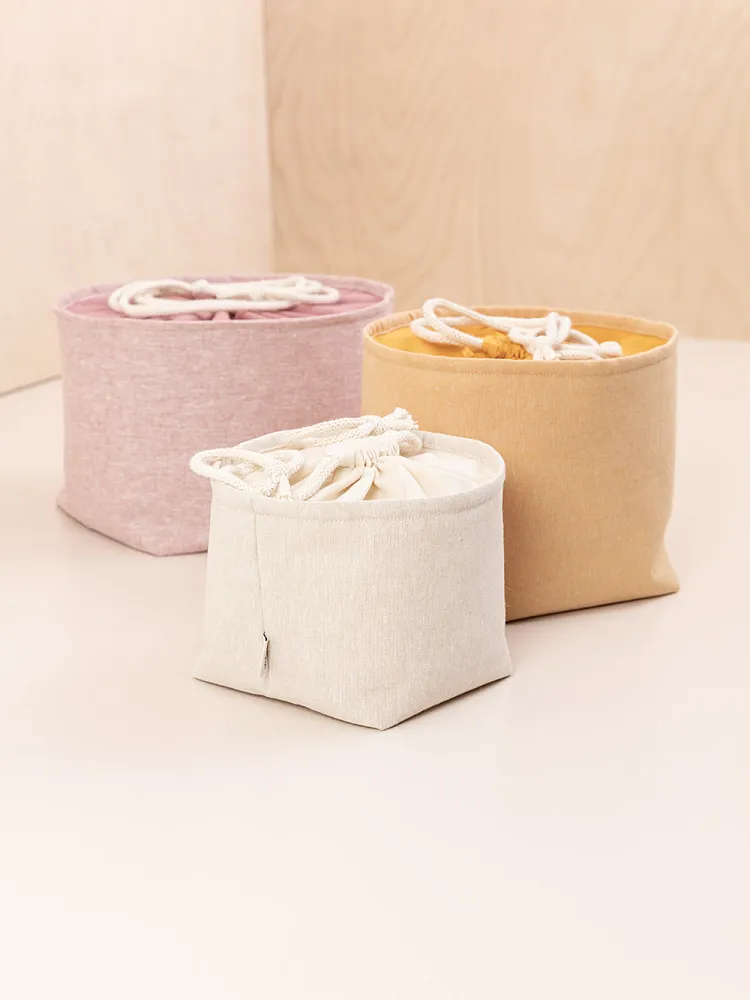
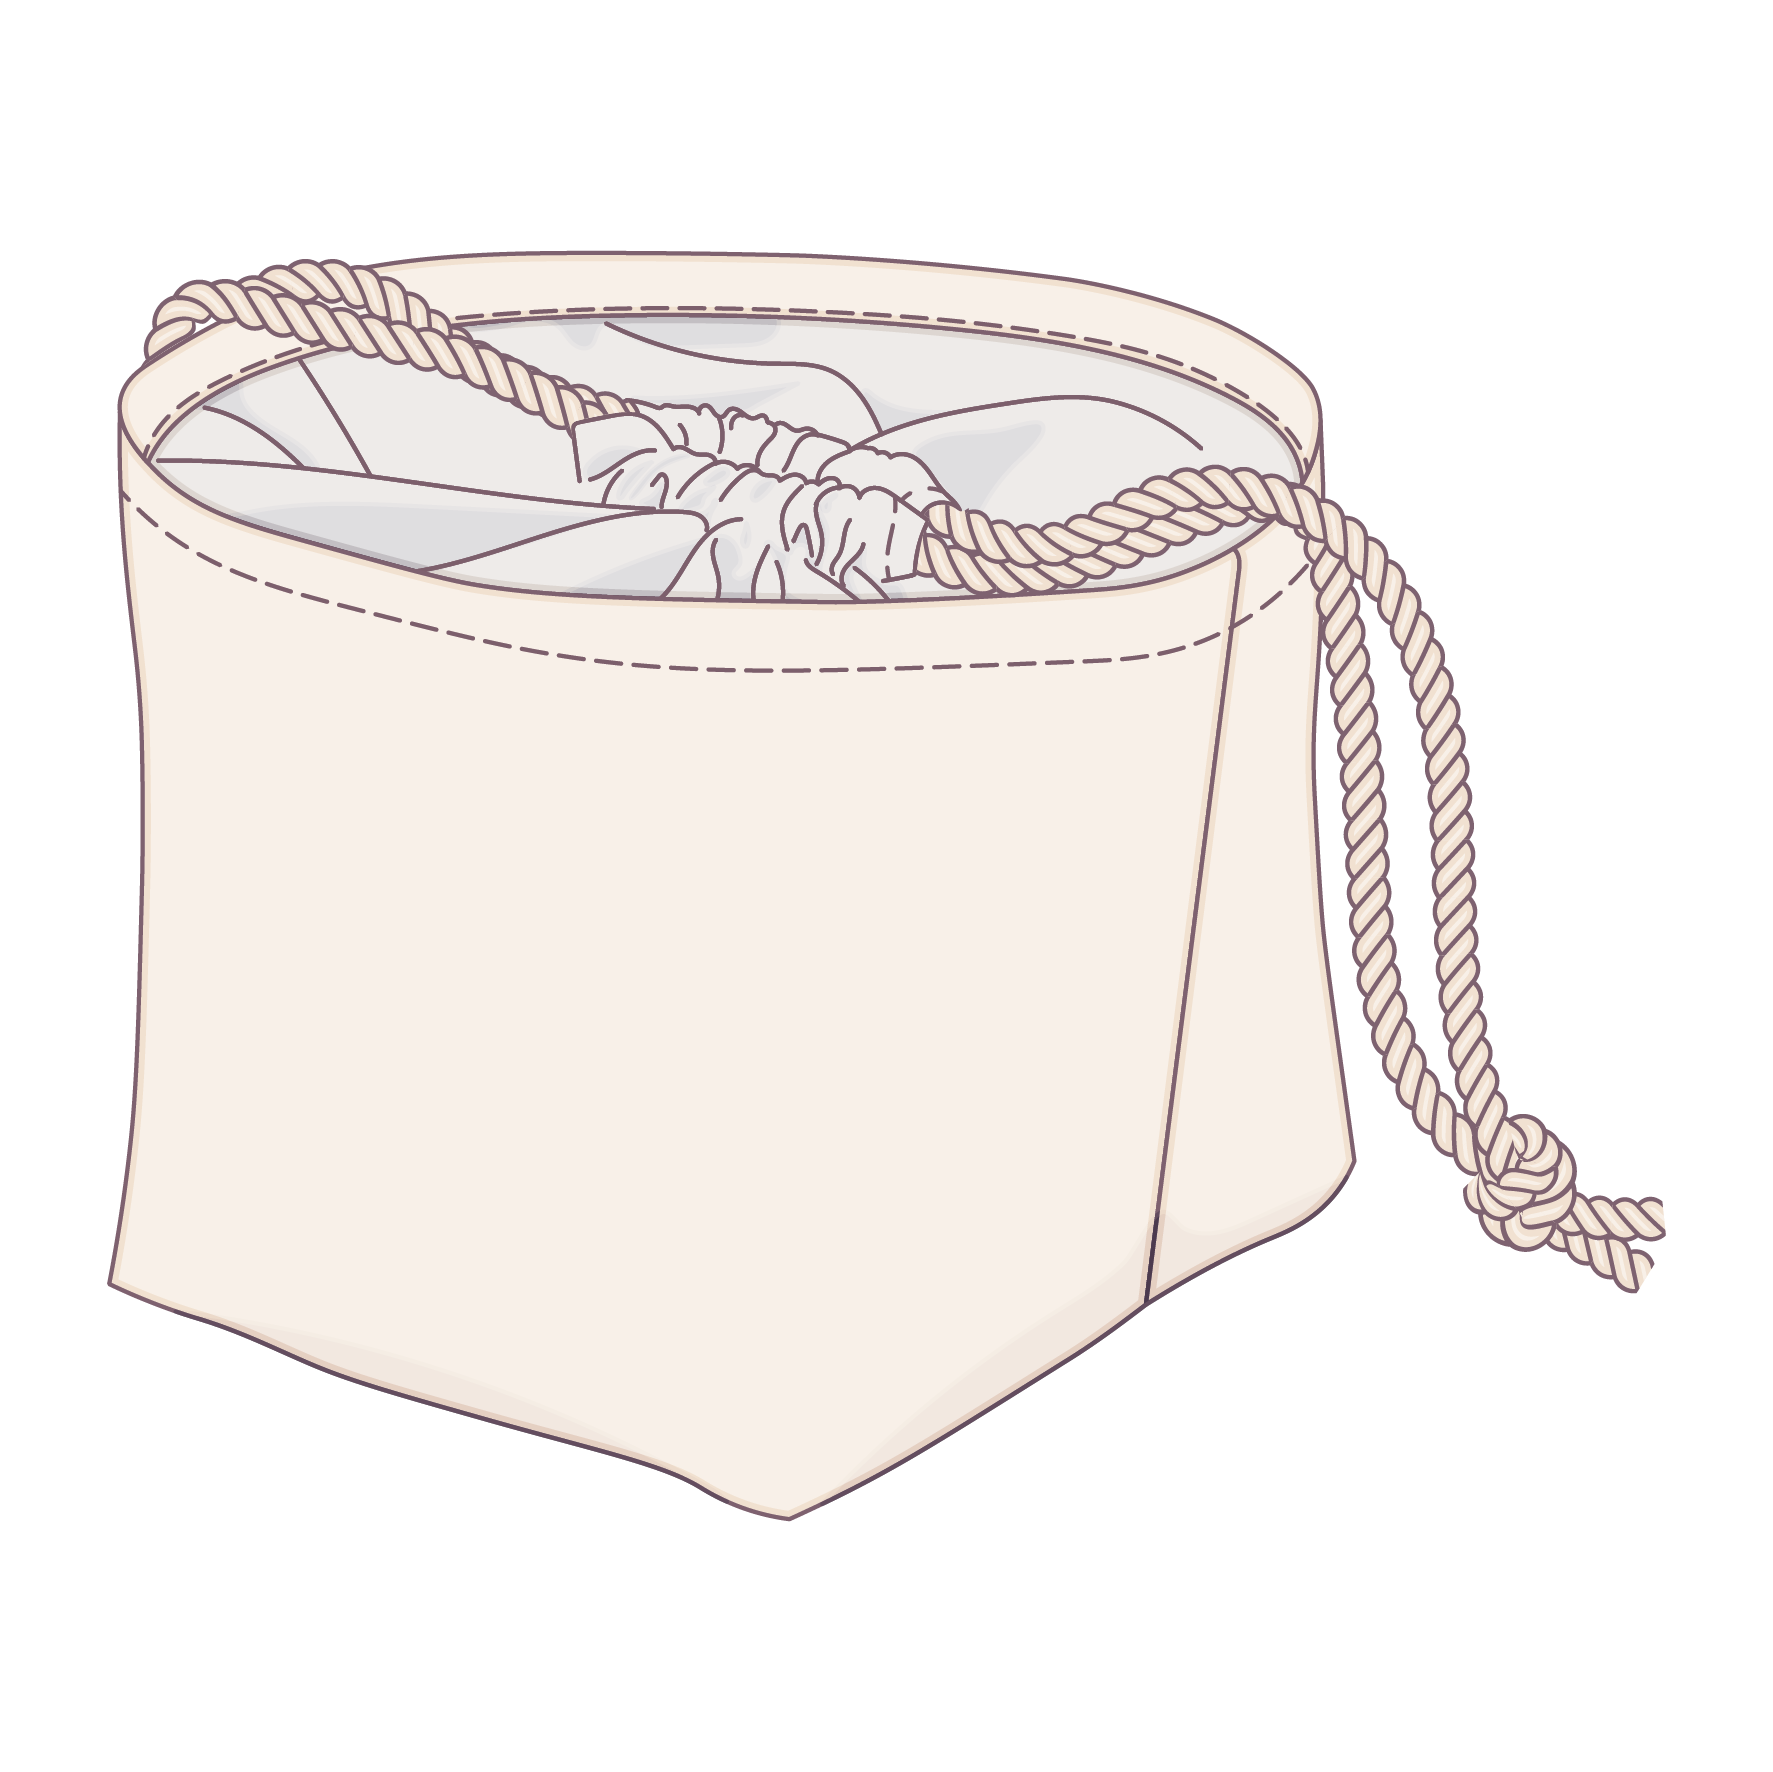
Storage Basket with Drawstring Closure
(4)
5,85 €
Strawberry Bag
(8)
6,95 €