


Pattern - No 018


Strawberry Bag

What's Included
-
– Pattern in A3 and A4 format
 Strawberry BagSchnittmuster (PDF) - DIN A4, DIN A3, US-Letter3 Files
 - – Detailed instructions with 16 illustrated steps
- – Complete materials and tools list
-
– 8 basics guides with tips and tricks
- • Why and How to Finish Fabric Edges
- • Which Interfacing or Non-woven Interlining is Best for Bags?
- • Pen, Chalk, or Marker? How to Mark Fabric Properly
- • How to Embroider a French Knot
- • How to Use a Turning Tool Properly
- • Why and How to Clip Corners and Curves
- • How to Shape Corners and Curves Properly
- • How to Sew a Ladder Stitch
- – Multilingual support (DE/EN)
- – Everything in One Place
Required Materials
-
-thumb.webp)
Fabric A (red): 50 x 25 cm
For the outer side of the bag.
Non-stretch cotton fabric with a dense weave and a soft, matte finish.
-
-thumb.webp)
Fabric B (green): 1.3 m x 42 cm
For the leaves, lining, drawstring panel, and bag strap.
Lightweight cotton fabric with a smooth surface.
-
Interfacing/Non-woven Interlining (optional): 60 x 32 cm
To stabilize the bag, leaves, and the leaf at the strap end.
-
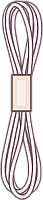
Cord: 5 mm x 1 m
For the bag’s drawstring closure.
-
Embroidery Thread: for the dots
For embroidering the strawberry dots onto the bag.
-

Sewing Thread: Universal sewing thread, thickness 120 Suitable for the recommended needle size NM 70–80.
Required Tools
-
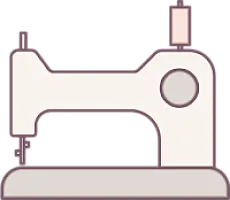
Sewing Machine
-

Scissors - A large fabric scissors for cutting and a small thread snip for precise work.
-

Pins or Fabric Clips
-

Measuring Tool
-

Iron: For securing interfacing and smoothing sewn parts, essential for a clean finish.
-

Chalk or Marker: For marking dots and seam lines. Choose a removable marking tool like tailor’s chalk or a fabric marker.
-

Needle: For embroidering the dots and closing the turning opening.
-

Bodkin or safety pin - for easily threading the cord through the drawstring casing.
-

Blunt Tool: For shaping curves and corners, such as a corner shaper, chopstick, or crochet hook.
-

Turning Tool – For turning small parts – alternatively, you can use a straw and a stick.
Description
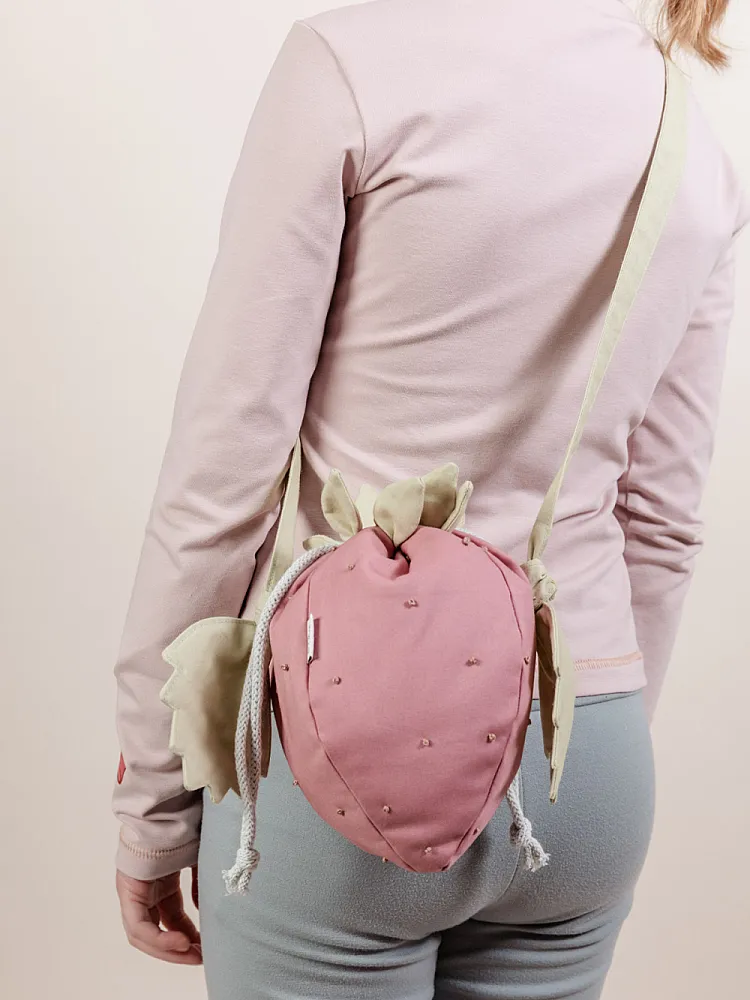
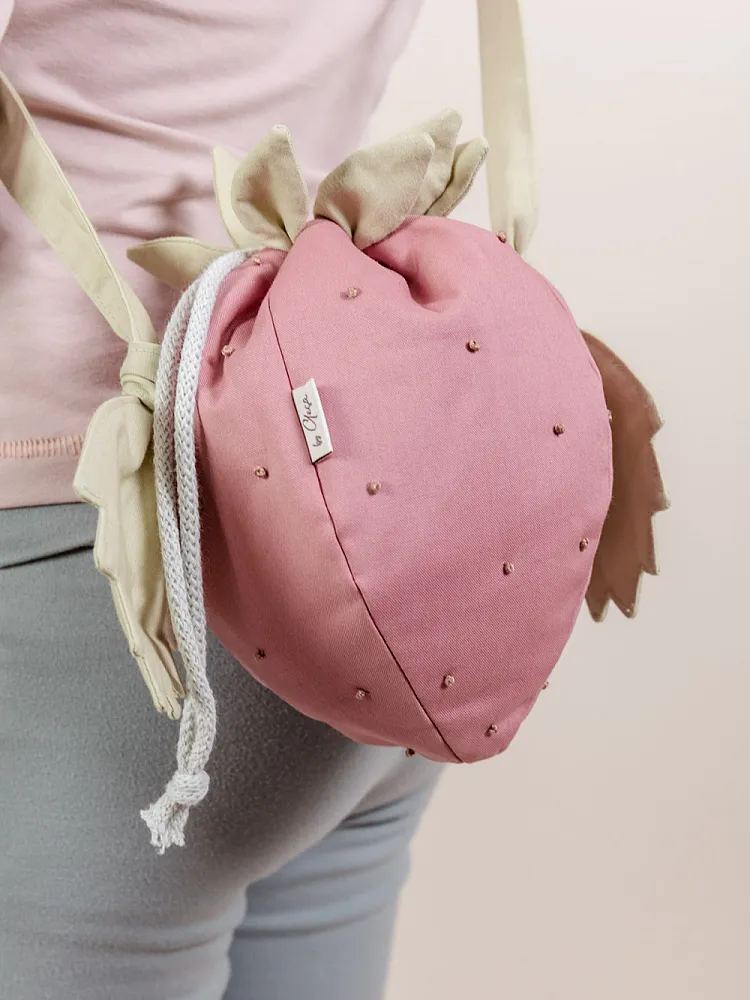
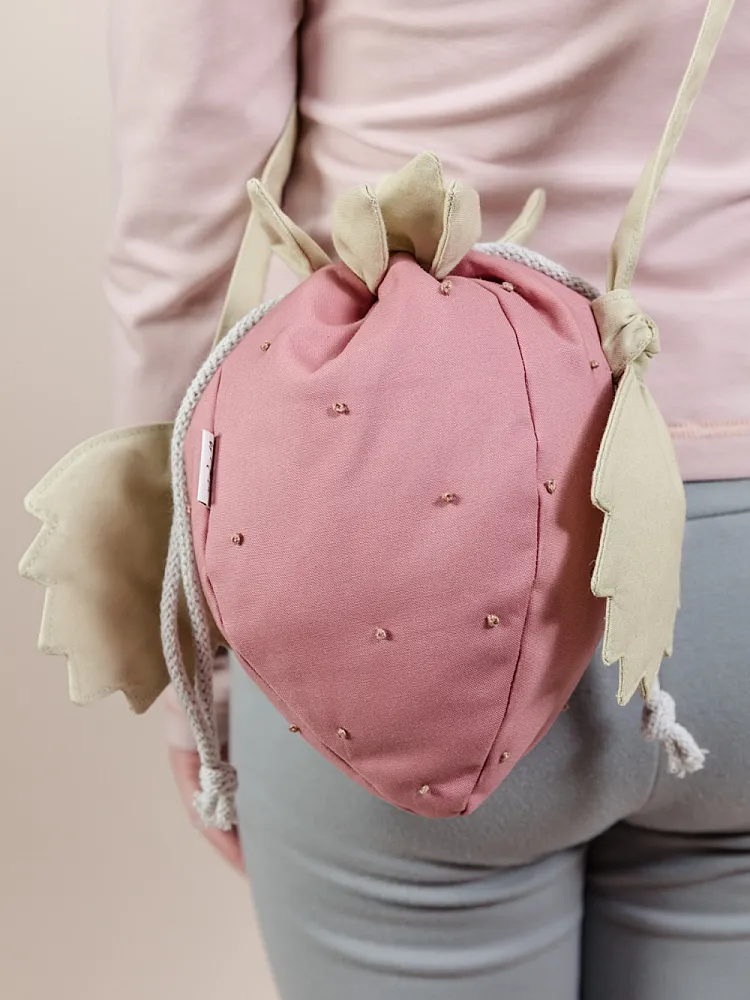
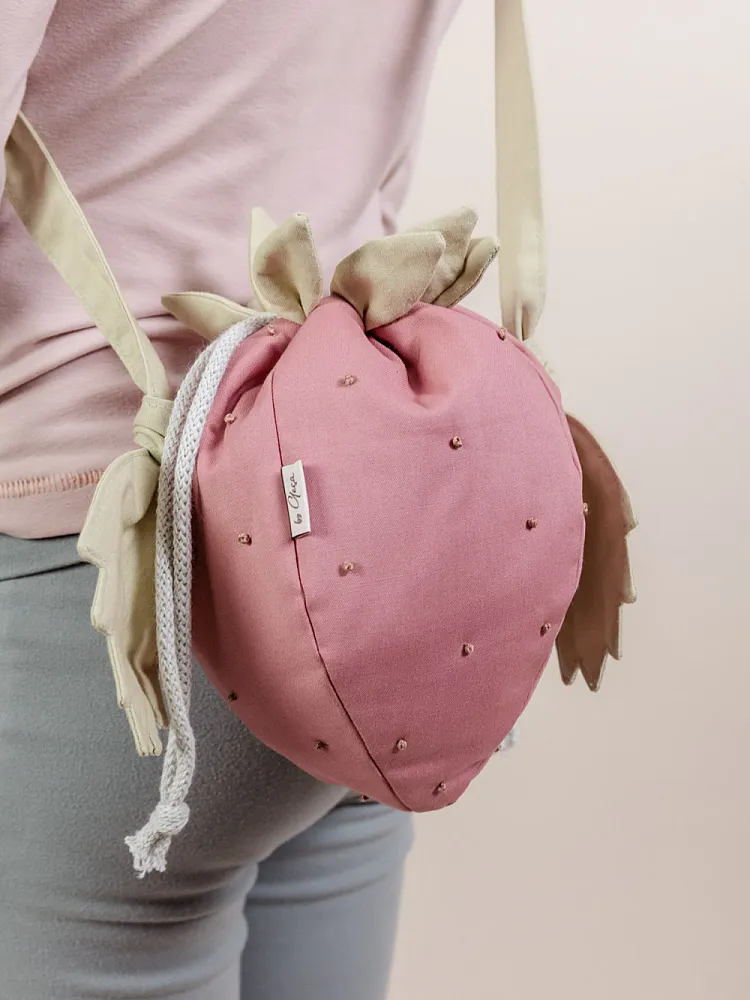
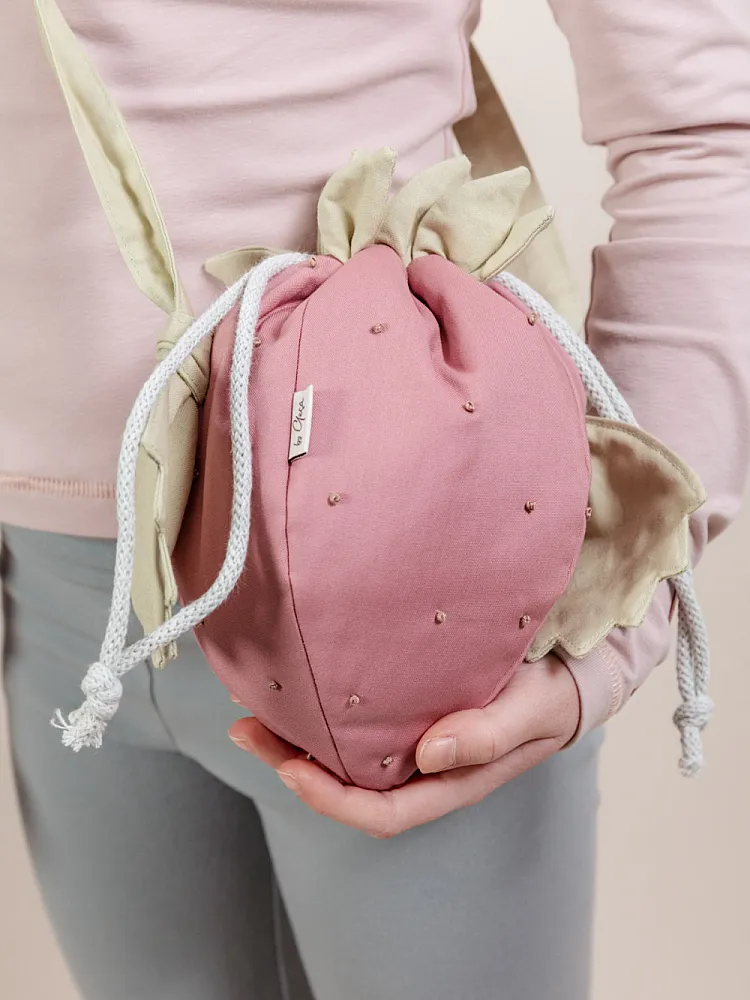
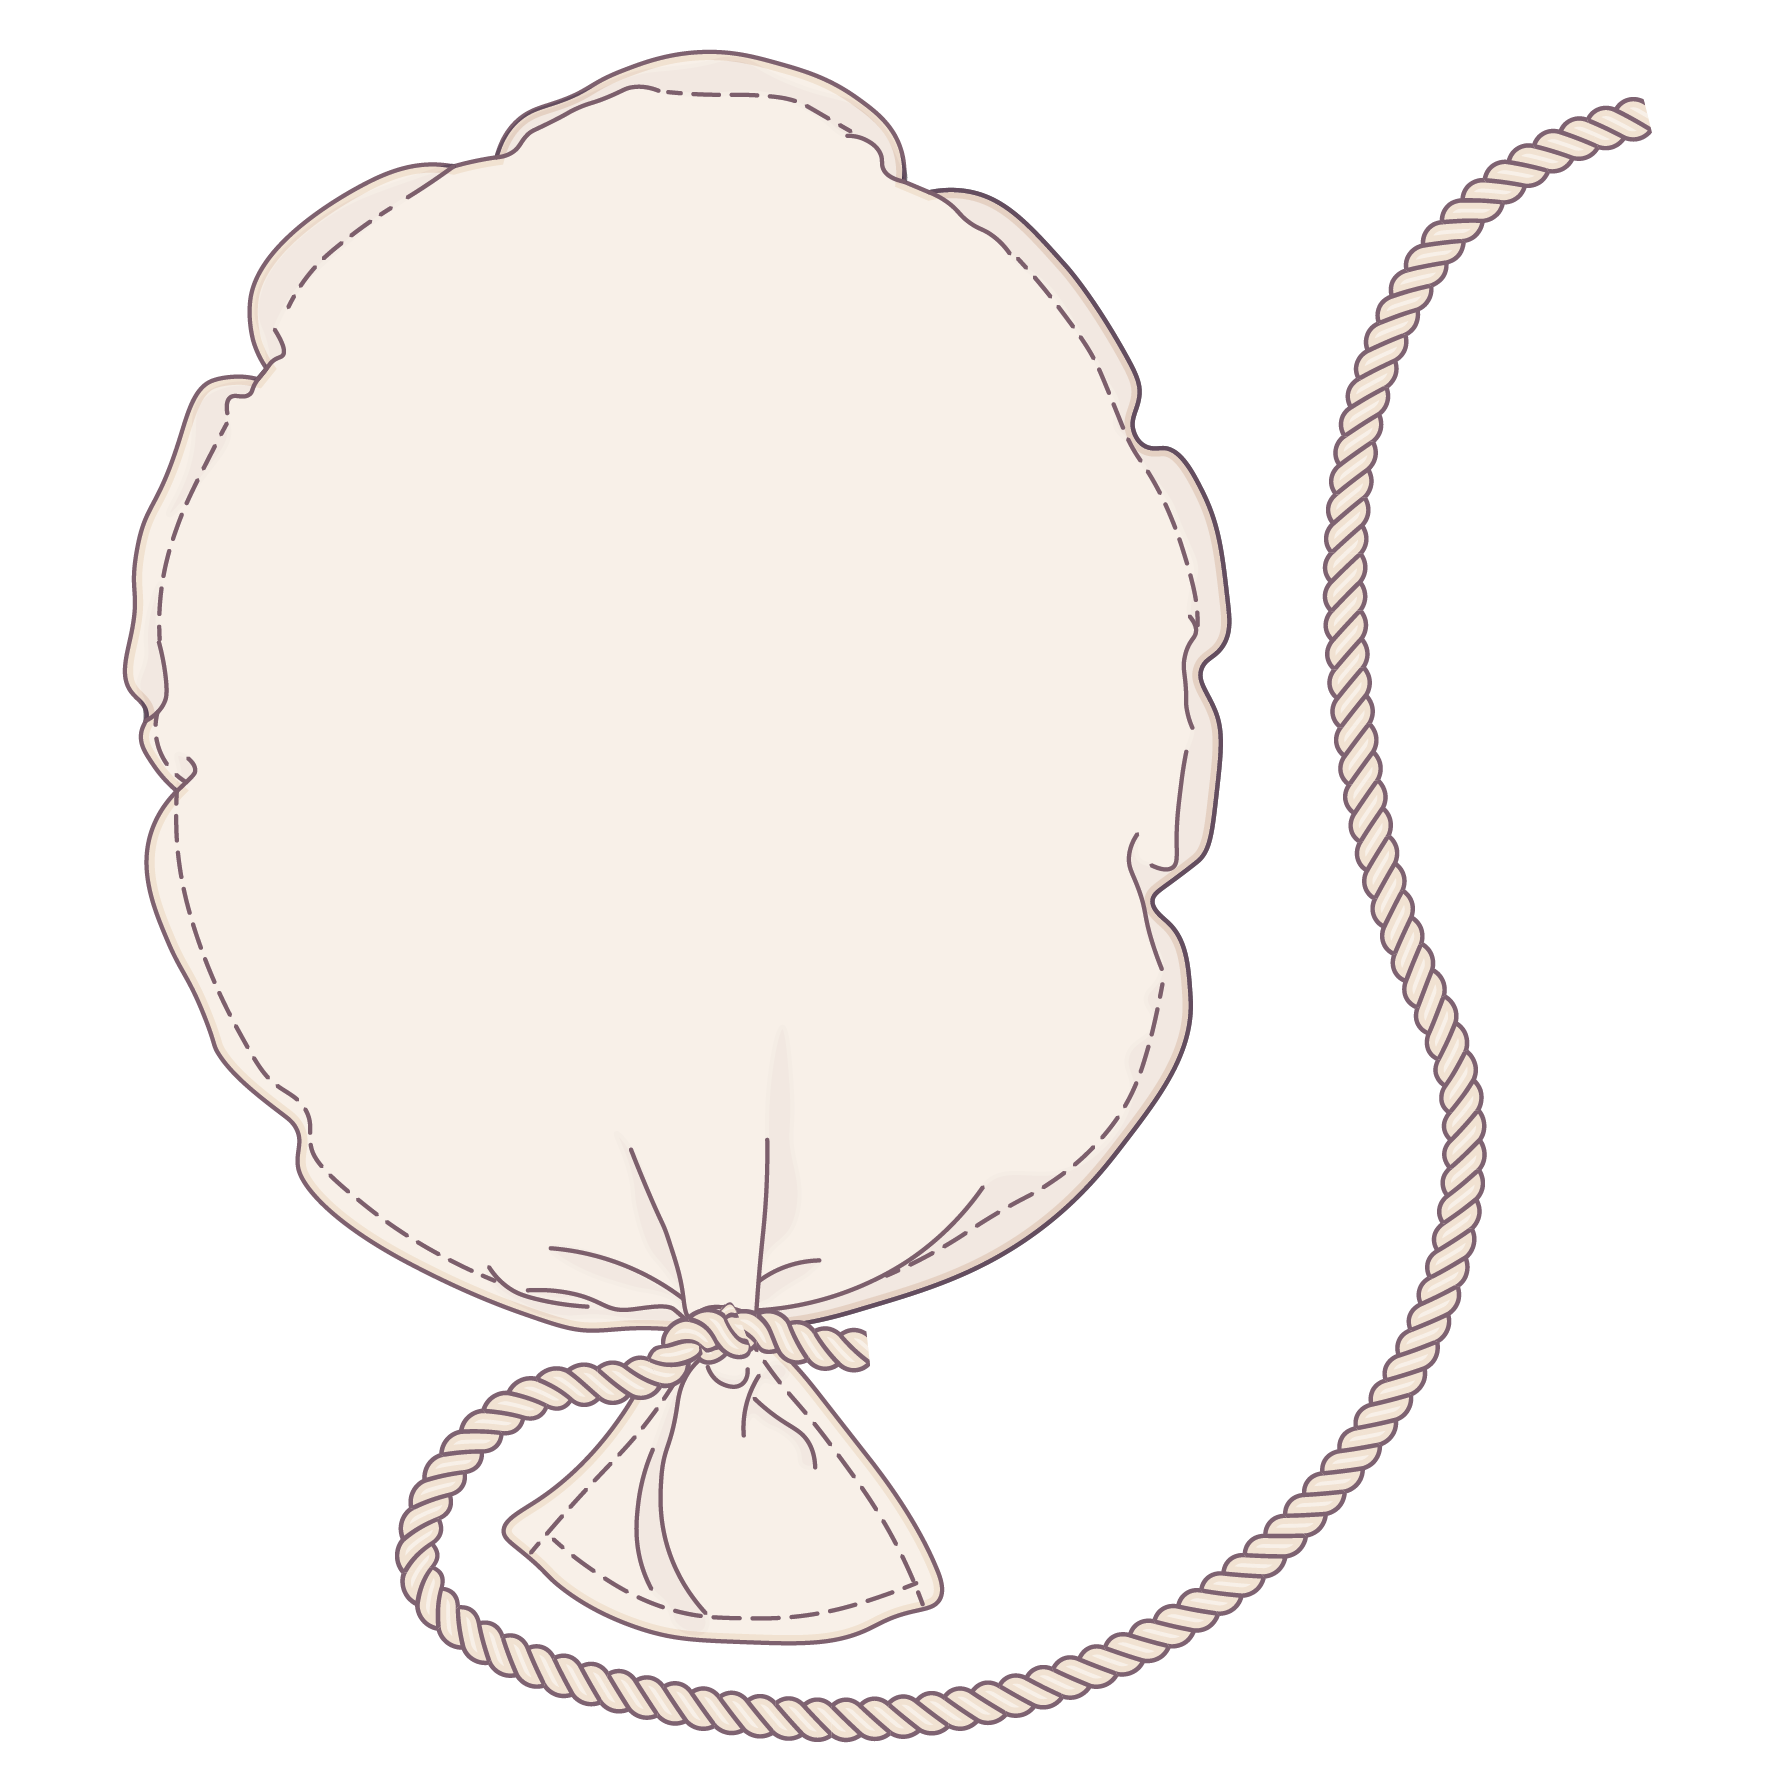
I initially wanted to sew a strawberry pillow, but then I realized how perfectly the strawberry shape suits a drawstring bag. And just like that – the idea for this adorable crossbody bag was born! This pattern instantly became one of my favorites because the embroidered dots add a charming, handmade touch. It's just a great feeling when the project turns out as cute as you imagined.
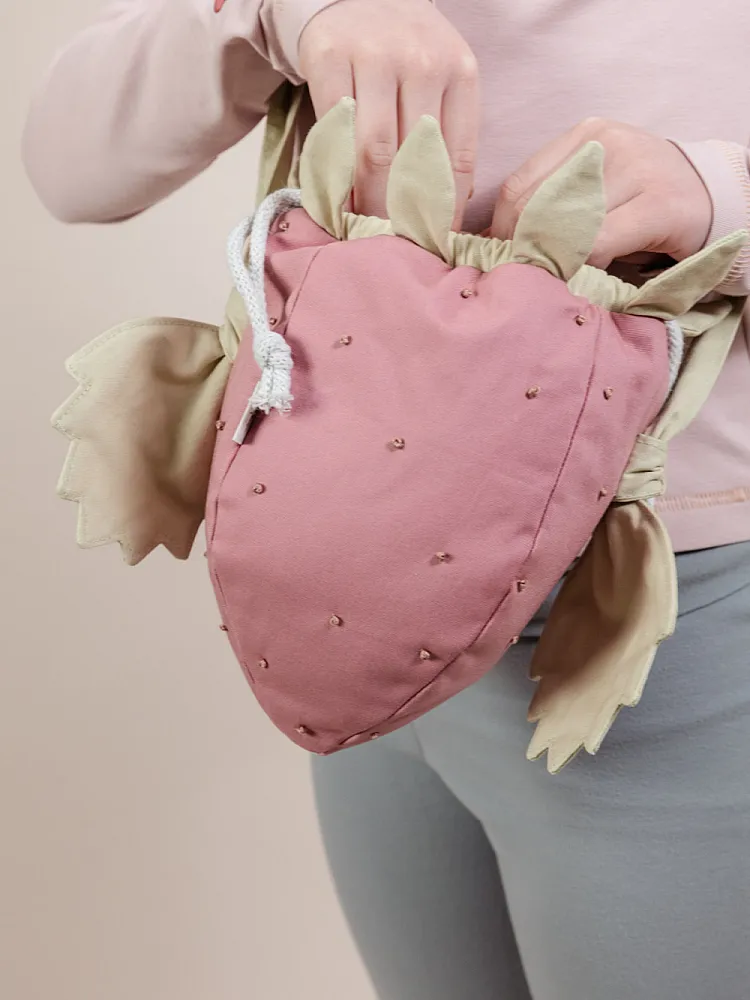
The design of the bag is simply irresistible: The strawberry shape with embroidered dots is not only pretty but also clever. When the bag is drawn shut, the leaves pop up, almost like a real strawberry! I find it particularly practical that the carrying strap is sturdily sewn on and knotted – perfect for little explorers who always want to carry something with them. The instructions don't require any basic sewing knowledge, but a bit of sewing experience doesn't hurt, as bags can sometimes be a bit fiddly.
This little crossbody bag is perfect for children who want to safely store their snacks, toys, or all the little treasures they find along the way. The striking strawberry shape just makes you happy, and with a few individual details – like colorful dots or a different patterned fabric – it becomes your very personal highlight. Maybe you even want to make the dots stand out with cotton thread? There are no limits to your creativity!
- Strawberry Design Crossbody Bag: A sweet bag for little adventurers that spreads summer vibes.
- Decorated with Embroidery Details: The embroidered dots give the bag a lovingly handmade look.
- Perfect for Drawing Shut, Even for the Littlest Ones: The bag is easy to open and close, perfect for little hands.
- A Guarantee for Good Spirits: The playful strawberry shape is sure to put a smile on any face.
Size: 13 x 16 cm
Pattern - No 018
Strawberry Bag
What's Included
-
– Pattern in A3 and A4 format
Strawberry BagSchnittmuster (PDF) - DIN A4, DIN A3, US-Letter3 Files
- – Detailed instructions with 16 illustrated steps
- – Complete materials and tools list
-
– 8 basics guides with tips and tricks
- - Why and How to Finish Fabric Edges
- - Which Interfacing or Non-woven Interlining is Best for Bags?
- - Pen, Chalk, or Marker? How to Mark Fabric Properly
- - How to Embroider a French Knot
- - How to Use a Turning Tool Properly
- - Why and How to Clip Corners and Curves
- - How to Shape Corners and Curves Properly
- - How to Sew a Ladder Stitch
- – Multilingual support (DE/EN)
- – Everything in One Place
Reviews

Loading reviews...
(5/5)
This bag is so cute! As a beginner, the pattern instructions were a little hard to parse and it took a while to sew, but I was able to understand eventually. The instructions are clear just be aware beginners may struggle.
(5/5)
Perfect as described. Easy to understand.
(5/5)
Easy to do and super cute. I was able to make two for my girls in just a few hours and they love them.
(5/5)
Great pattern, it was easy to follow.
(5/5)
This was a great pattern, I enlardged so it could be used as a lunch box. super cute and great instructions.
(2/5)
The instructions are not at all clear for this bag. I am not new to sewing and find myself very frustrated trying to complete steps 7-11. No idea what they mean for the drawstring casing or how to attach the strap and tie the leaf. I will download the German instructions next and ask AI to explain.
(5/5)
Die Anleitung war einfach zu verstehen und jeder Schritt war gut erklärt. Das Ergebnis ist einfach nur Traumhaft!
(5/5)
Very cute!! I love the pattern
Related Products
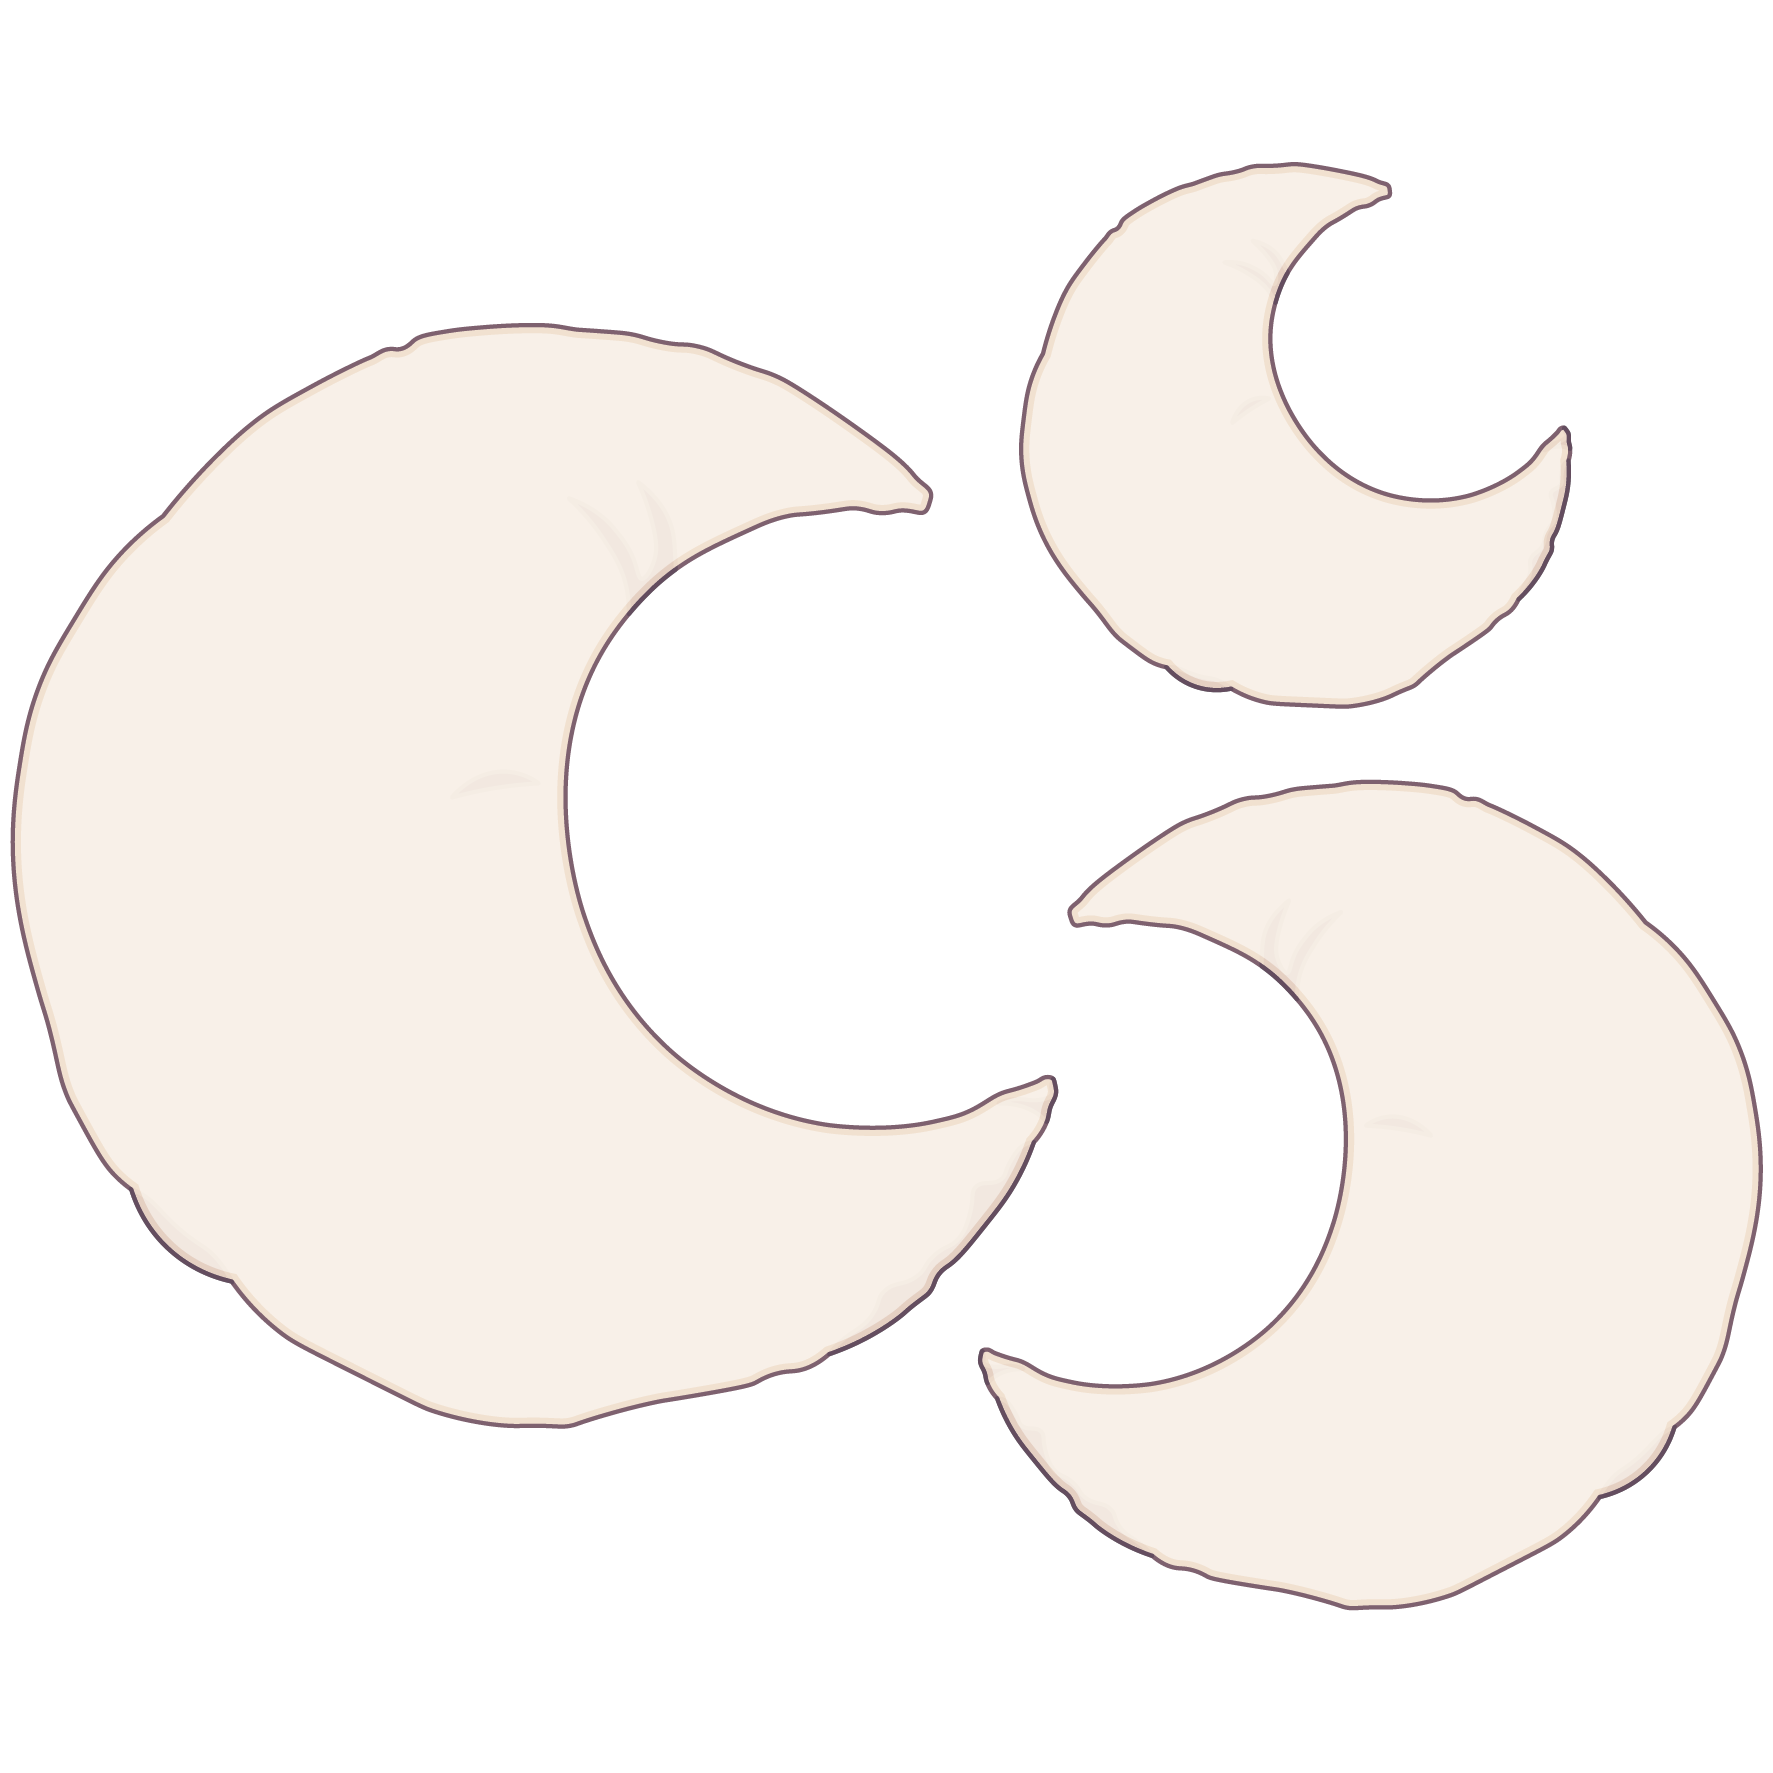
Moon Pillow
(8)
3,36 €
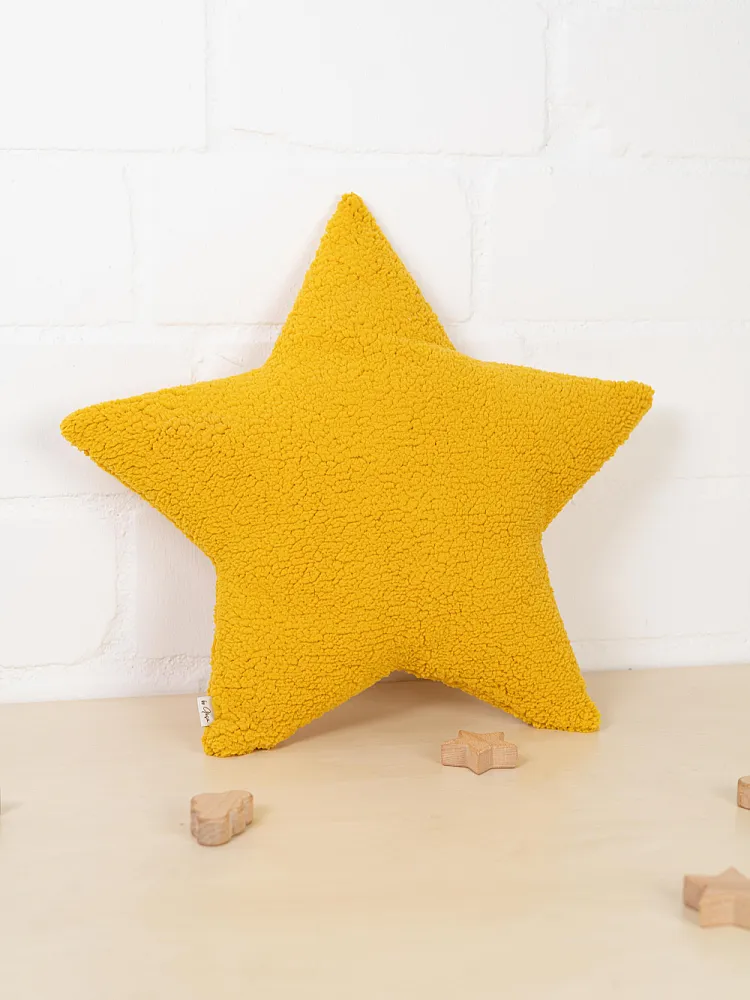
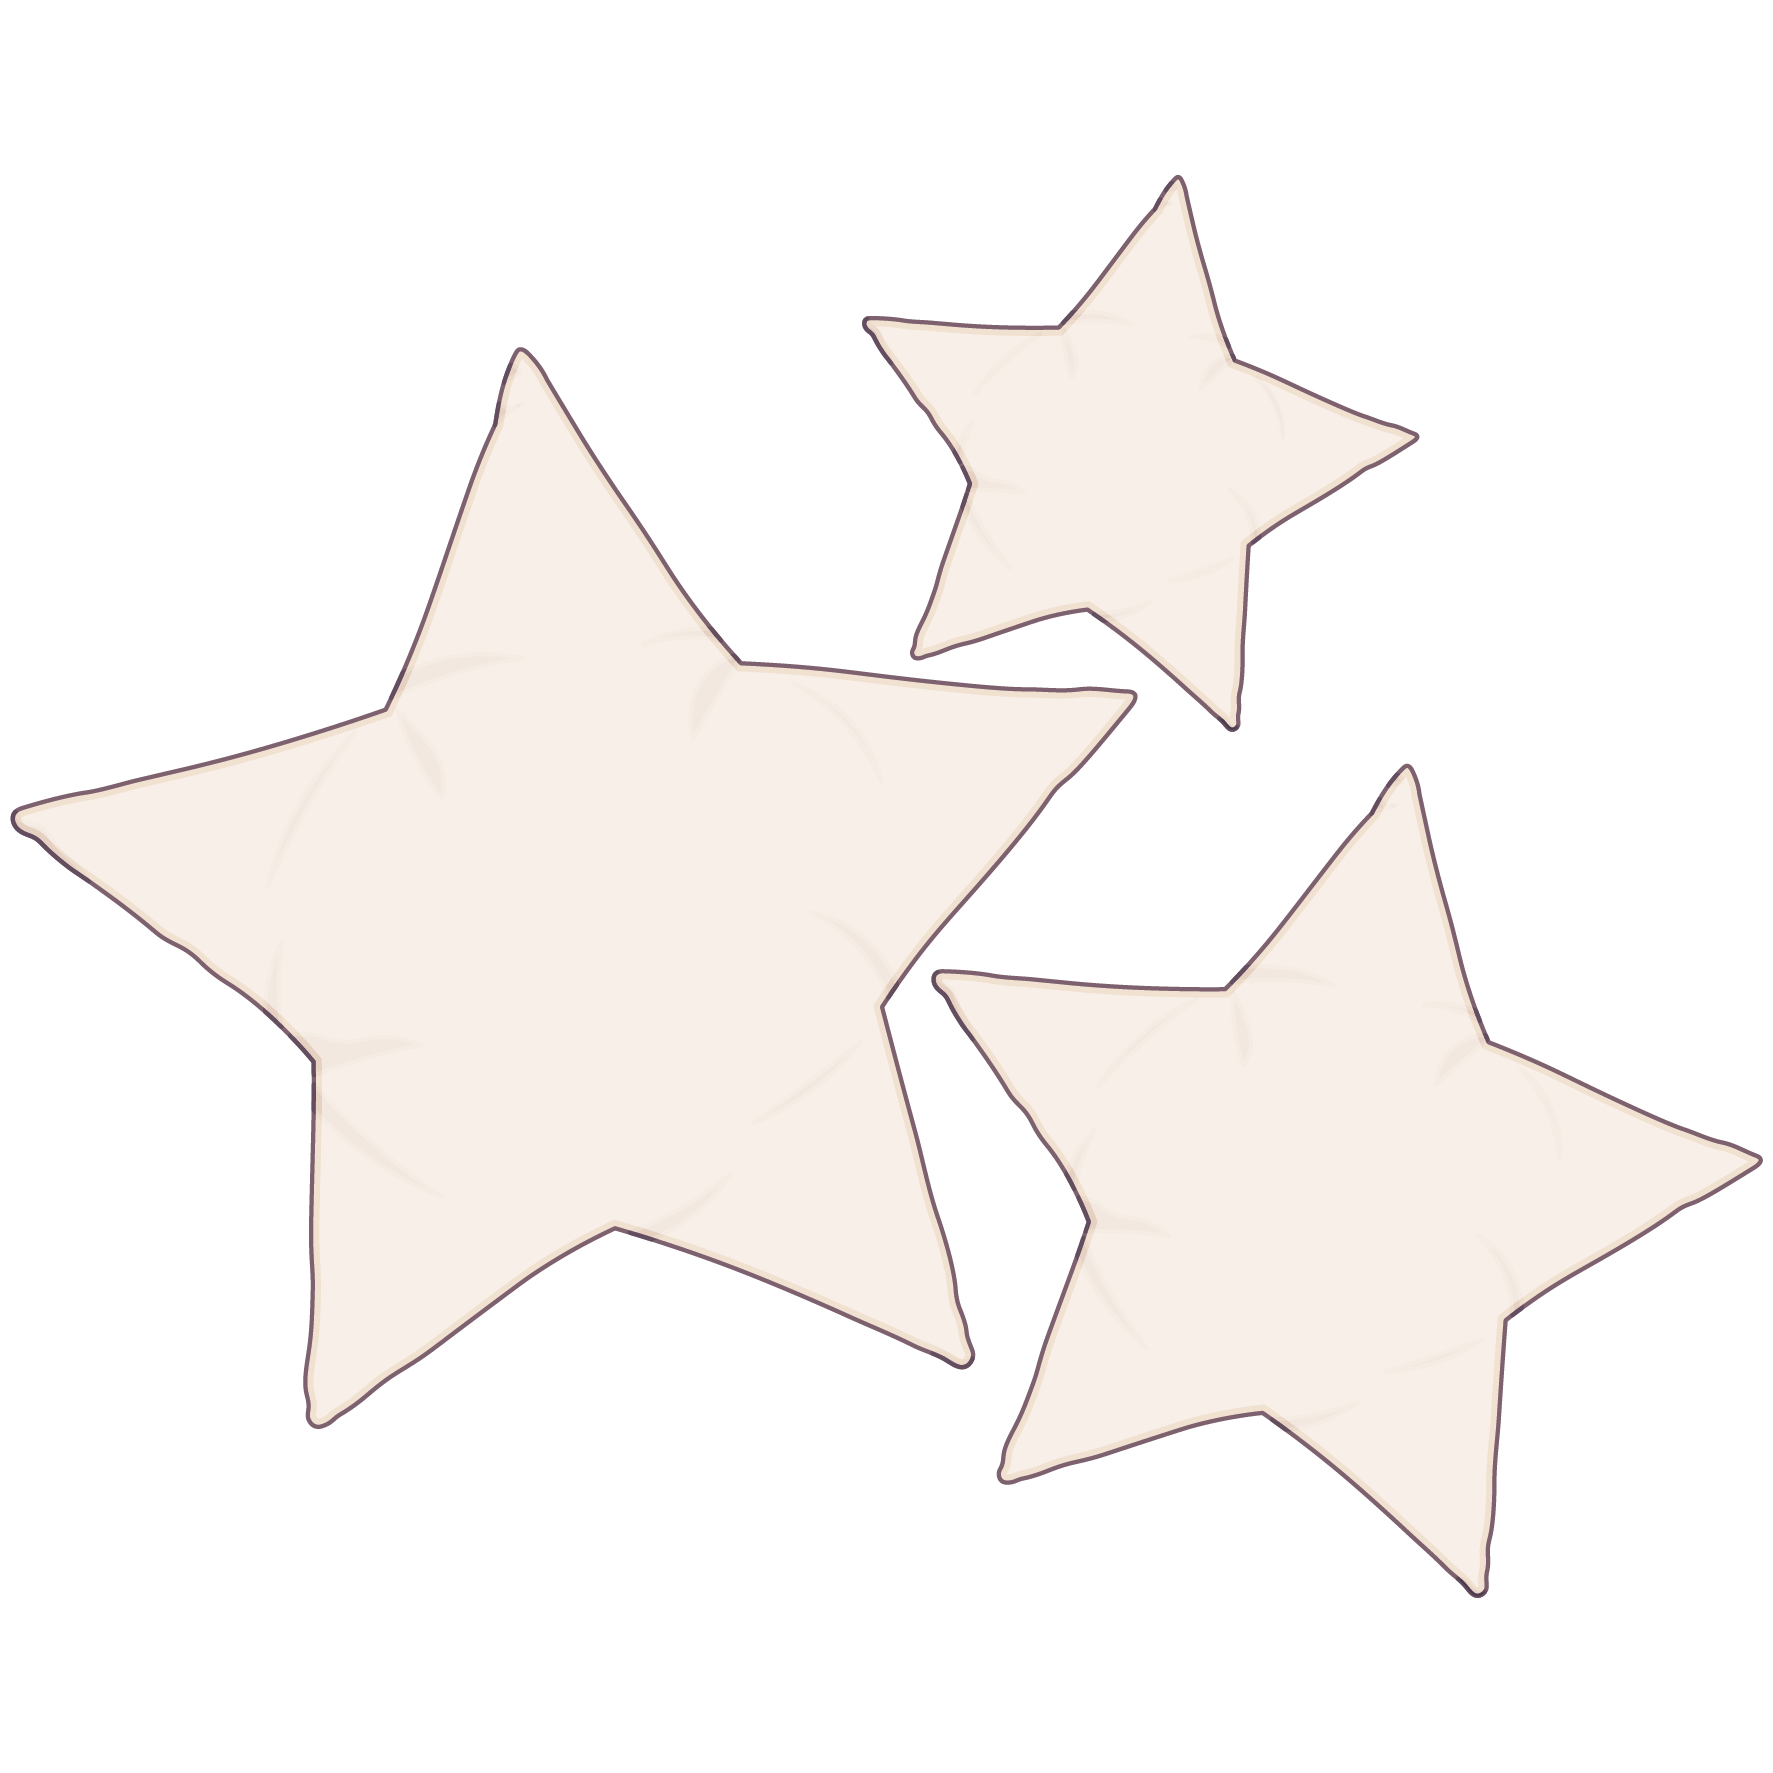
Star Pillow
(7)
3,36 €
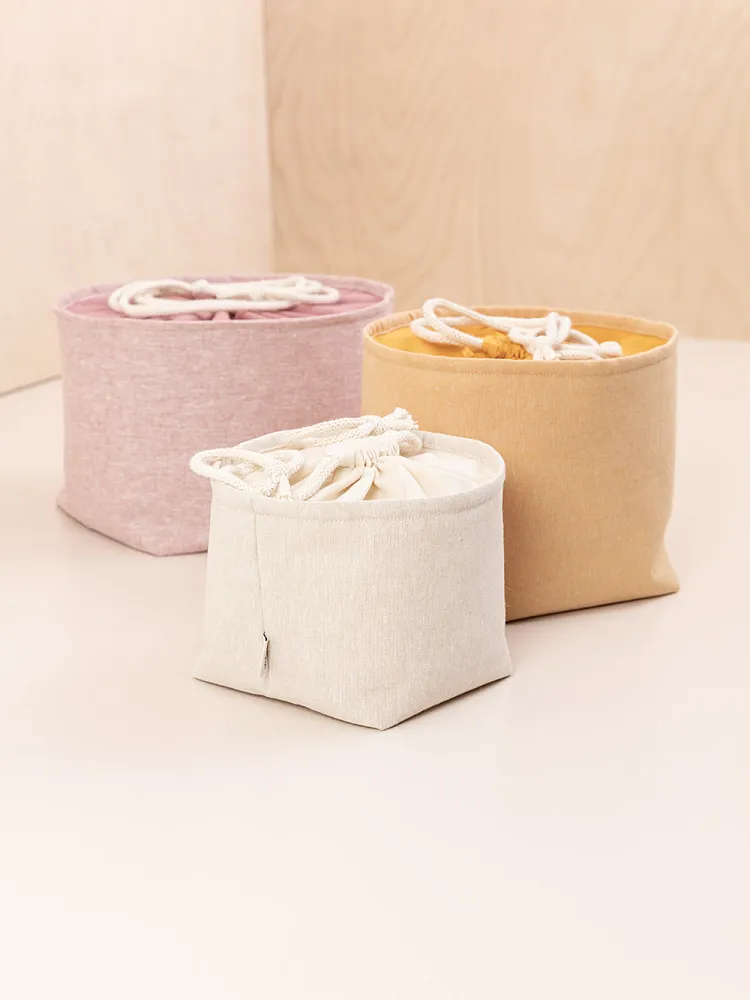
Storage Basket with Drawstring Closure
(4)
5,85 €
Ballon out of fabric
(5)
4,20 €
