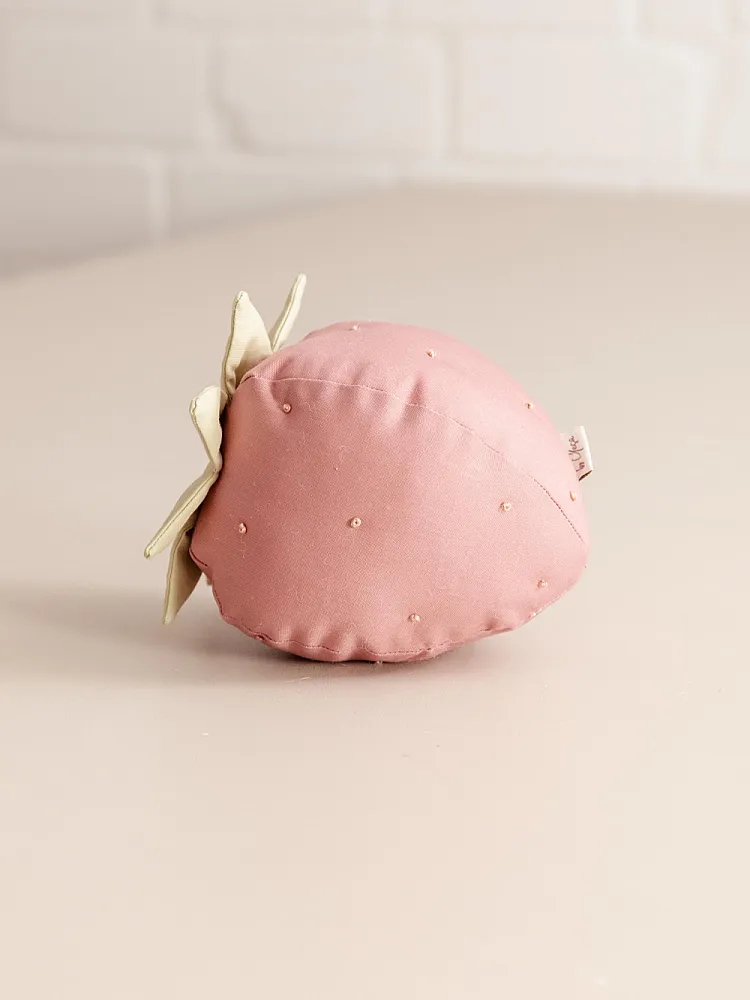
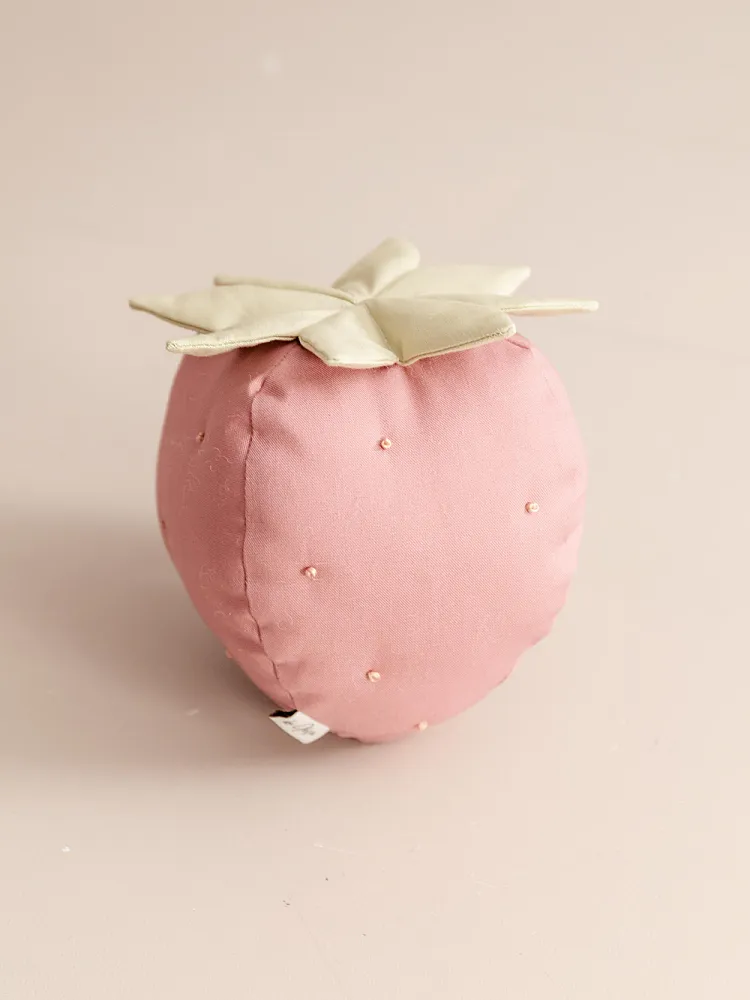
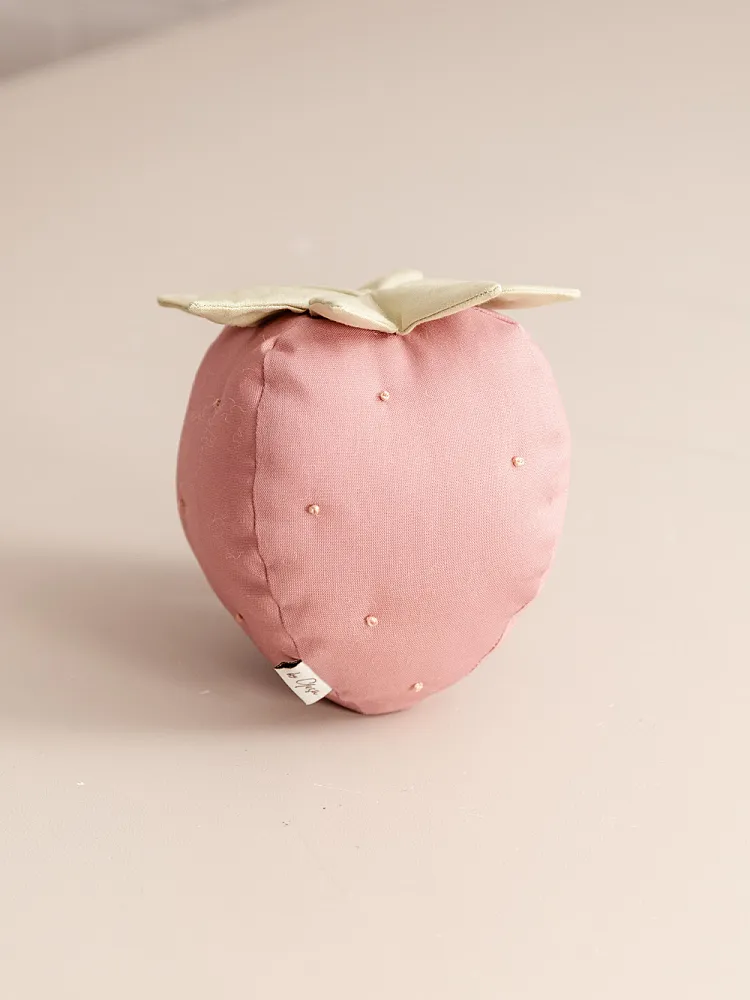
Pattern - No 032


Strawberry Pillow
What's Included
-
– Pattern in A4, A3 and US-Letter format
 Strawberry PillowSchnittmuster (PDF) - DIN A4, DIN A3, US-Letter, Beamer-Datei4 FilesLayered fileProjector file
 - – Detailed instructions with 9 illustrated steps
- – Complete materials and tools list
-
– 8 basics guides with tips and tricks
- • Why and How to Finish Fabric Edges
- • Which Interfacing or Non-woven Interlining is Best for Cushions?
- • Pen, Chalk, or Marker? How to Mark Fabric Properly
- • How to Embroider a French Knot
- • How to Use a Turning Tool Properly
- • Why and How to Clip Corners and Curves
- • How to Shape Corners and Curves Properly
- • How to Sew a Ladder Stitch
- – Multilingual support (DE/EN)
- – Everything in One Place
Required Materials
-
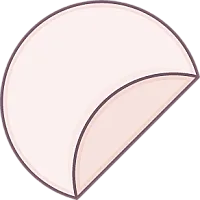
Fabric A: See table in the section “Preparation & Cutting”
I used a non-stretch cotton fabric with a dense weave and a soft, matte finish. For the example, I chose Robert Kaufman Kona Cotton, as it is easy to work with and holds its shape well.
-
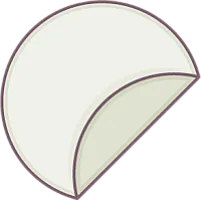
Fabric B: See table in the section “Preparation & Cutting”
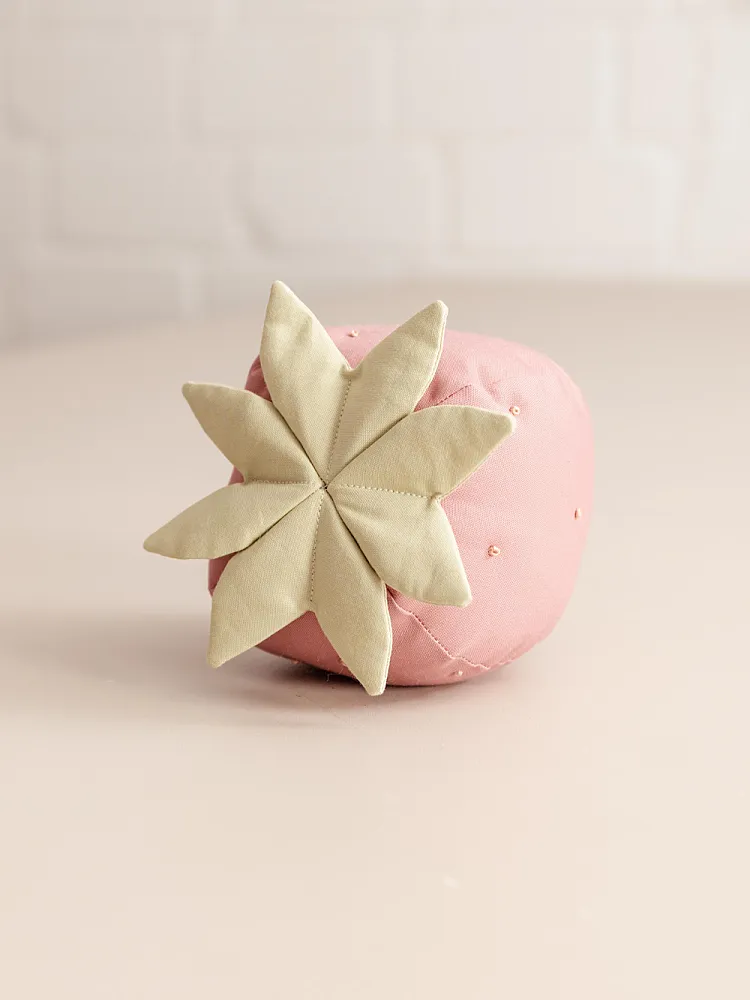
For the leaves. Lightweight cotton fabric with a smooth surface.
-
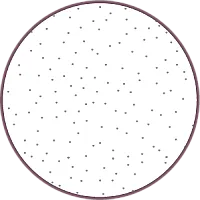
Interfacing (optional):
If desired, you can reinforce the leaves with fusible batting to give them more stability.
-
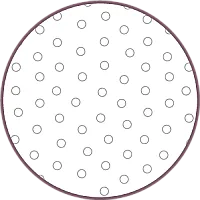
Interfacing or Non-woven Interlining (optional):
If your fabric needs extra stability, is slightly transparent, or if the filling might show through, you can reinforce the pillow with non-woven interlining or fusible interfacing.
-
Stuffing: As needed To fill the pillow and help it maintain its shape. Alternatively, fabric scraps or other soft materials can be used.
-
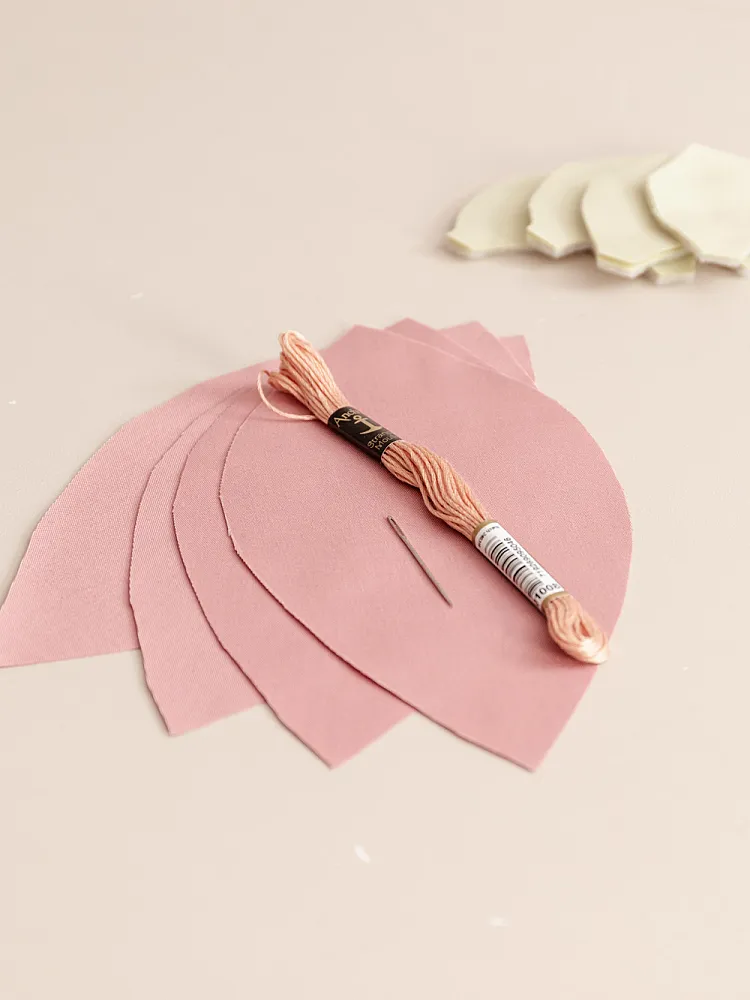
Embroidery Thread: for the dots
Depending on your preference, you can use thin wool or embroidery thread.
-

Sewing Thread: Universal sewing thread, thickness 120 Suitable for the recommended needle size NM 70–80.
Required Tools
-
Sewing Machine
-
Scissors - A large fabric scissors for cutting and a small thread snip for precise work.
-

Pins or Fabric Clips
-

Measuring Tool
-

Iron – For securing interfacing and smoothing sewn parts, essential for a clean finish.
-

Chalk or Fabric Marker - For marking dots and seam lines, choose a removable marking tool such as tailor’s chalk or a fabric marker.
-

Needle: For embroidering and closing the turning opening.
-

Blunt Tool – For shaping curves, such as a corner turner, chopstick, or crochet hook.
-

Turning Tool – For turning small parts – alternatively, you can use a straw and a stick.
Description
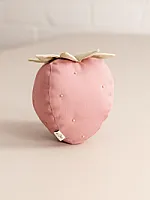
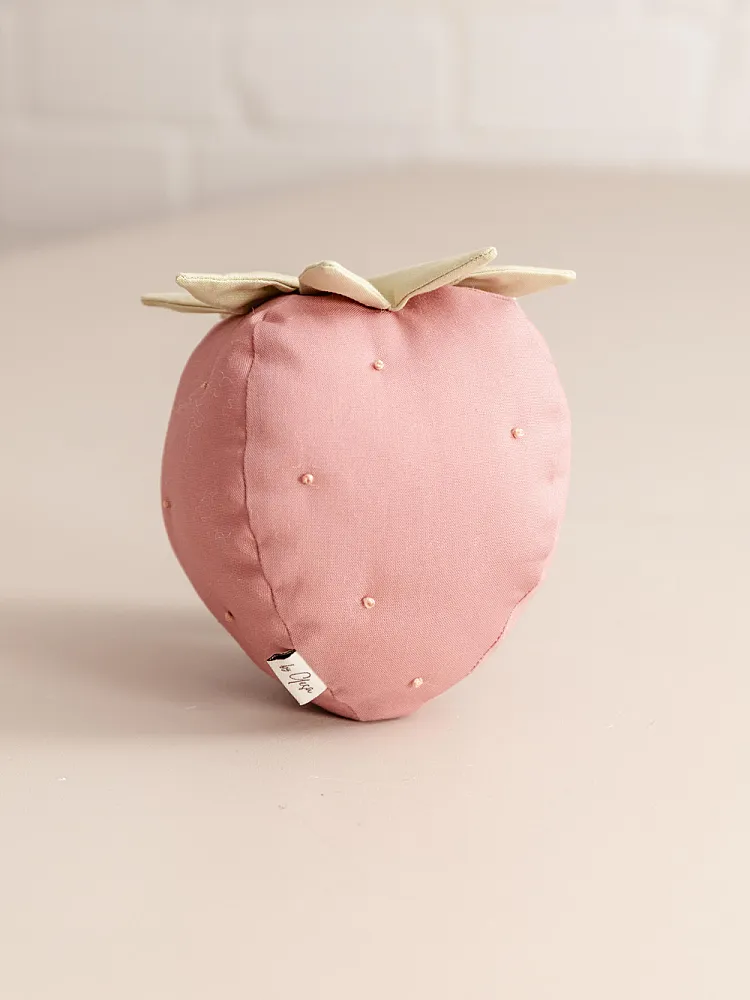
After sewing the strawberry bag, I had the idea of making a matching pillow. A sweet strawberry pillow for the sofa or a child's room—it sounded just perfect! Compared to the bag, the pillow is much easier to sew, but it still has the same adorable charm. The embroidered dots complete the design, giving the pillow a handmade touch that immediately stands out.
This project is ideal for sewers who have already completed a few basic projects, but it’s also manageable for beginners. Whether as a decorative pillow for spring or a small soft ball for babies, this pillow looks great in any size. A special feature: You can embroider the child's name on it to personalize it.
For the pillow, I recommend using soft fabric to make it extra cozy. Be sure to use suitable interfacing to prevent the stuffing from showing through the fabric and to help maintain its shape.
- Adorable strawberry design: Perfect as a pillow or soft ball.
- Easy to sew: Great for beginners too.
- Easily customizable: Add a name or other details with embroidery.
- Soft fabric recommended: For extra comfort and a nice shape.
Size: 13 x 13 cm and 20 x 20 cm
Pattern - No 032
Strawberry Pillow
What's Included
-
– Pattern in A4, A3 and US-Letter format
Strawberry PillowSchnittmuster (PDF) - DIN A4, DIN A3, US-Letter, Beamer-Datei4 FilesLayered fileProjector file
- – Detailed instructions with 9 illustrated steps
- – Complete materials and tools list
-
– 8 basics guides with tips and tricks
- - Why and How to Finish Fabric Edges
- - Which Interfacing or Non-woven Interlining is Best for Cushions?
- - Pen, Chalk, or Marker? How to Mark Fabric Properly
- - How to Embroider a French Knot
- - How to Use a Turning Tool Properly
- - Why and How to Clip Corners and Curves
- - How to Shape Corners and Curves Properly
- - How to Sew a Ladder Stitch
- – Multilingual support (DE/EN)
- – Everything in One Place
Reviews
Loading reviews...
No reviews yet
Be the first to review this pattern!
Related Products
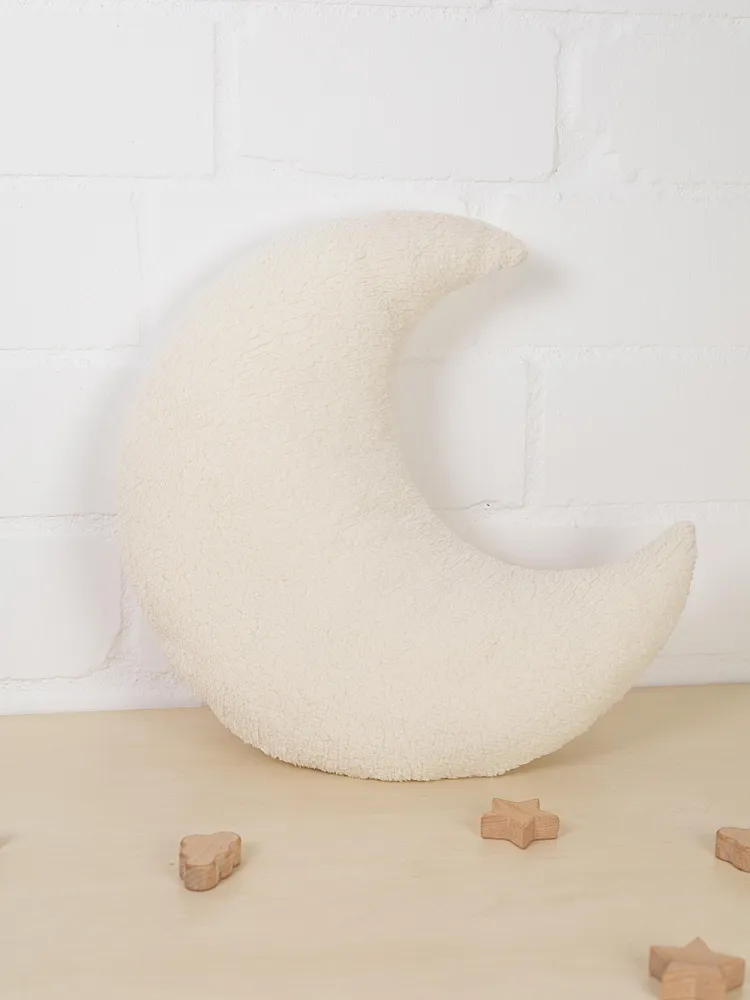
Moon Pillow
 (8)
(8)
3,36 €
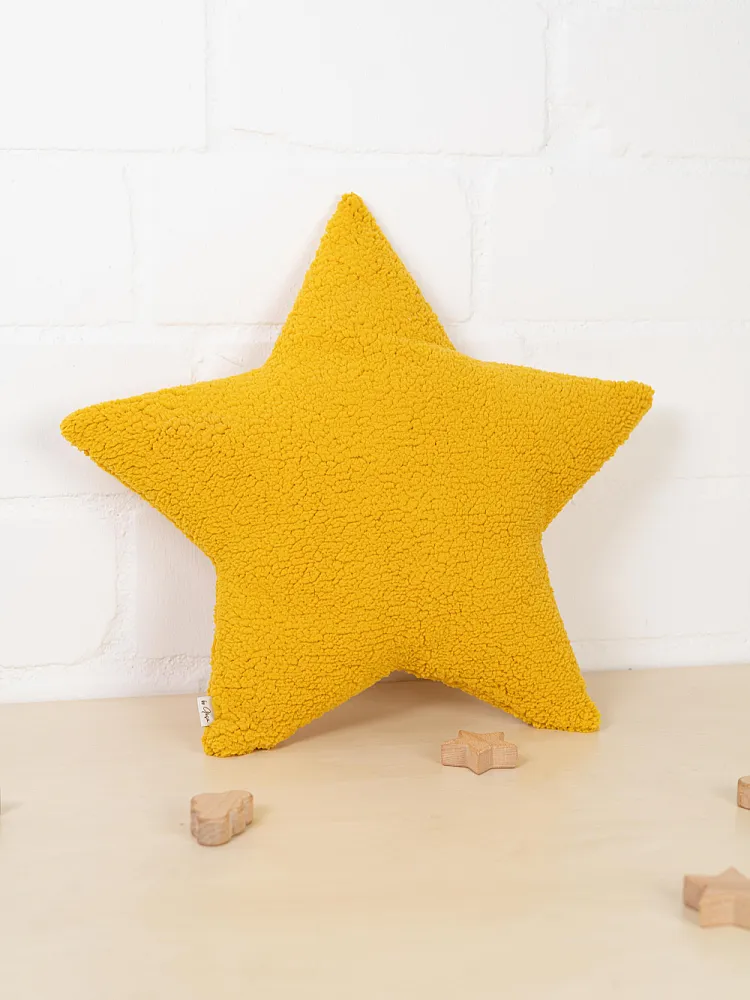
Star Pillow
(7)
3,36 €
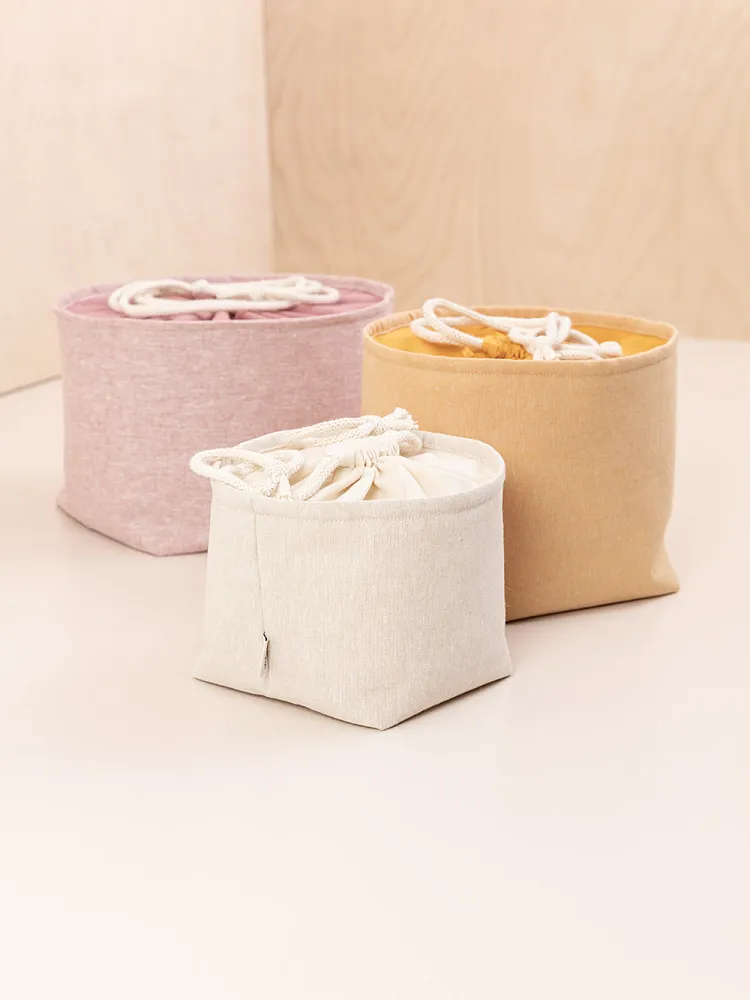
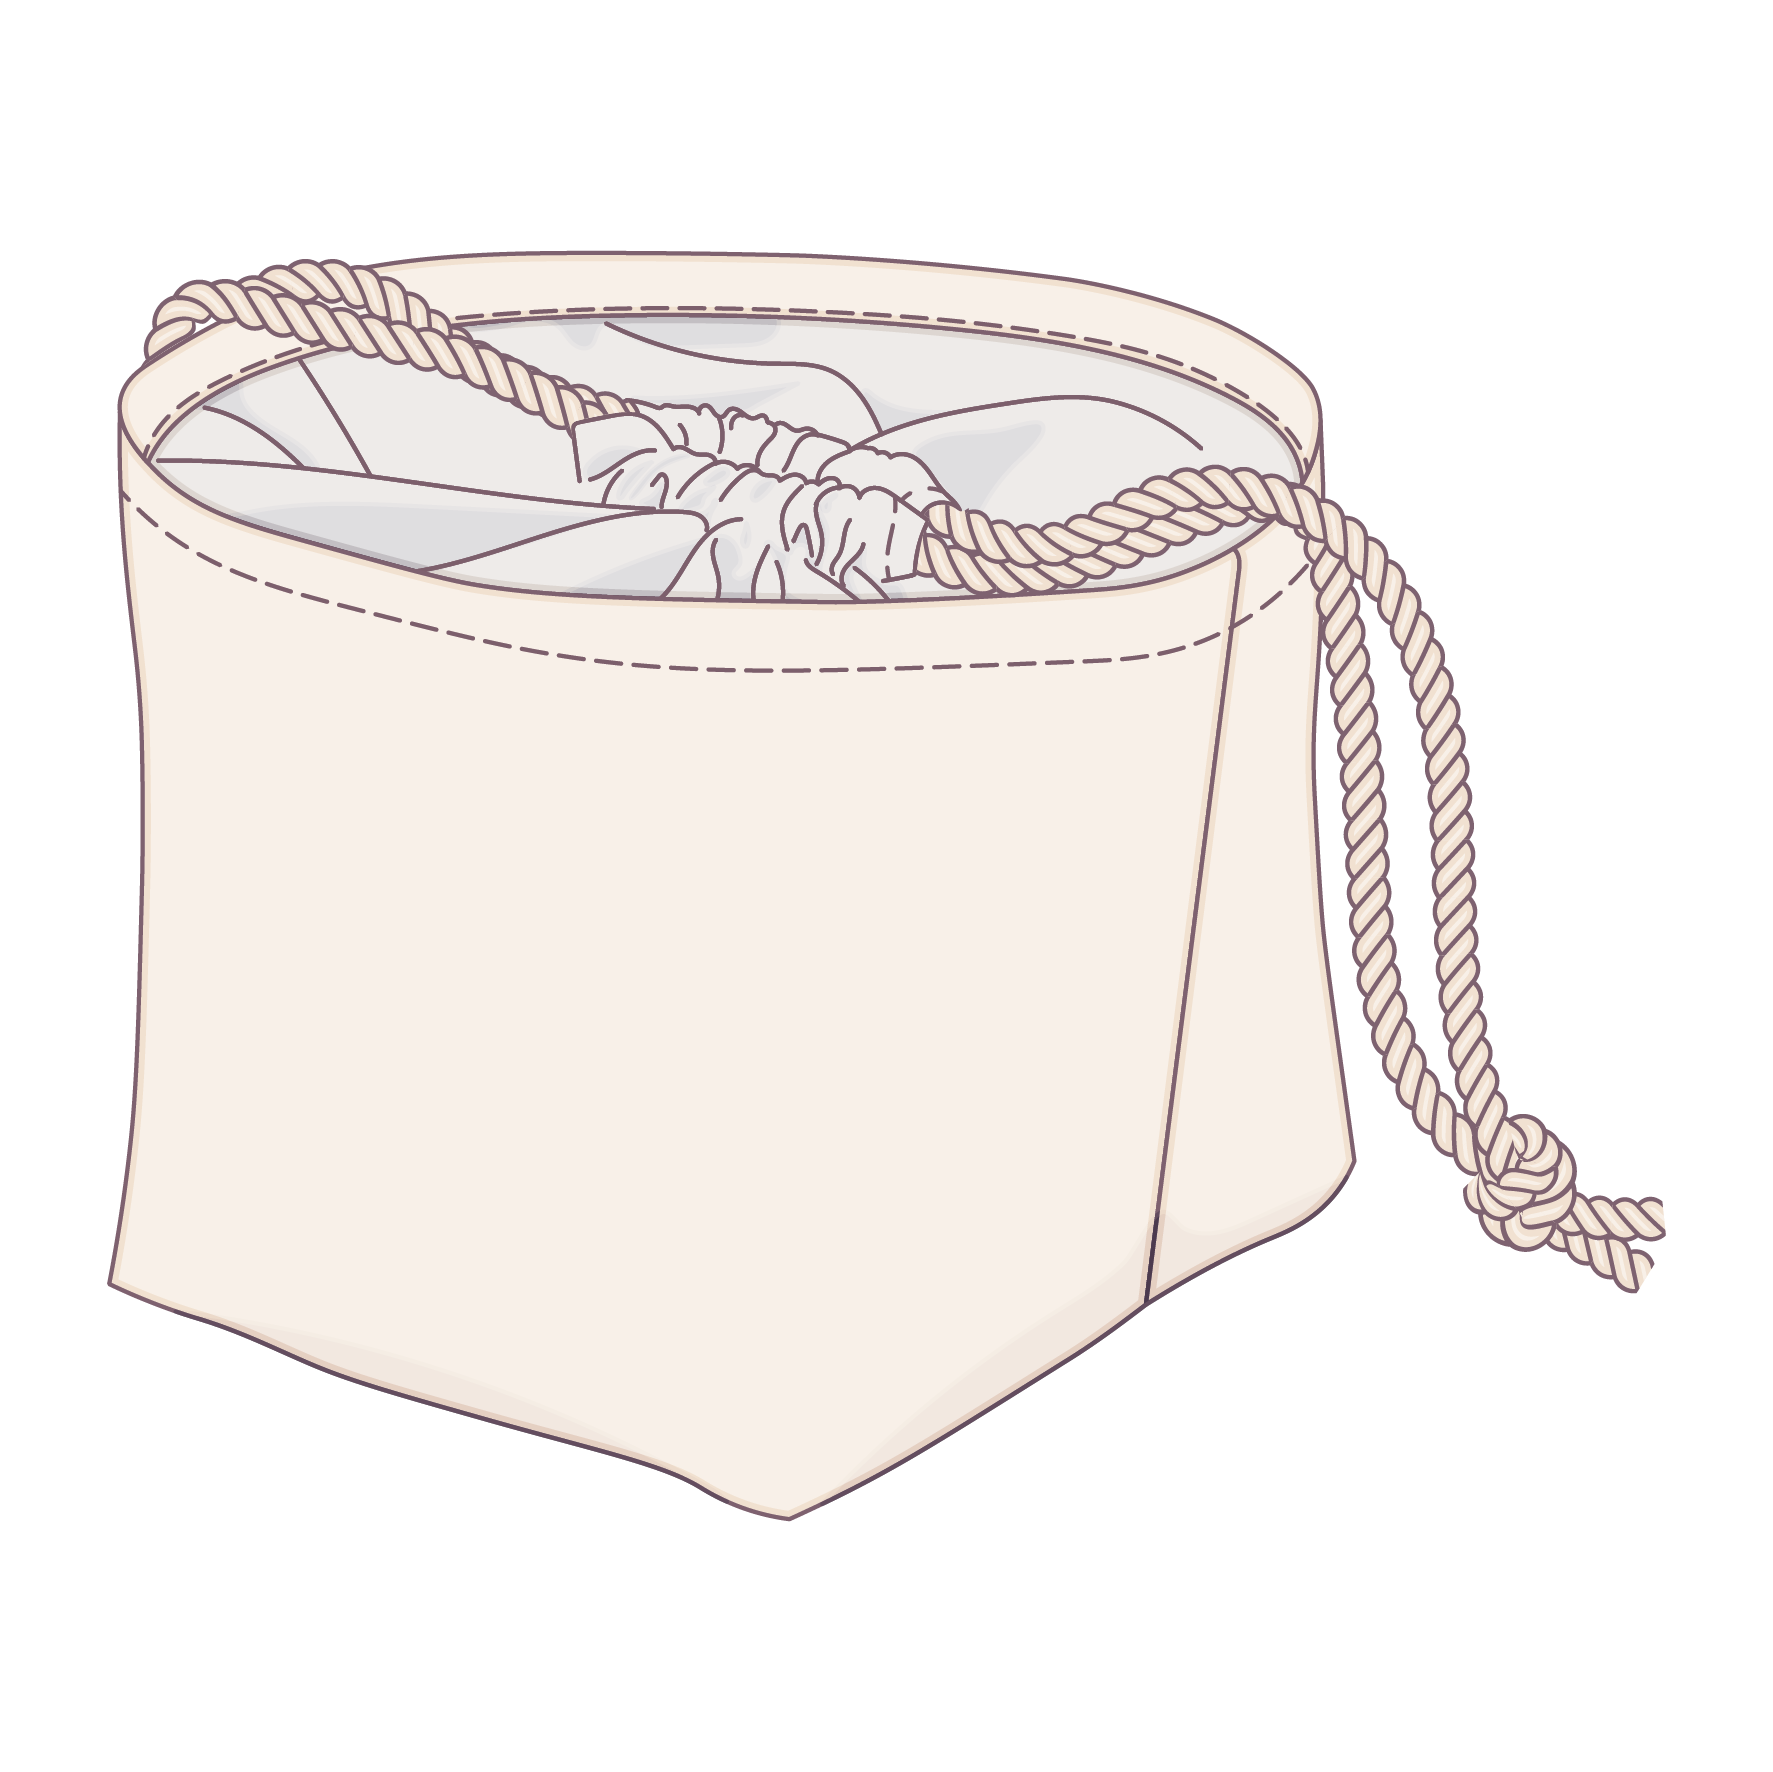
Storage Basket with Drawstring Closure
(4)
5,85 €
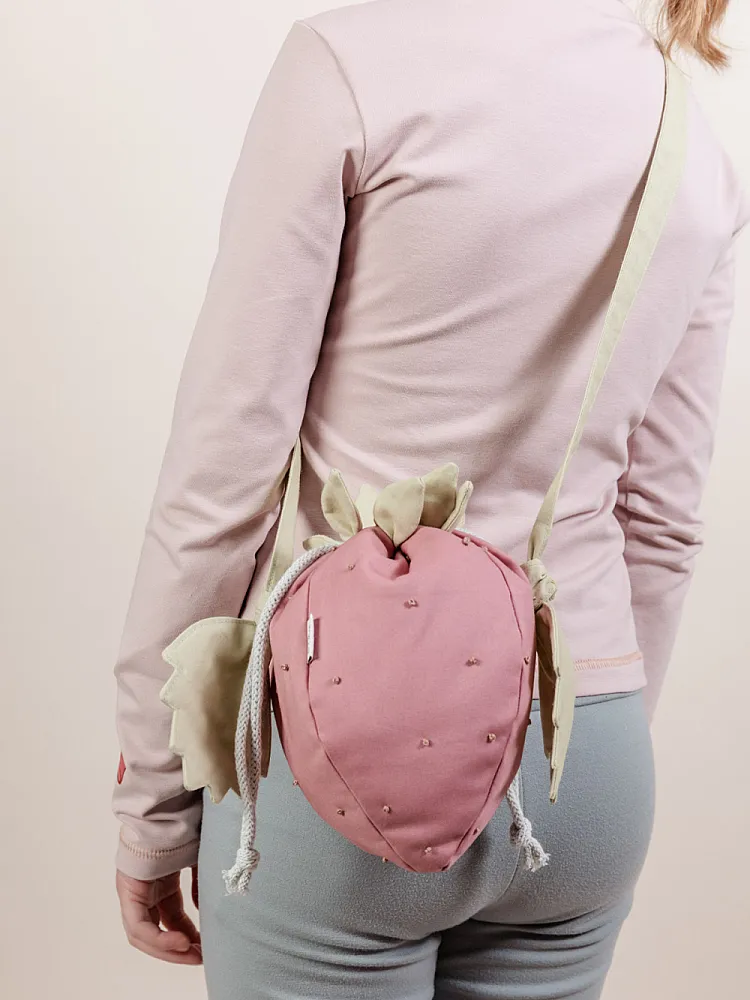
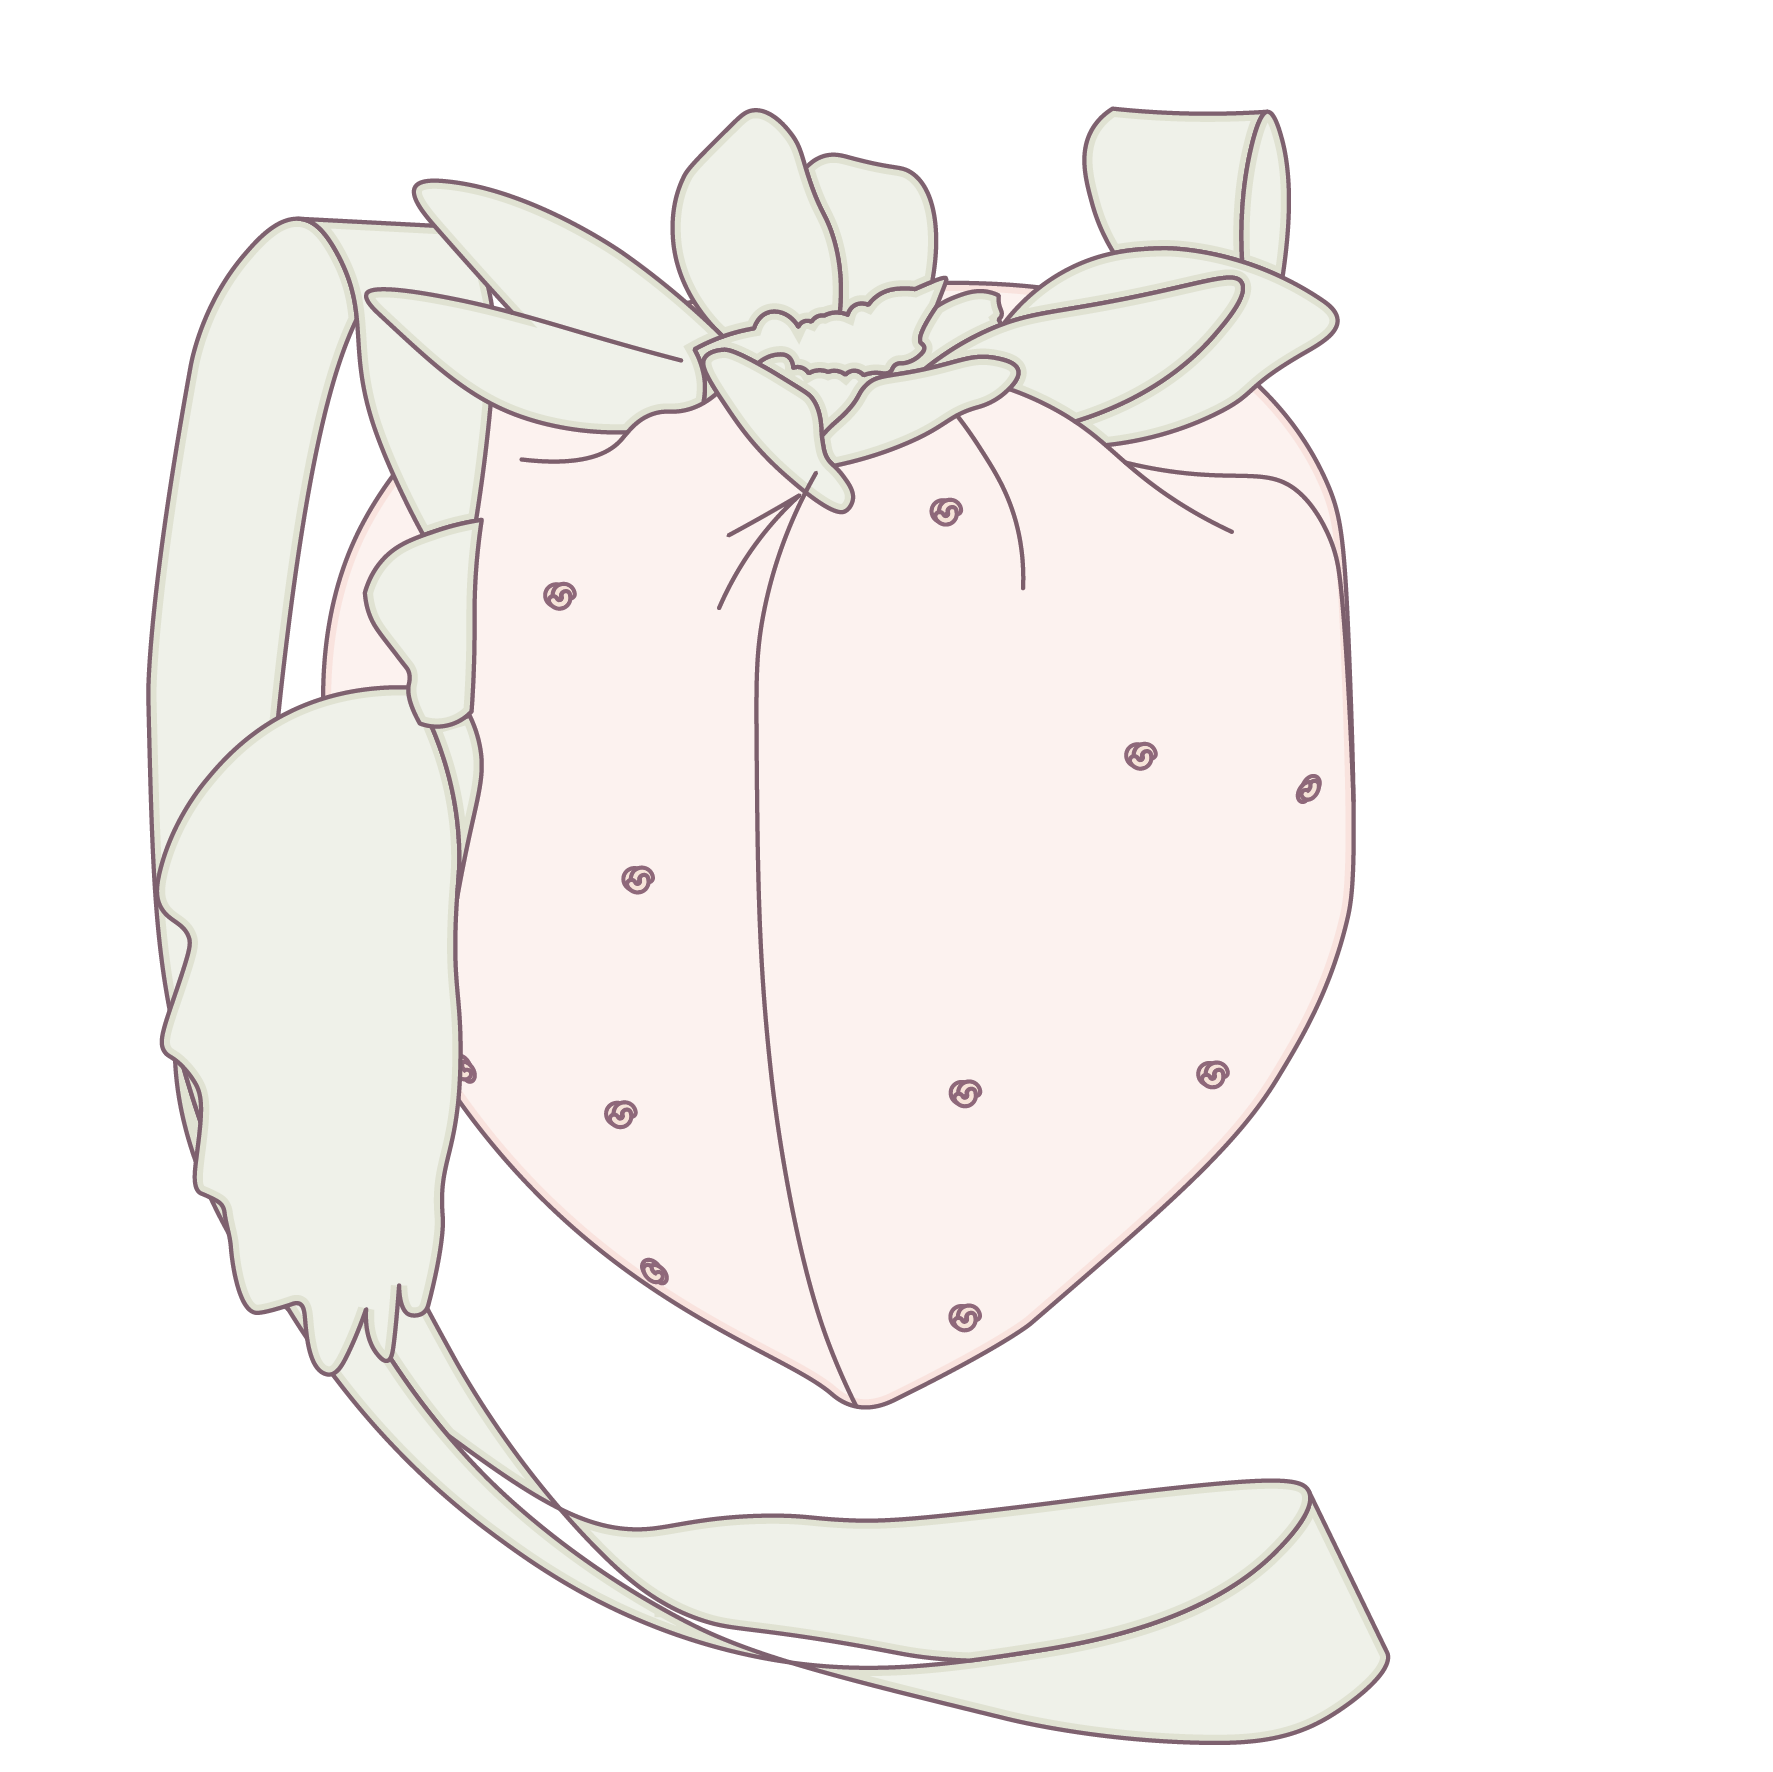
Strawberry Bag
(8)
6,95 €